Here’s a complete, detailed recipe for Cherry Pie Bars — including introduction, history, formation, full ingredients, instructions, methods, and even a sweet conclusion for dessert lovers! 🍒
Introduction
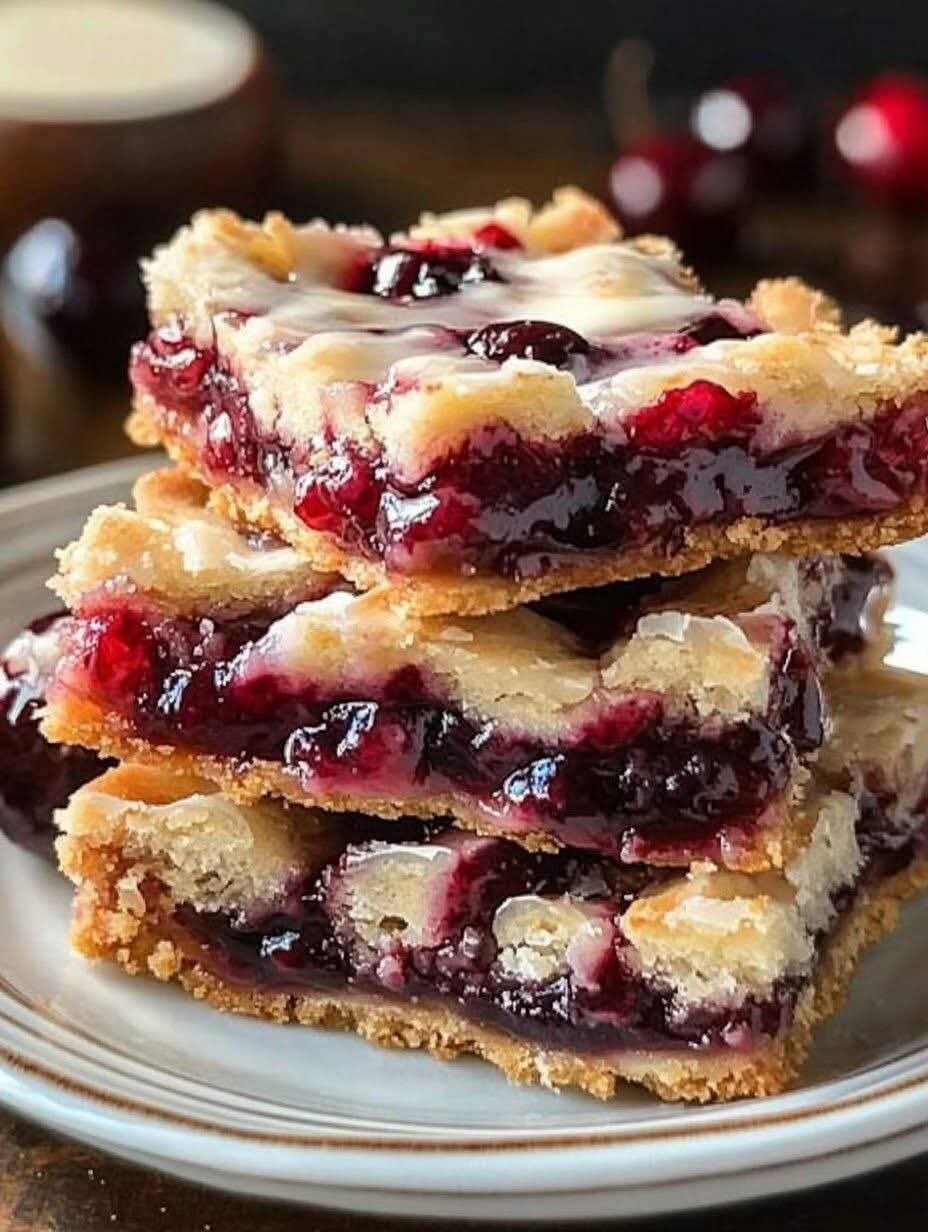
Cherry Pie Bars are the perfect dessert for anyone who loves fruity, sweet treats that combine the best of pie and cake. With a buttery shortbread-like crust, a sweet cherry filling, and a luscious glaze, these bars are a nostalgic classic. They’re easy to make, serve a crowd, and are especially popular during holidays, birthdays, and family gatherings.
History & Formation
- Origin: Fruit-filled bar desserts became popular in the mid-20th century when bakers sought easy alternatives to pies. These bars mimic the flavors of cherry pie but are much easier to bake and cut into squares.
- Formation: The beauty of these bars is in their layers—a soft crust, a fruity middle, and a drizzle of glaze on top. The method uses a simple creaming process for the dough and a layer of canned cherry pie filling for convenience and flavor.
Ingredients (Makes about 24 bars)
For the Dough:
- 1 cup (225 g) unsalted butter, softened
- 2 cups (400 g) granulated sugar
- 4 large eggs (room temperature)
- 1 tsp vanilla extract
- 1 tsp almond extract (optional for flavor boost)
- 3 cups (375 g) all-purpose flour
- 1 tsp baking powder
- ½ tsp salt
For the Filling:
- 1 (21 oz / 595 g) can cherry pie filling
For the Glaze:
- 1 cup (120 g) powdered sugar
- 2–3 tbsp milk (or heavy cream)
- ½ tsp almond extract (optional)
Method & Instructions
Step 1: Prepare the Dough
- In a large mixing bowl, cream together butter and sugar until light and fluffy (about 3 minutes).
- Beat in the eggs, one at a time, followed by vanilla and almond extract.
- In a separate bowl, whisk together flour, baking powder, and salt. Gradually add to the wet mixture until fully combined.
Step 2: Assemble the Bars
- Preheat the oven to 350°F (175°C). Grease a 15×10-inch baking pan or line with parchment paper.
- Spread two-thirds of the dough evenly in the prepared pan.
- Spoon the cherry pie filling over the dough, spreading it out evenly.
- Drop the remaining dough by spoonfuls over the filling (it won’t cover completely, and that’s okay).
Step 3: Bake
- Bake for 35–40 minutes, or until the top is golden and a toothpick inserted near the center (not through the filling) comes out clean.
- Let the bars cool completely in the pan on a wire rack.
Step 4: Glaze & Finish
- In a small bowl, whisk together powdered sugar, milk, and almond extract until smooth.
- Drizzle glaze over the cooled bars.
- Cut into squares and serve.
Tips for Lovers of Cherry Bars ❤️
- Make it your own: Swap cherry pie filling for blueberry, raspberry, or mixed berries for a flavor twist.
- Extra sweetness: Sprinkle sliced almonds on top for added crunch and presentation.
- Storage: Keep in an airtight container at room temperature for up to 3 days, or refrigerate for up to 5 days. These bars also freeze well for up to 2 months!
Conclusion
These Cherry Pie Bars combine the best parts of a fruit pie with the convenience of a bar dessert. Perfect for birthdays, holidays, and everyday indulgence, they’re a real crowd-pleaser for dessert lovers everywhere!
🔥 Want me to make this even bigger with:
✅ History of cherry desserts
✅ Nutrition facts per bar
✅ Social media caption with trending hashtags
✅ Plating & serving ideas
Should I prepare that version for you? Or create a printable recipe card with full design?