Alright, let’s make a big, complete recipe guide for the delicious chocolate sheet cake you’ve shown. This will include introduction, history, ingredients, instructions, methods, benefits, formation, nutrition, conclusion, and even a note for chocolate lovers. 🍫✨
🍫 Classic Chocolate Sheet Cake Recipe – A Timeless Favorite
🌟 Introduction
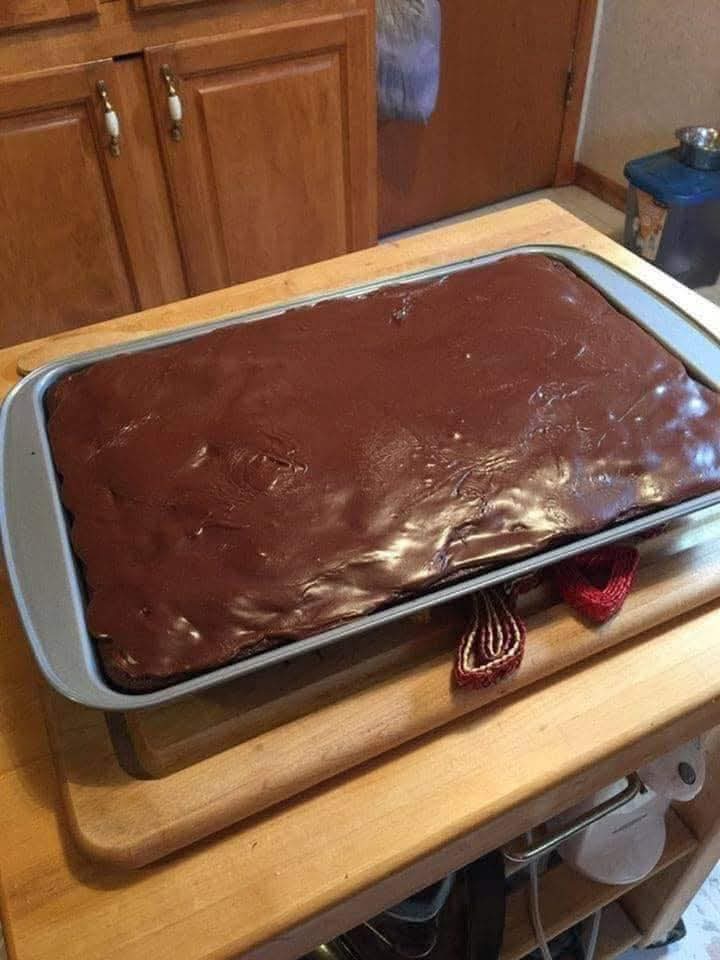
The chocolate sheet cake is one of the most loved desserts in American homes and bakeries. Baked in a large rectangular pan, it is simple, rich, and perfect for gatherings, potlucks, birthdays, or just when you crave something indulgent. Unlike layered cakes, this one is easy to frost and cut into squares, making it a practical yet decadent treat. With its moist crumb and glossy chocolate frosting, it never fails to impress.
📝 Ingredients
For the Cake:
- 2 cups all-purpose flour
- 2 cups granulated sugar
- 1 cup unsalted butter (2 sticks)
- 1 cup water
- ¼ cup unsweetened cocoa powder
- 2 large eggs
- ½ cup sour cream (or plain yogurt)
- 1 teaspoon vanilla extract
- 1 teaspoon baking soda
- ½ teaspoon salt
For the Frosting:
- ½ cup unsalted butter (1 stick)
- ¼ cup unsweetened cocoa powder
- 6 tablespoons milk
- 1 teaspoon vanilla extract
- 3 ½ cups powdered sugar
👩🍳 Instructions & Methods
1. Preparing the Cake:
- Preheat your oven to 350°F (175°C). Grease and flour a 13×18-inch sheet pan.
- In a large mixing bowl, whisk together flour, sugar, baking soda, and salt.
- In a saucepan, melt butter, water, and cocoa powder over medium heat. Bring to a light boil, then pour this hot mixture into the dry ingredients. Stir well.
- Add eggs, sour cream, and vanilla. Mix until smooth and combined.
- Pour batter into the sheet pan and bake for 20–25 minutes, or until a toothpick inserted in the center comes out clean.
2. Making the Frosting:
- In a saucepan, melt butter, cocoa powder, and milk. Stir until smooth and just boiling.
- Remove from heat and whisk in powdered sugar and vanilla extract until glossy.
- Pour warm frosting over the hot cake. Spread evenly. Let it set before cutting.
📖 History
The chocolate sheet cake became popular in the mid-20th century in the United States, especially in the South and Midwest, where it is sometimes called the “Texas Sheet Cake.” It was prized for its ability to feed a crowd and its quick preparation compared to traditional layer cakes. Over time, it became a potluck staple and a comfort food classic.
💪 Benefits
- Easy to Make: No layering or complex decorating.
- Feeds Many: Perfect for large gatherings.
- Moist & Rich: Sour cream/yogurt keeps it soft.
- Versatile: Can be topped with nuts, sprinkles, or served plain.
- Comfort Food: Chocolate is known to boost mood and reduce stress.
🏗 Formation (Serving Ideas)
- Cut into squares and serve with a glass of milk.
- Add a scoop of vanilla ice cream for a warm-and-cold contrast.
- Sprinkle with pecans, walnuts, or toasted coconut before frosting sets.
- Serve as a dessert centerpiece at family dinners or holiday tables.
🍫 Lovers’ Note
For true chocolate lovers, this cake is heaven! The glossy chocolate frosting locks in moisture and creates a melt-in-your-mouth experience. Some even call it “love at first bite.” It’s the kind of dessert that makes you close your eyes and smile with every forkful.
🔬 Nutrition (per slice, approx. 1/20 of cake)
- Calories: 310
- Fat: 15 g
- Saturated Fat: 9 g
- Carbohydrates: 42 g
- Sugar: 31 g
- Protein: 3 g
- Fiber: 1 g
(Values may vary depending on portion size and ingredient brands.)
🎉 Conclusion
The chocolate sheet cake is more than just dessert – it’s a tradition, a comfort, and a celebration of chocolate. Its simplicity, rich flavor, and ability to bring people together make it a true classic. Whether enjoyed at a potluck, birthday, or a quiet night in, this cake always delivers joy.
❤️ For the Lovers
This cake is for the chocolate dreamers, the sweet tooth enthusiasts, and the ones who believe that dessert should always have a place at the table. One slice will make you fall in love, and two slices will make you believe in magic.
👉 Would you like me to also give you a step-by-step baking timeline (with photos/illustrations) so it’s easier to follow along?