Here’s a fully expanded version of your No-Bake Banana Pudding Cheesecake recipe with an introduction, ingredients, instructions, methods, history, formation, conclusion, and even a nod to dessert lovers:
No-Bake Banana Pudding Cheesecake 🍌🍰
Introduction
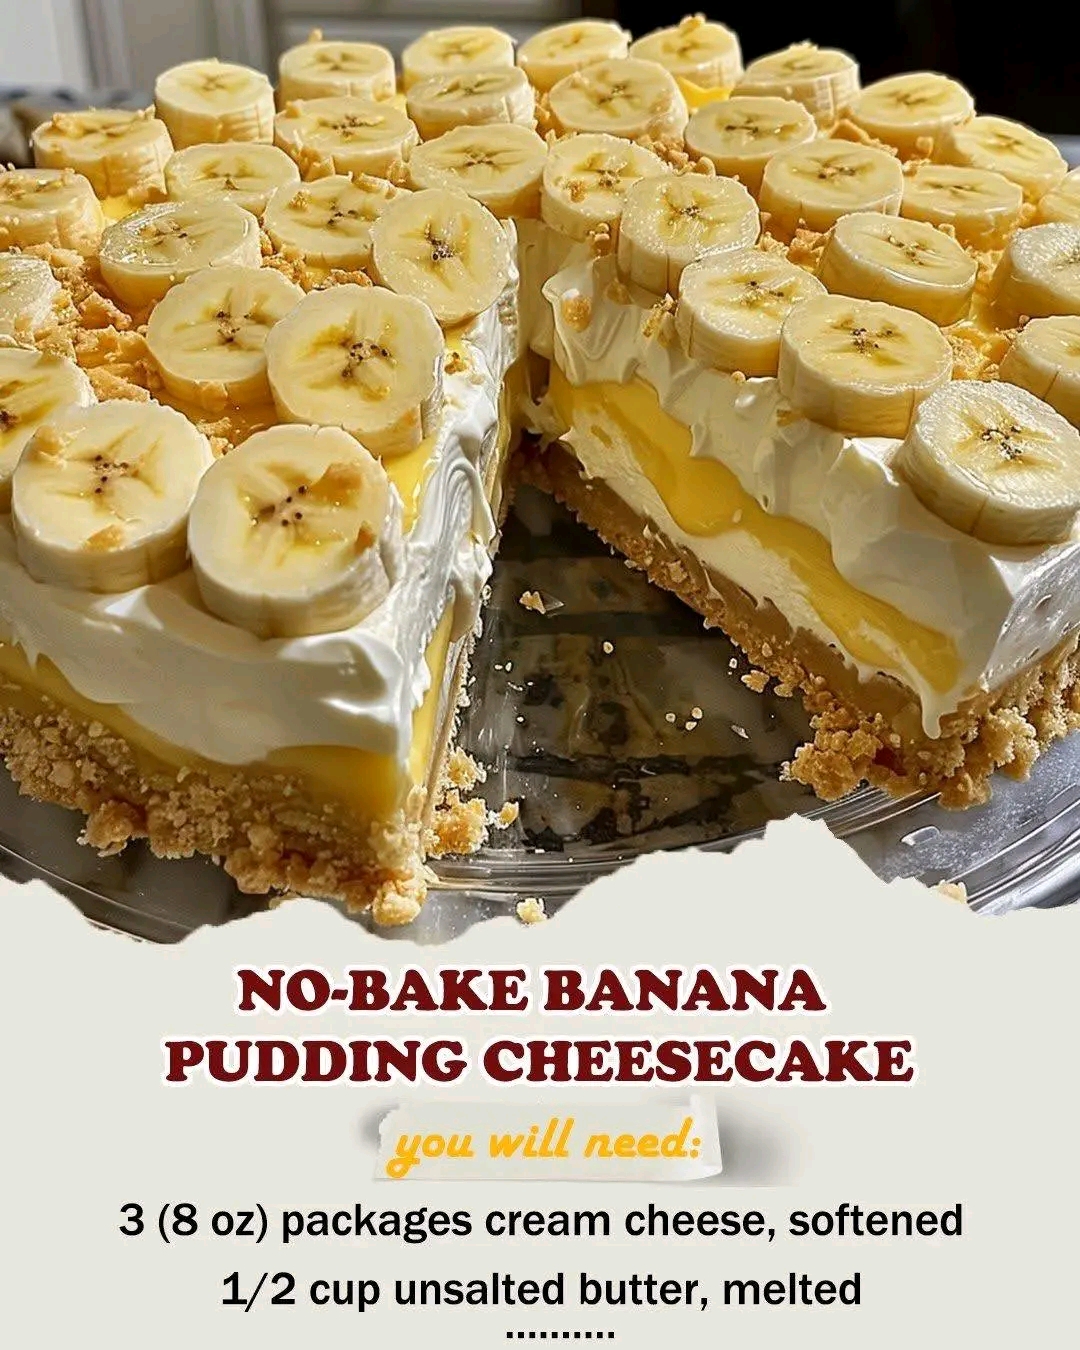
If you love creamy, dreamy desserts that don’t require turning on the oven, this No-Bake Banana Pudding Cheesecake is for you! Combining the rich texture of cheesecake with the sweet, nostalgic flavors of banana pudding, this dessert is a crowd-pleaser for birthdays, gatherings, or simply a cozy treat at home. Layers of luscious cheesecake filling, fresh bananas, and a buttery wafer crust come together to create a dessert that’s both indulgent and refreshingly light.
Ingredients
For the Crust:
- 2 cups crushed vanilla wafers
- 1/2 cup unsalted butter, melted
For the Cheesecake Filling:
- 3 (8 oz) packages cream cheese, softened
- 1 cup granulated sugar
- 1 (3.4 oz) box banana pudding mix (instant)
- 1 cup cold whole milk
- 2 teaspoons vanilla extract
- 1 1/2 cups heavy whipping cream, chilled
- 3 large bananas, sliced
For the Topping:
- Whipped cream (optional)
- Extra vanilla wafers
- Banana slices for garnish
Instructions & Methods
Step 1: Prepare the Crust
- In a medium bowl, combine the crushed vanilla wafers and melted butter. Mix until evenly combined.
- Press the mixture firmly into the bottom of a 9-inch springform pan, using the back of a spoon to compact it evenly.
- Place the crust in the freezer to set while you prepare the filling.
Method Note: Freezing the crust helps it hold its shape when layered with creamy fillings.
Step 2: Make the Cheesecake Filling
- In a large mixing bowl, beat the cream cheese and sugar until smooth and creamy.
- In a separate bowl, whisk together the banana pudding mix and cold milk until thickened.
- Add the banana pudding mixture and vanilla extract to the cream cheese mixture. Beat until fully combined.
- In another bowl, whip the heavy cream until stiff peaks form, then gently fold it into the cheesecake mixture.
Method Note: Folding in the whipped cream keeps the filling light and airy, giving the cheesecake a melt-in-your-mouth texture.
Step 3: Assemble the Cheesecake
- Spread half of the cheesecake filling over the prepared crust.
- Layer the banana slices evenly on top of the filling.
- Add the remaining cheesecake filling and smooth the surface with a spatula.
Formation Insight: Layering the bananas in the middle helps distribute flavor evenly and prevents them from browning too quickly on top.
Step 4: Chill the Cheesecake
- Cover the cheesecake with plastic wrap and refrigerate for at least 6 hours or overnight. This allows the flavors to meld and the filling to firm up.
Method Tip: Patience is key! The longer it chills, the cleaner your slices will be.
Step 5: Garnish and Serve
- Before serving, top with whipped cream, extra vanilla wafers, and banana slices for an elegant presentation.
- Slice carefully and serve chilled.
History & Fun Facts
Banana pudding has deep roots in Southern U.S. cuisine, dating back to the early 20th century, when it became popular as a layered dessert using simple ingredients like vanilla wafers, bananas, and pudding. Cheesecake, with origins tracing back to ancient Greece, has evolved over centuries into countless variations. Combining these two beloved desserts creates a decadent fusion that brings nostalgia and modern indulgence together in one slice.
Conclusion
This No-Bake Banana Pudding Cheesecake is the perfect combination of creamy cheesecake, sweet banana flavor, and buttery vanilla wafer crust. It’s easy to make, doesn’t require baking, and is sure to impress family and friends with both its taste and presentation. Each bite offers a balance of textures—from smooth filling to soft bananas and crisp crust—that will make it a repeat favorite.
For Dessert Lovers ❤️
- Ideal for banana lovers and cheesecake enthusiasts alike.
- Perfect for summer gatherings when the oven is too hot.
- Great for creating layered parfaits using the same filling for mini servings.
- Can be customized with chocolate drizzle or caramel sauce for extra decadence.
If you want, I can also make a visually appealing, step-by-step infographic version of this recipe showing layers and assembly—it would be perfect for sharing or printing. Do you want me to do that?