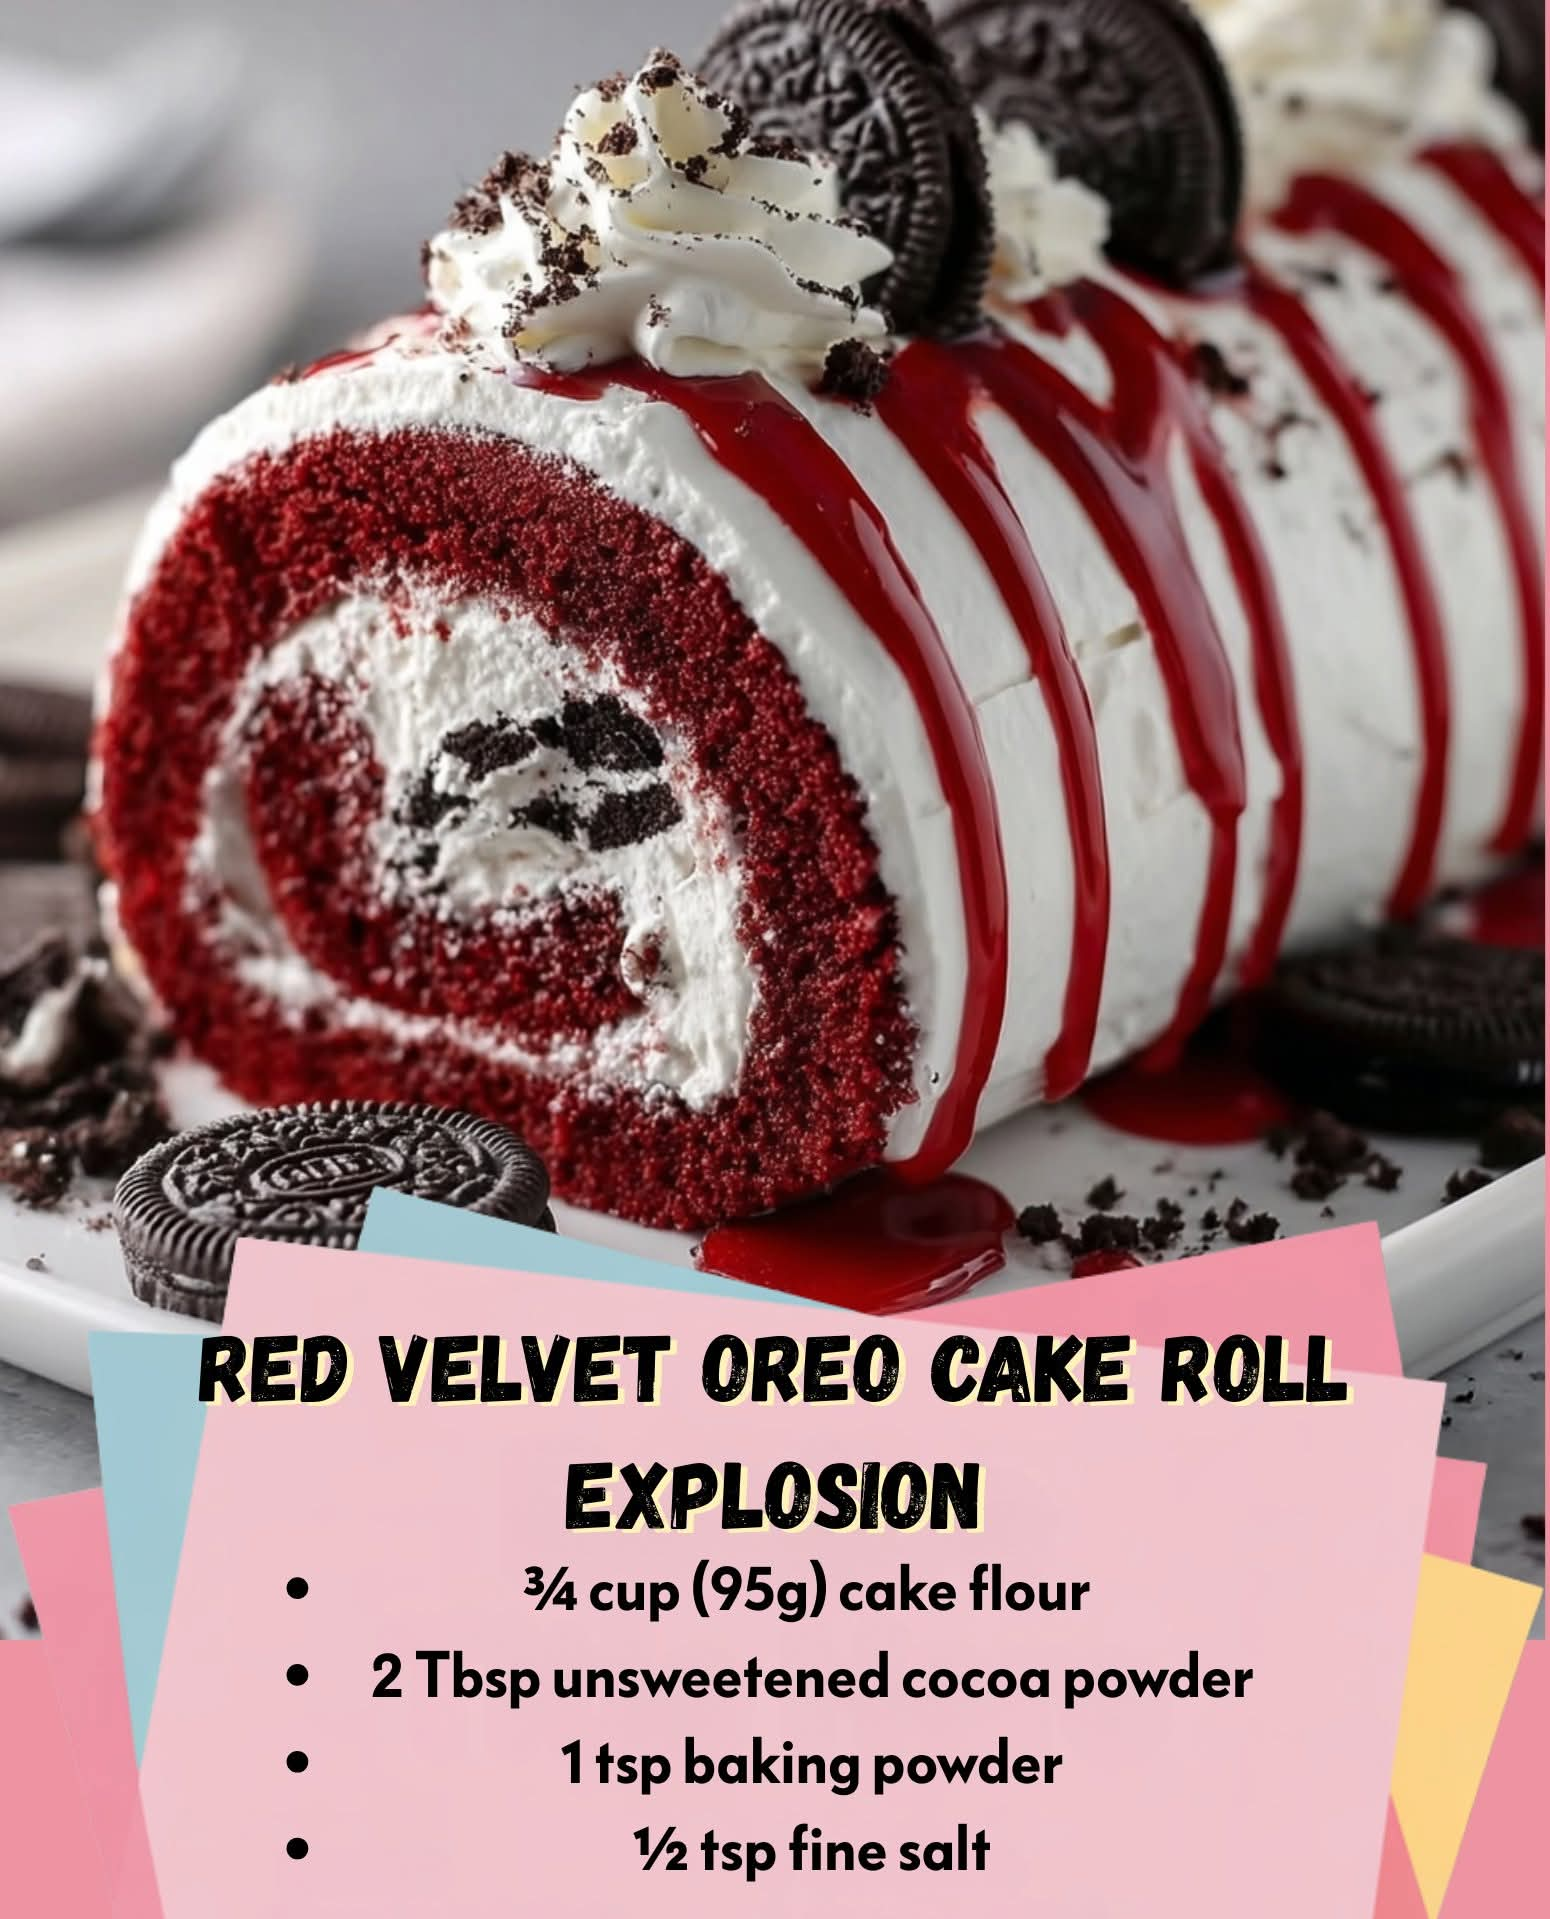
Here’s a full, big, bakery-style recipe for your Red Velvet Oreo Cake Roll Explosion — with a rich introduction, detailed methods, a bit of history, and a satisfying conclusion for true dessert lovers. 🍰❤️
Red Velvet Oreo Cake Roll Explosion
Bakery-style elegance meets cookie-and-cream indulgence. This cake roll is a showstopper—soft, vibrant red velvet sponge rolled around fluffy Oreo cream filling, topped with crushed cookies for extra crunch. Perfect for birthdays, parties, or whenever you want dessert to feel like a celebration.
A Little History
The cake roll (or roulade) originated in Europe, with variations like the Swiss roll becoming popular in the 19th century. Red velvet cake, meanwhile, gained fame in the U.S. during the early 1900s—its signature hue coming from cocoa’s reaction with acidic ingredients. This recipe fuses them into a modern twist, adding Oreos for a 21st-century crunch explosion.
Ingredients
For the Red Velvet Cake
- ¾ cup (95g) cake flour (or all-purpose flour minus 1 Tbsp + 1 Tbsp cornstarch)
- 2 Tbsp unsweetened cocoa powder
- ½ tsp baking powder
- ¼ tsp baking soda
- ¼ tsp salt
- 4 large eggs, room temperature
- ¾ cup (150g) granulated sugar
- 2 Tbsp vegetable oil
- 1 tsp vanilla extract
- 1 tsp white vinegar
- 2 tsp red gel food coloring
- ¼ cup (60ml) buttermilk
For the Cookies-and-Cream Filling
- 1 cup (240ml) heavy whipping cream, chilled
- 8 oz (225g) cream cheese, softened
- ½ cup (60g) powdered sugar
- 1 tsp vanilla extract
- 10 Oreo cookies, crushed
For Topping
- ½ cup (120ml) heavy whipping cream, whipped with 1 Tbsp powdered sugar
- Extra Oreo crumbs
- Optional: chocolate drizzle
Instructions & Methods
Step 1 – Prep the Pan
- Preheat oven to 350°F (175°C).
- Line a 10×15-inch jelly roll pan with parchment paper, leaving overhang for easy lifting.
- Lightly grease the parchment with cooking spray.
Step 2 – Make the Red Velvet Sponge
- In a medium bowl, sift together flour, cocoa powder, baking powder, baking soda, and salt.
- In a large bowl, beat eggs with sugar for 3–4 minutes until pale and thick.
- Mix in oil, vanilla, vinegar, and red food coloring.
- Add dry ingredients in two additions, alternating with buttermilk, folding gently to avoid deflating the batter.
- Spread batter evenly into the prepared pan.
- Bake for 10–12 minutes, or until the cake springs back when lightly touched.
Step 3 – Roll the Cake
- While the cake is still hot, carefully invert it onto a clean kitchen towel dusted with powdered sugar.
- Peel off parchment paper.
- Starting from the short side, gently roll the cake up inside the towel.
- Let cool completely.
Step 4 – Prepare the Filling
- Beat heavy cream to stiff peaks; set aside.
- In another bowl, beat cream cheese, powdered sugar, and vanilla until smooth.
- Fold in whipped cream and crushed Oreos.
Step 5 – Assemble
- Unroll the cooled cake.
- Spread the filling evenly over the surface.
- Re-roll the cake (without the towel) and place seam-side down on a serving platter.
- Chill for at least 1 hour for cleaner slices.
Step 6 – Decorate & Serve
- Pipe or spread whipped cream on top.
- Sprinkle generously with Oreo crumbs.
- Add chocolate drizzle if desired.
- Slice and serve!
Formation (Texture & Flavor Profile)
- Texture: Soft, airy sponge balanced by creamy filling and crunchy Oreo bits.
- Flavor: Mild cocoa notes from the red velvet base, sweet tang from cream cheese, and the beloved chocolate-vanilla crunch of Oreos.
- Visual Appeal: Vivid red swirl contrasting with black-and-white Oreo cream.
Conclusion for Dessert Lovers
This Red Velvet Oreo Cake Roll Explosion is more than dessert—it’s a conversation piece. Every slice is a swirl of color, texture, and nostalgia. Whether you make it for Valentine’s Day, birthdays, or “just because,” one bite will make it an instant tradition.
If you want, I can also give you a pro bakery-style version with stabilized whipped cream and advanced rolling technique so it slices perfectly without cracking. That will make it truly Instagram-worthy.
