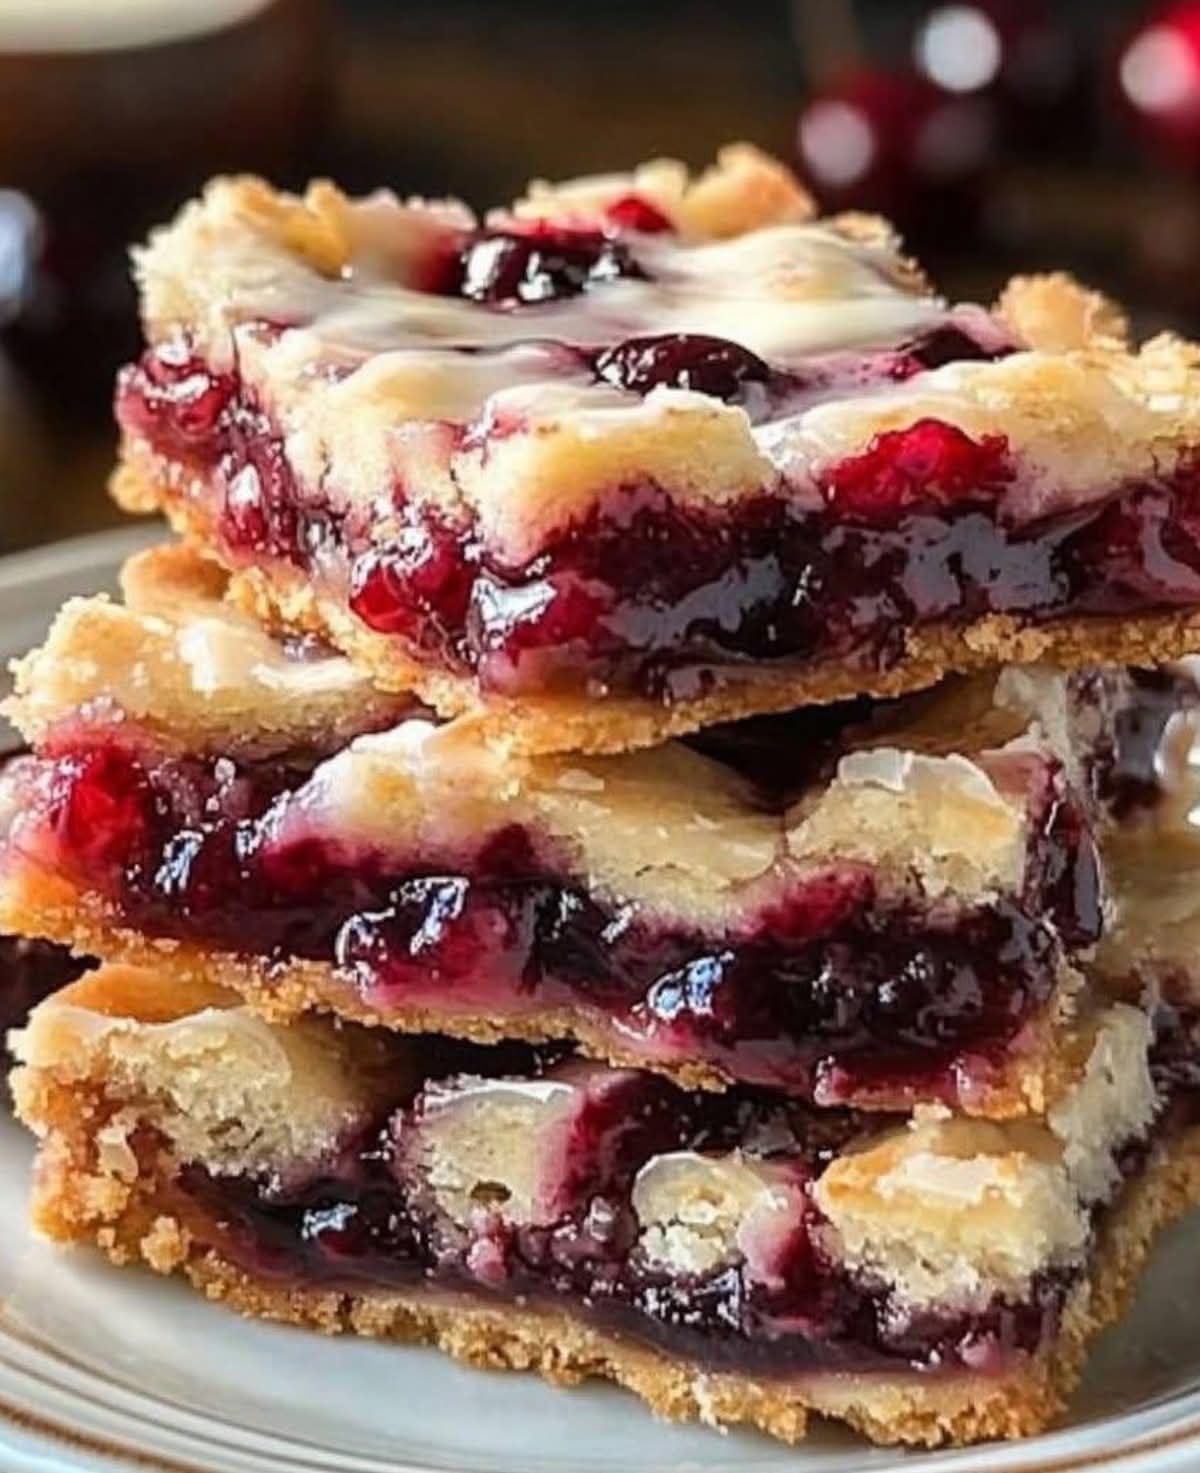
🍒 Old-Fashioned Cherry Pie Bars 🍒
Golden crust, juicy cherries, and a sweet vanilla glaze—these bars are pure nostalgia in every bite.
🥧 Introduction
Cherry Pie Bars are a delightful dessert that combines the flavors of classic cherry pie with the ease and portability of cookie bars. They’re buttery, fruity, and beautifully glazed—perfect for potlucks, family gatherings, holidays, or a simple treat after dinner. With layers of rich shortbread-like crust, luscious cherry filling, and a drizzle of vanilla icing, these bars are a harmony of textures and tastes.
🧺 History
Cherry pie dates back to the 16th century in Europe, with Queen Elizabeth I being one of the earliest known lovers of cherry pie. Over the centuries, Americans adopted and adapted this classic into many forms, including these bars. The portability and simplicity of pie bars became popular in the 20th century, especially in the Midwest and Southern U.S., as a more practical option for serving crowds at picnics and church potlucks.
🍒 Ingredients
For the Crust & Topping:
- 1 cup unsalted butter, softened
- 2 cups granulated sugar
- 1 tsp vanilla extract
- 1/2 tsp almond extract (optional, enhances cherry flavor)
- 4 large eggs
- 3 cups all-purpose flour
- 1/2 tsp salt
For the Filling:
- 1 can (21 oz) cherry pie filling (or 2 cups homemade cherry compote)
For the Glaze:
- 1 cup powdered sugar
- 2 tbsp milk (more as needed)
- 1/2 tsp vanilla extract
🧁 Instructions
🔧 Method
- Prepare the Oven & Pan
Preheat oven to 350°F (175°C). Grease and line a 9×13-inch baking dish with parchment paper. - Make the Batter
In a large bowl, cream together the butter and sugar until light and fluffy.
Beat in eggs, one at a time, followed by vanilla and almond extract. - Mix the Dry Ingredients
In a separate bowl, whisk together flour and salt.
Gradually add to the wet ingredients, mixing until combined. - Assemble the Bars
Spread about 2/3 of the batter into the bottom of the prepared pan.
Spoon cherry filling evenly over the batter.
Drop remaining batter by spoonfuls over the cherry filling. - Bake
Bake for 35–40 minutes or until the top is golden and a toothpick inserted comes out clean.
Let cool completely in the pan. - Make the Glaze
In a small bowl, whisk together powdered sugar, milk, and vanilla.
Drizzle over cooled bars. - Cut & Serve
Slice into squares or rectangles and serve chilled or at room temperature.
🧬 Formation & Science
- Butter & Sugar Creaming creates air pockets, leading to a soft crumb.
- Eggs bind and enrich the batter, giving structure.
- Cherry Filling offers natural pectin and acidity, balancing the sweetness.
- Glaze hardens slightly on top, adding a beautiful shine and sweetness.
🌿 Benefits
- Cherries are rich in antioxidants and vitamin C.
- Homemade means fewer preservatives and control over sugar levels.
- Portable and easy to serve.
- Great for batch baking and make-ahead events.
🧠 Nutrition (Approx. per bar, based on 20 bars)
| Nutrient | Amount |
|---|---|
| Calories | 280 |
| Total Fat | 12g |
| Saturated Fat | 7g |
| Carbohydrates | 39g |
| Sugars | 25g |
| Protein | 3g |
| Fiber | 1g |
| Sodium | 90mg |
❤️ Lovers of Cherry Pie Bars
This dessert is beloved by:
- Holiday bakers who want something easy but festive
- Kids and adults alike for its bright flavor and soft texture
- Picnic planners & potluck pros for its portability
- Cherry lovers who crave that sweet-tart burst in every bite
🧁 Conclusion
Cherry Pie Bars are more than just a sweet treat—they’re a nostalgic, mouthwatering tribute to classic desserts in a modern, accessible form. Whether you’re sharing them at a gathering or enjoying them with a cup of coffee, they’re bound to be a hit.
💌 Final Words for the Lovers
To all those who cherish the joy of home-baked sweets, these Cherry Pie Bars are a simple yet deeply satisfying dessert. Their ruby-red filling and buttery layers make them unforgettable. Bake them once, and they’ll become a lifelong favorite.
Would you like a homemade cherry filling recipe too? 🍒