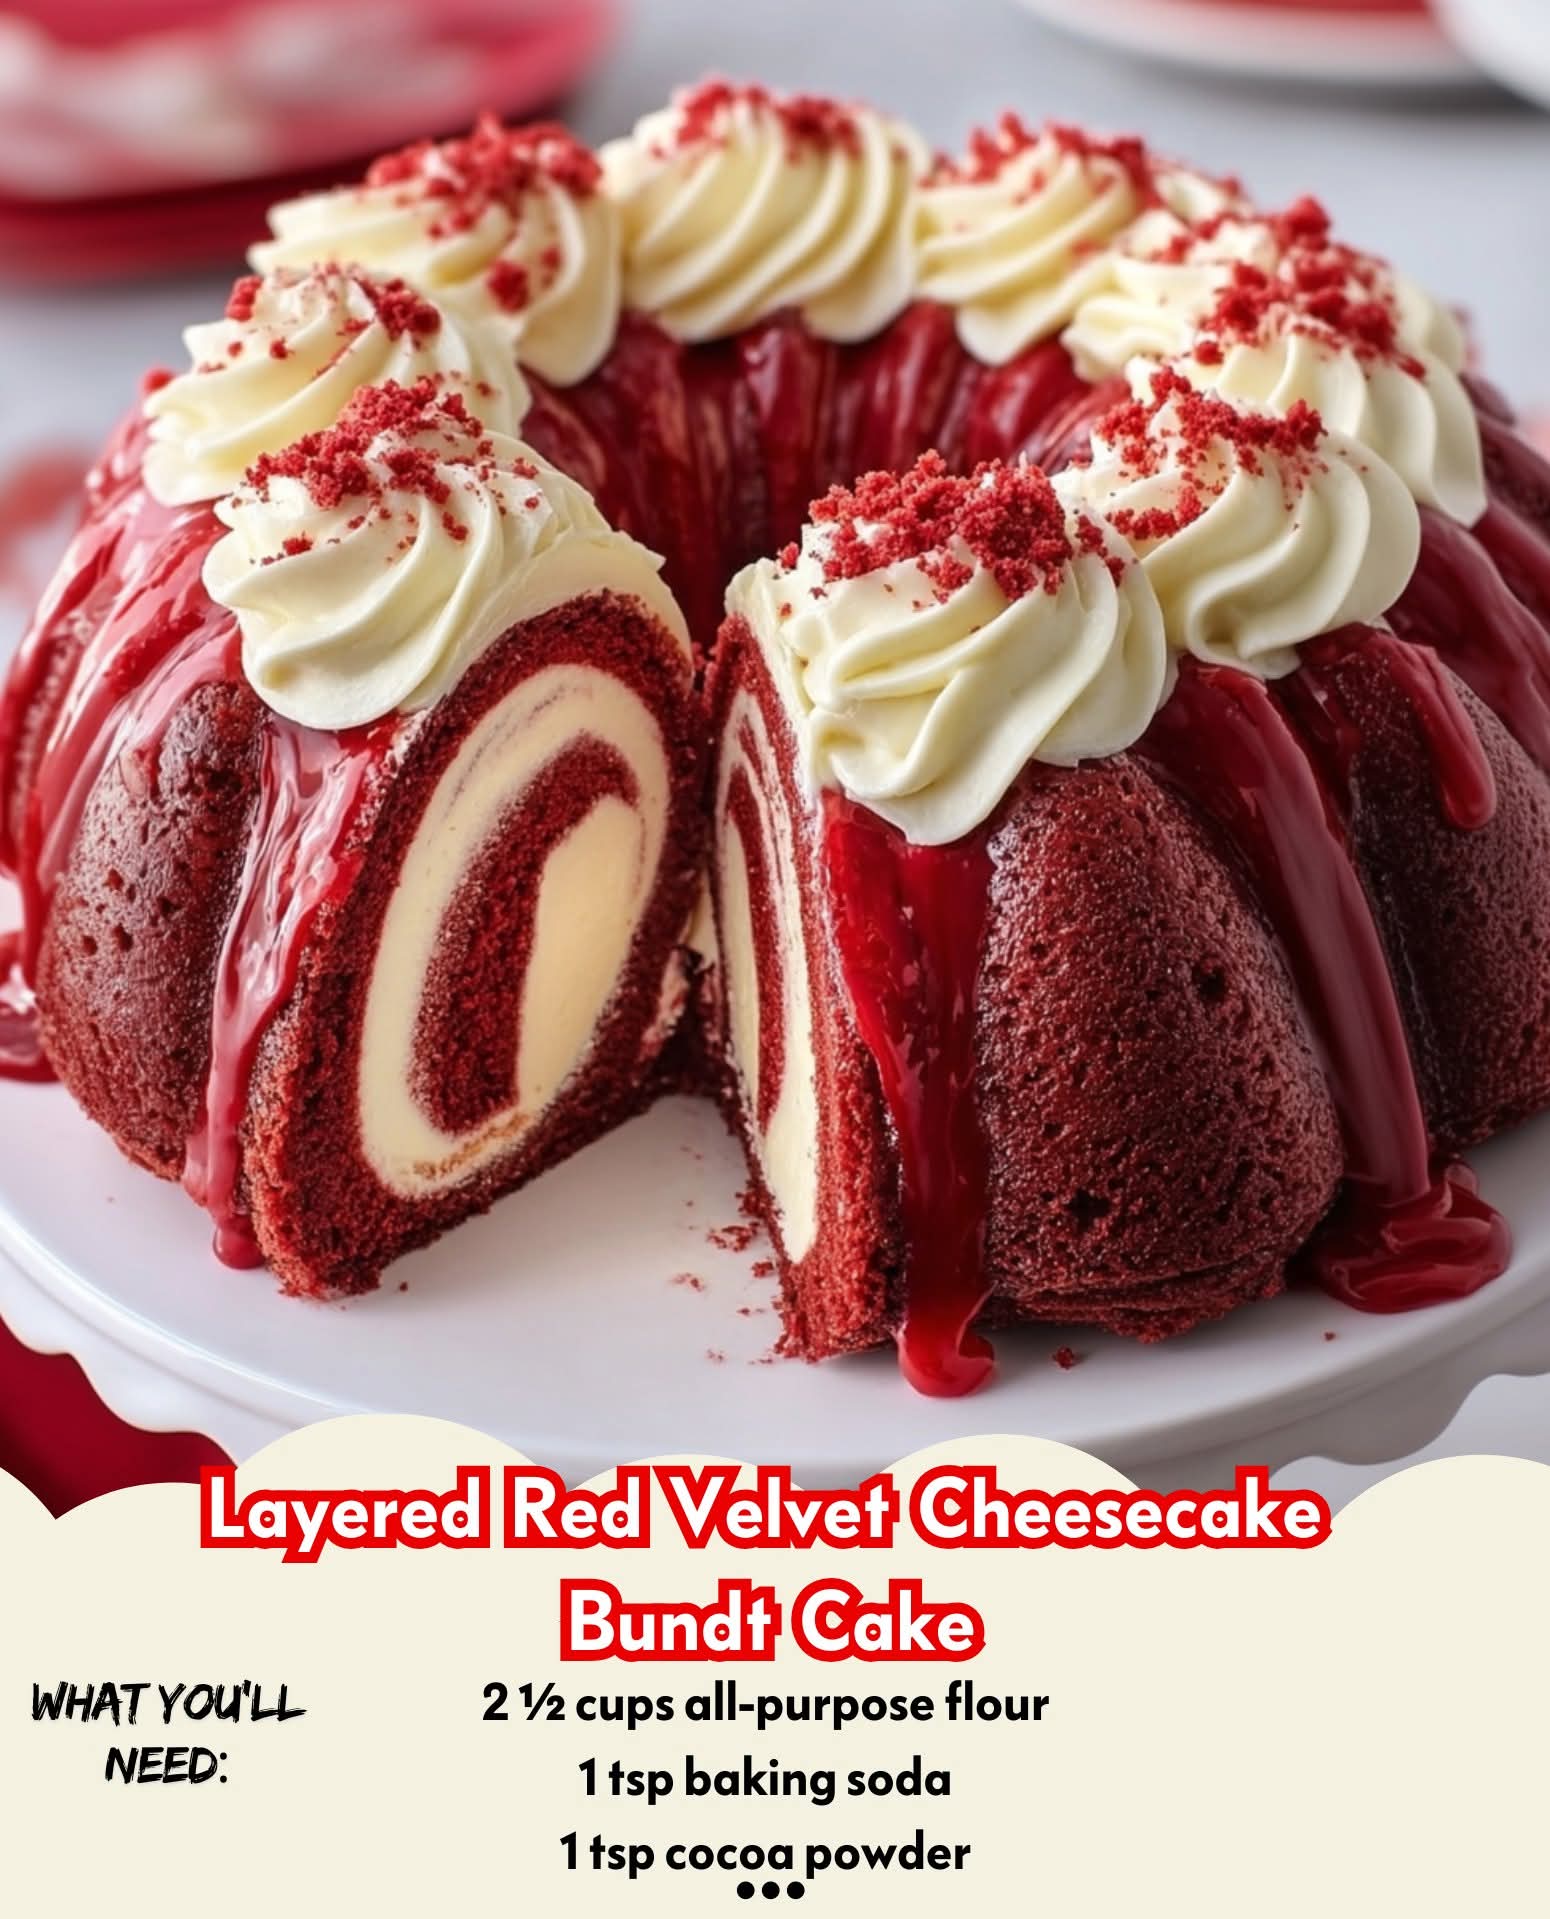
❤️ Layered Red Velvet Cheesecake Bundt Cake ❤️
A show-stopping dessert that combines the rich decadence of red velvet cake with the creamy indulgence of cheesecake—all baked together in a beautiful bundt shape. This cake is perfect for holidays, Valentine’s Day, birthdays, or any celebration where love (and dessert!) is in the air. Its dramatic red color, creamy cheesecake ribbon, and moist texture make it a favorite among dessert lovers.
📜 A Sweet Slice of History
Red velvet cake originated in the early 20th century, gaining fame in the Southern United States. Its unique crimson color was once due to natural cocoa reacting with acidic ingredients, but modern recipes enhance the hue with food coloring. Cheesecake, on the other hand, dates back to ancient Greece. Fusing the two into one bundt cake creates a sensational fusion of classic and modern, rich and tangy, dense and fluffy.
🍰 Ingredients
For the Red Velvet Cake (Scratch Version):
- 2 ½ cups all-purpose flour
- 1 ½ cups granulated sugar
- 1 tsp baking soda
- 1 tsp salt
- 1 tsp cocoa powder
- 1 ½ cups vegetable oil
- 1 cup buttermilk, room temperature
- 2 large eggs
- 2 tbsp (1 oz) red food coloring
- 1 tsp white vinegar
- 1 tsp vanilla extract
OR use 1 box of red velvet cake mix + ingredients called for on box (usually eggs, oil, water).
For the Cheesecake Filling:
- 8 oz (1 block) cream cheese, softened
- ¼ cup granulated sugar
- 1 large egg
- ½ tsp vanilla extract
For the Cream Cheese Glaze (Optional but heavenly):
- 4 oz cream cheese, softened
- 1 cup powdered sugar
- 2–3 tbsp milk
- ½ tsp vanilla extract
🧁 Instructions
1. Prepare the Bundt Pan
Grease a 10-12 cup bundt pan very well with butter and dust lightly with flour or use baking spray with flour. Set aside.
2. Make the Cheesecake Filling
In a medium bowl, beat cream cheese and sugar until smooth. Add egg and vanilla, mixing until creamy and lump-free. Set aside.
3. Mix the Red Velvet Batter (if from scratch)
In a large bowl, sift together flour, sugar, baking soda, salt, and cocoa.
In another bowl, whisk oil, buttermilk, eggs, food coloring, vinegar, and vanilla.
Gradually mix wet ingredients into dry until just combined—don’t overmix.
4. Assemble the Cake
- Pour about 2/3 of the red velvet batter into the bundt pan.
- Spoon the cheesecake mixture evenly in a ring, staying centered and not touching the sides.
- Pour the remaining red velvet batter on top, smoothing the surface.
5. Bake
Preheat oven to 325°F (160°C).
Bake for 55–65 minutes, or until a toothpick inserted into the cake (not cheesecake layer) comes out clean.
Let cool 15–20 minutes in the pan, then carefully invert onto a wire rack to cool completely.
6. Glaze It (Optional but divine)
Whisk all glaze ingredients until smooth and pourable.
Once the cake is cool, drizzle over the top generously.
🏗️ Formation
The layering happens in the bundt pan—first red velvet, then cheesecake, then more red velvet. As it bakes, the cheesecake sets into a ribbon of creamy perfection right in the middle, hidden until you slice into it. The bundt shape makes the dessert both elegant and easy to serve.
💕 Conclusion
This Layered Red Velvet Cheesecake Bundt Cake is a rich, beautiful dessert that captures attention and hearts alike. Each slice offers a surprise swirl of cheesecake nestled inside moist, cocoa-kissed red velvet. Ideal for romantic dinners, festive celebrations, or impressing guests, it’s love baked into every bite.
💘 For the Lovers of Cake and Cream
This is for the:
- Red velvet purists looking for a twist.
- Cheesecake fans needing a new fix.
- Home bakers wanting a wow-worthy centerpiece.
- Lovers baking for lovers (or for themselves—treat yourself!).
🔄 Methods in Love & Baking
- Patience: Let the cake cool fully before slicing for clean layers.
- Precision: Layer batter and filling carefully to keep cheesecake centered.
- Passion: Drizzle that glaze with flair—this is a cake that deserves to shine!
Let me know if you’d like a printable version or a version with substitutions (like gluten-free or without food coloring)! ❤️