Sure! Here’s a big, detailed recipe for Homemade Chocolate-Covered Ice Cream Bars, including the introduction, ingredients, instructions, methods, a touch of history, fun facts, and even something for the ice cream lovers out there. 🍦🍫
Homemade Chocolate-Covered Ice Cream Bars 🍦🍫
Introduction
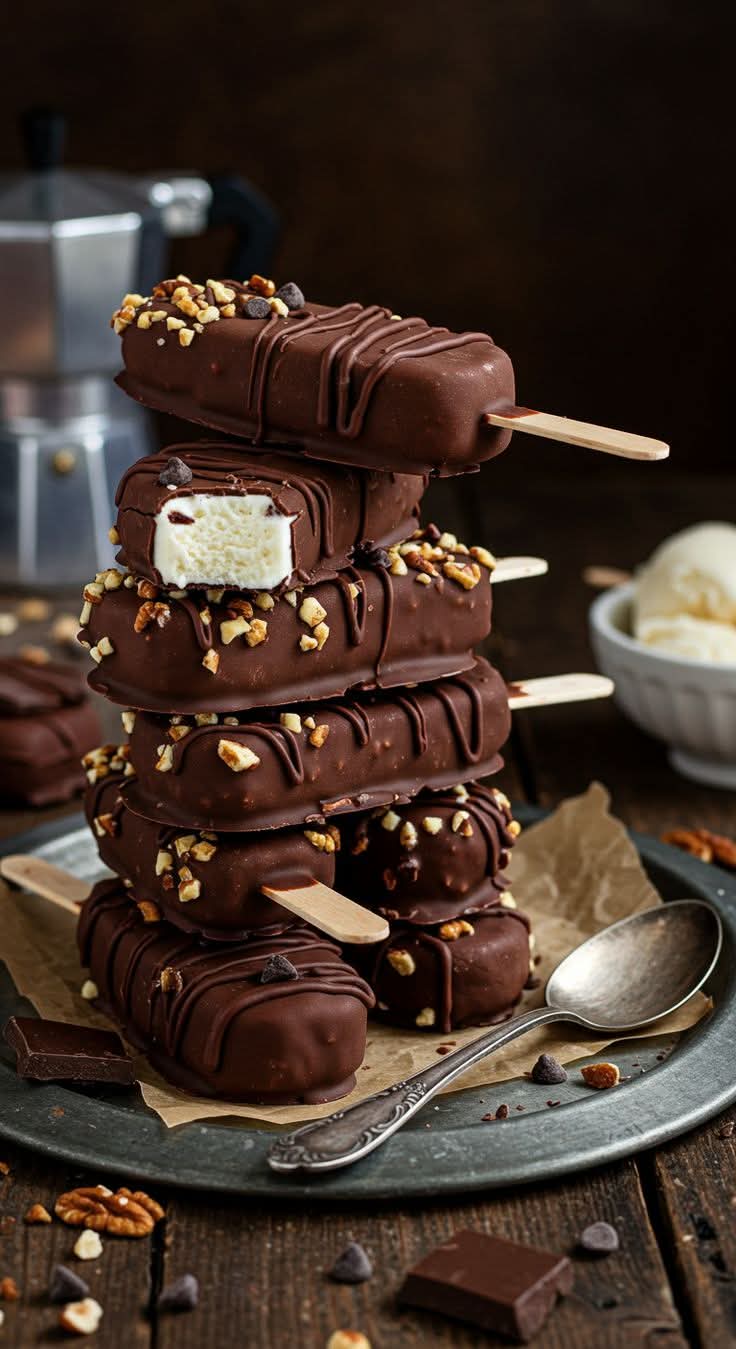
Few desserts spark childhood memories and pure joy like the humble chocolate-covered ice cream bar. Whether enjoyed on a hot summer day or as a sweet treat after dinner, these frozen delights are the perfect marriage of creamy, cold ice cream and rich, crackling chocolate. Homemade versions are not only fun to make but also incredibly customizable — add nuts, crushed cookies, sprinkles, or even a swirl of caramel for your own dreamy creation.
This recipe guides you through crafting these nostalgic treats from scratch — no preservatives, just pure love and deliciousness. Whether you’re an ice cream connoisseur or a casual dessert lover, this is your chance to bring a bit of frozen magic to life in your kitchen.
Ingredients
Base Ingredients:
- 1 pint (or more) of vanilla ice cream (or your favorite flavor)
- 2 cups of melting chocolate (milk, dark, or white)
- 1 tablespoon coconut oil (for a smooth, glossy chocolate shell)
Toppings (Choose your faves!):
- ½ cup crushed nuts (peanuts, almonds, pistachios)
- ½ cup crushed cookies (Oreos, graham crackers, Biscoff)
- ½ cup colorful sprinkles
- ½ cup toasted coconut flakes
- Optional: caramel or peanut butter swirl inside the ice cream bar
Equipment:
- Popsicle sticks
- Ice cream molds (or use a loaf pan and cut into bars)
- Baking sheet lined with parchment paper
- Freezer space
Method & Instructions
Step 1: Form the Ice Cream Bars
- Slightly soften the ice cream by letting it sit at room temperature for 5–10 minutes.
- Scoop the ice cream into popsicle molds or press it into a loaf pan lined with parchment paper.
- Insert popsicle sticks into each mold or bar.
- Freeze for at least 4–6 hours (or until firm). Overnight is best.
Step 2: Prepare the Chocolate Coating
- Melt chocolate in a double boiler or microwave (30-second bursts, stirring in between).
- Stir in the coconut oil to help thin the chocolate and create that perfect snapping shell.
- Pour the melted chocolate into a tall glass or deep container for easy dipping.
Step 3: Decorate and Dip
- Remove ice cream bars from the molds (dip briefly in warm water to loosen).
- Quickly dip each bar into the melted chocolate — the coating will harden instantly!
- Immediately sprinkle with your toppings: nuts, sprinkles, cookies, coconut, or a mix of all!
- Place the finished bars on a parchment-lined tray and return to the freezer to set for 10–15 minutes.
The History Behind the Treat
The ice cream bar dates back to the early 1920s. A Minnesota confectioner named Christian Kent Nelson invented the first chocolate-covered ice cream treat, originally called the “I-Scream Bar” — later rebranded as the iconic Eskimo Pie. His idea came from a child’s dilemma: he couldn’t choose between candy and ice cream — so why not both?
Today, countless brands offer variations, but homemade bars give you creative freedom, better quality, and all the nostalgic fun — minus the artificial stuff.
Formation (Assembly Tips)
- Use silicone molds for easy release.
- If using a loaf pan: once frozen, cut into rectangles and insert popsicle sticks before dipping.
- Keep bars frozen on a tray and transfer them to a zip-top bag once fully set.
Ice Cream Lovers’ Tips ❤️
- Try flavor combos like strawberry ice cream + white chocolate + crushed freeze-dried strawberries.
- Use mint ice cream + dark chocolate + crushed Oreos for a mint-chocolate twist.
- Swirl caramel or fudge into the ice cream before freezing for layered texture.
- For dairy-free lovers: use coconut or oat milk ice cream and vegan chocolate.
Conclusion
Making homemade chocolate-covered ice cream bars is more than just a recipe — it’s an experience. It brings back memories, stirs creativity, and adds a personal touch to every bite. You’ll love how customizable, beautiful, and utterly delicious these treats are.
Whether you’re a die-hard chocolate lover, a sprinkles fanatic, or someone who just wants to impress friends with a dreamy frozen dessert — this one’s for you.
So grab those sticks, melt that chocolate, and let the love (and sprinkles) fly. 💕
Would you like a printable version or a kid-friendly version too?