Absolutely! Here’s a complete, indulgent, and detailed recipe for making Muffin Pan Brownie Cups — packed with rich history, thoughtful methods, baking chemistry, and a little sweet love.
🍫 Muffin Pan Brownie Cups
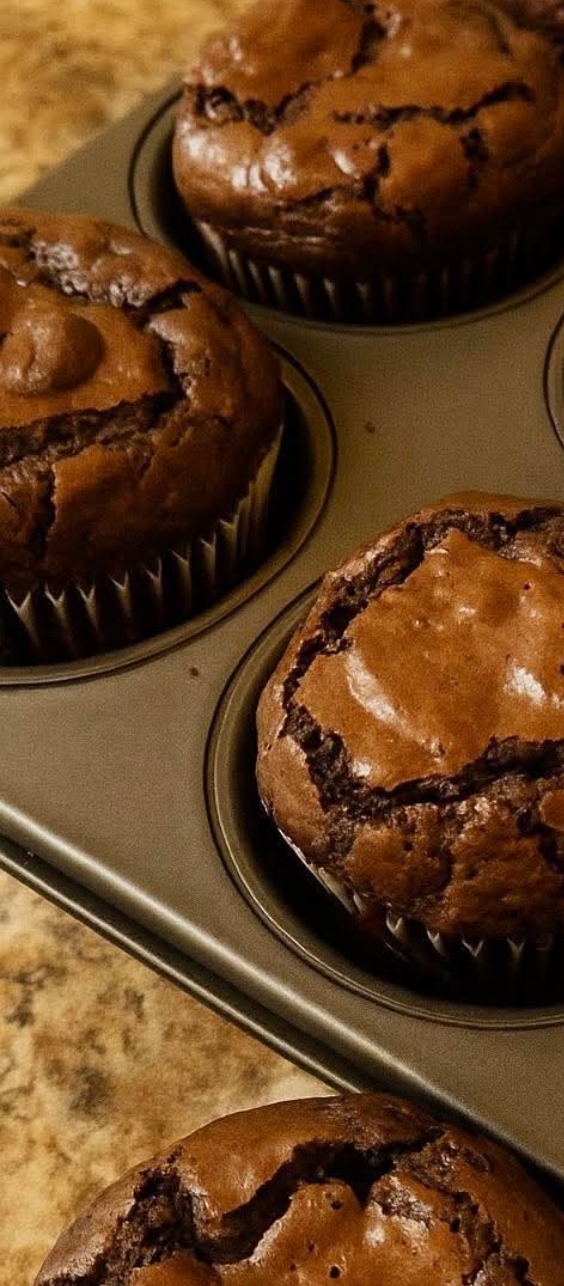
Soft, chewy, fudgy centers with crisp edges — perfectly portioned bites of chocolate heaven.
🧁 Introduction
Brownies have been beloved in American kitchens since the early 20th century, but Muffin Pan Brownie Cups take this classic treat to a whole new level. These rich, chocolatey bites combine the gooey center of a traditional brownie with the chewy edge-lover’s dream — thanks to the magic of the muffin tin. They’re portable, portion-controlled (well, kind of), and perfect for parties, lunchboxes, or cozy nights in.
Whether you’re baking for someone special or indulging solo, these brownie cups bring comfort and joy in every bite.
🍫 Ingredients (Makes about 12 brownie cups)
For the Brownie Batter:
- 1 cup (2 sticks) unsalted butter
- 1 ½ cups granulated sugar
- 1 cup packed light brown sugar
- 1 cup unsweetened cocoa powder
- 1 tsp vanilla extract
- 4 large eggs
- 1 cup all-purpose flour
- ½ tsp salt
- 1 cup semi-sweet chocolate chips or chunks
- Optional: ½ cup chopped walnuts or pecans
For the Pan:
- Non-stick cooking spray or melted butter
🧑🍳 Instructions
Step 1: Preheat & Prepare
Preheat your oven to 350°F (175°C). Spray a standard 12-cup muffin tin generously with non-stick spray or grease with butter.
Step 2: Melt & Mix
In a saucepan over medium heat, melt the butter. Remove from heat and whisk in the granulated and brown sugar, followed by the cocoa powder and vanilla. Let cool slightly.
Step 3: Add Eggs
Whisk in the eggs one at a time, beating well after each addition until glossy and smooth.
Step 4: Dry Ingredients
In a separate bowl, mix the flour and salt, then gradually stir into the wet mixture. Fold in chocolate chips and nuts if using.
Step 5: Fill the Cups
Spoon the batter into the prepared muffin tin, filling each cup about 2/3 full.
Step 6: Bake
Bake for 18–22 minutes, or until the tops are crackled and a toothpick comes out with moist crumbs (not wet batter!).
Step 7: Cool & Release
Let brownie cups cool in the tin for 10–15 minutes. Run a butter knife around the edges and gently pop them out. Cool completely on a wire rack or serve warm.
🧪 Baking Science & Method
The muffin tin creates more surface area, giving each brownie cup those chewy “edge” pieces lovers crave. The high fat content (butter + chocolate) keeps the center tender, while the eggs give structure and richness. Using both brown and white sugars gives a deeper flavor and slight chew.
💘 Lovers of Brownie Cups Say…
- “Perfect for lunchboxes and midnight cravings alike.”
- “My partner fights me for the corner pieces — now we both get our chewy fix!”
- “These are my go-to for bake sales and birthdays. Always a hit.”
🏛️ A Brief History of the Brownie
The brownie likely originated in the U.S. in the early 1900s. The earliest recipes appeared in community cookbooks, often described as “chocolate cookies baked in pans.” Over the years, brownie variations have emerged — cakey, fudgy, frosted, swirled — but the heart of the brownie remains: chocolate, love, and a simple pleasure.
🍽️ Serving Suggestions
- Dust with powdered sugar
- Top with a scoop of vanilla ice cream
- Drizzle with caramel or hot fudge
- Add a dollop of whipped cream and berries
- Stack them up for a rustic dessert tower at parties
📝 Formation & Customization
Want to get creative? Try these mix-in ideas:
- Peanut butter swirl
- Espresso powder for a mocha kick
- Mini marshmallows for s’mores-style brownie cups
- Crushed Oreos or pretzels for a salty crunch
🎉 Conclusion
Muffin Pan Brownie Cups are a sweet twist on a timeless dessert — easy to make, fun to eat, and endlessly customizable. Whether you’re baking for a celebration, a loved one, or just yourself, these rich little cups bring people together.
Remember: every brownie cup is a love letter in chocolate.
Would you like a printable version or a visual step-by-step guide next?