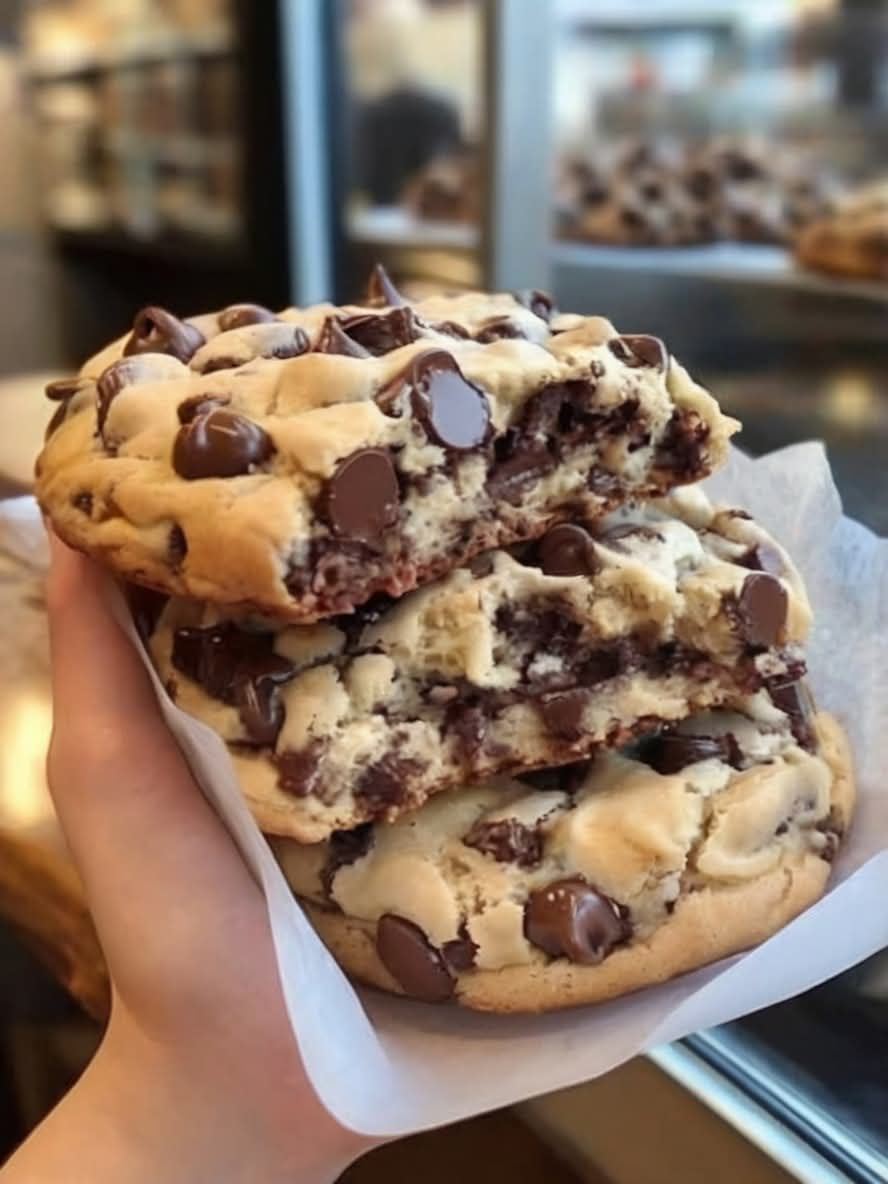
Absolutely! Here’s a full, rich recipe styled the way you requested — with history, background, formation, ingredients, methods, instructions, a conclusion, and even a nod to the lovers of this dessert. Let’s make something unforgettable — Peanut Butter Chocolate No-Bake Bars — a beloved, easy, and decadent dessert that never fails to impress.
🍫 Legendary No-Bake Peanut Butter Chocolate Bars
🧁 Introduction
For decades, the pairing of peanut butter and chocolate has brought comfort and joy to dessert lovers around the world. This no-bake bar recipe captures that perfect combination with minimal effort and maximum payoff. Whether you’re baking with your kids, prepping a treat for a gathering, or simply satisfying a sweet tooth — this treat is a timeless winner. These bars are thick, rich, and dangerously addictive. Best of all? They’re no-bake, foolproof, and take just 10 minutes to prepare.
📜 A Bit of History
The origin of no-bake desserts dates back to the early 1900s when home cooks needed clever ways to craft treats without access to full ovens — especially during warm months. Combining pantry staples like crushed graham crackers, butter, and sugar, they created bars that were both simple and indulgent. Over time, peanut butter and chocolate joined the scene, becoming a beloved duo in countless recipes, including this one.
❤️ Who Loves It?
Kids adore them. Adults sneak extra pieces. Grandparents ask for the recipe. They’re beloved at bake sales, holiday gatherings, birthday parties, and even as late-night fridge snacks. There’s a reason this treat has earned cult status.
🍽️ Ingredients
For the Base Layer:
- 1 cup unsalted butter, melted
- 2 cups graham cracker crumbs (about 14 full crackers, crushed)
- 2 cups powdered sugar
- 1 ½ cups creamy peanut butter
For the Chocolate Topping:
- 1 ½ cups semi-sweet chocolate chips
- ½ cup creamy peanut butter
🥄 Instructions
Step 1: Prepare the Pan
Line a 9×13 inch pan with parchment paper or lightly grease it with non-stick spray.
Step 2: Make the Peanut Butter Base
In a large bowl, mix together the melted butter, graham cracker crumbs, powdered sugar, and peanut butter until smooth and well combined. Press the mixture firmly into the prepared pan, smoothing out the top with a spatula.
Step 3: Prepare the Chocolate Layer
In a microwave-safe bowl, melt the chocolate chips and peanut butter together in 30-second increments, stirring after each until completely smooth (usually 1-2 minutes total). Pour the chocolate mixture over the base layer and spread evenly.
Step 4: Chill
Refrigerate for at least 2 hours (or freeze for 45 minutes if you’re in a rush) until fully set.
Step 5: Slice and Serve
Use a warm knife to slice into squares or bars. Wipe the knife between cuts for clean edges.
🔬 Method Formation
This dessert relies on two main binding agents: melted butter and peanut butter. The graham cracker crumbs absorb the fat and sweetener, creating a firm yet tender base that solidifies beautifully in the fridge. The top layer acts as a rich ganache, soft at room temp but firm and glossy when cold. Each bite provides a textural contrast — smooth, sweet, crunchy, creamy, and rich.
💡 Tips & Variations
- Add a pinch of sea salt on top for contrast.
- Try using crunchy peanut butter for added texture.
- Use dark chocolate for a more intense flavor.
- Swap graham crackers for crushed pretzels or Oreos for a fun twist.
🧠 Conclusion
This is not just a dessert — it’s a moment. A memory. A classic. It’s something your 10-year-old can master and your dinner guests will rave about. It’s a beloved family treat disguised as a gourmet indulgence. Simple enough to whip up any day of the week. Special enough to serve at any occasion.
💕 Final Word from the Lovers of This Recipe
“I’ve made this at least 30 times and I’m still not tired of it.”
“My kids call it ‘magic bars’. There’s never leftovers.”
“I served this at a bridal shower, and people thought it was catered!”
If you’ve never had these before, they are a MUST MAKE.
Let this recipe become a new classic in your home too.
Want more recipes like this? Type “YES” below! 🍪
