Retro Decorated Cake Recipe
Introduction
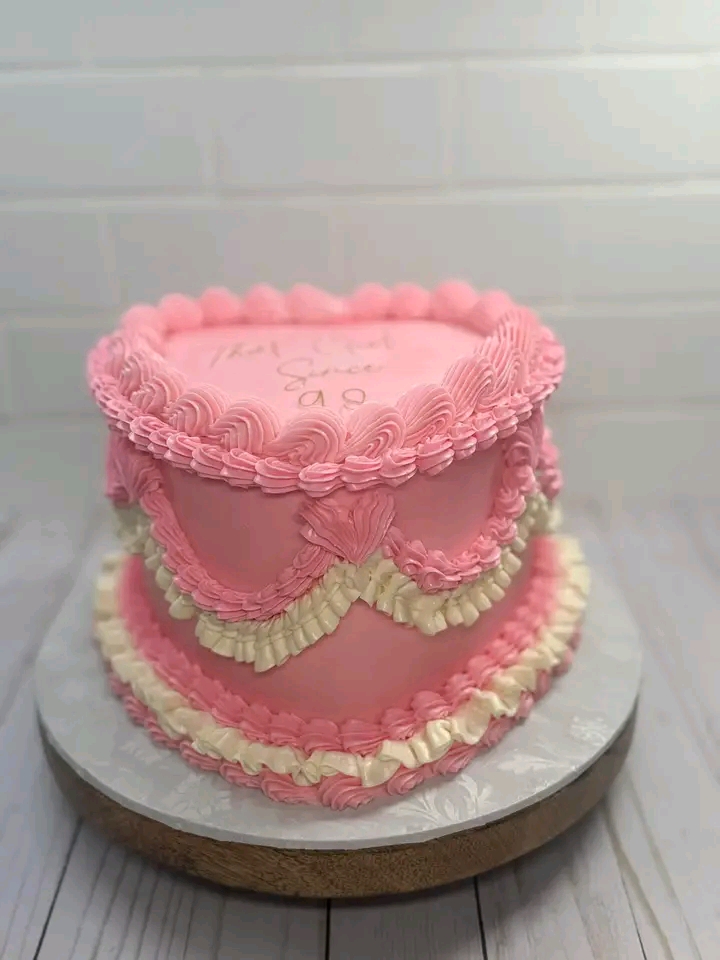
The Retro Decorated Cake brings nostalgia to your table with its classic design, timeless charm, and delicious layers. Popularized in the mid-20th century, this cake celebrates the art of intricate piping and pastel hues. Perfect for celebrations or just indulging in a slice of the past, the Retro Decorated Cake is both a feast for the eyes and the taste buds.
Ingredients
For the Cake:
3 cups all-purpose flour
2 ½ tsp baking powder
½ tsp baking soda
1 tsp salt
1 cup unsalted butter, softened
2 cups granulated sugar
4 large eggs
1 tbsp vanilla extract
1 ½ cups buttermilk
For the Buttercream Frosting:
1 ½ cups unsalted butter, softened
6 cups powdered sugar, sifted
2 tsp vanilla extract
¼ cup heavy cream
Gel food coloring (pink and white or any pastel colors)
For Decoration:
Piping bags and decorative tips (round, star, and ruffle tips)
Fondant decorations (optional)
Instructions
- Prepare the Cake Layers:
Preheat your oven to 350°F (175°C). Grease and flour two 8-inch round cake pans.
In a bowl, whisk together flour, baking powder, baking soda, and salt.
In a separate large bowl, beat butter and sugar until light and fluffy. Add eggs one at a time, mixing well after each addition. Stir in vanilla extract.
Gradually add the dry ingredients to the wet mixture, alternating with buttermilk, starting and ending with the dry ingredients. Mix until just combined.
Divide the batter evenly between the prepared pans and bake for 25-30 minutes or until a toothpick inserted into the center comes out clean.
Let the cakes cool in the pans for 10 minutes before transferring them to a wire rack to cool completely.
- Prepare the Buttercream Frosting:
In a large bowl, beat butter until creamy. Gradually add powdered sugar, one cup at a time, mixing on low speed.
Add vanilla extract and heavy cream. Beat on high speed until the frosting is light and fluffy.
Divide the frosting into separate bowls and tint with gel food coloring as desired.
- Assemble and Decorate:
Place one cake layer on a serving plate. Spread a layer of frosting evenly over the top. Place the second cake layer on top and apply a thin crumb coat of frosting. Chill for 20 minutes.
Use the piping bags with different tips to create intricate patterns, such as ruffles, swirls, and scallops, on the cake. Alternate colors for a vibrant retro look.
Methods
Ruffle Technique: Use a petal tip and pipe back-and-forth motions for delicate ruffles.
Scalloped Design: Pipe semi-circles along the sides of the cake using a star tip.
Layered Colors: Apply different shades of frosting to create depth and dimension in the design.
History
The Retro Decorated Cake became a household favorite during the 1950s and 60s, an era defined by bold creativity in baking. It marked a shift towards home bakers embracing piping techniques inspired by professional bakers. These cakes often featured pastel colors, ornate patterns, and layers of rich buttercream, embodying the elegance of the time.
Lovers of Retro Decorated Cake
This cake is cherished by vintage enthusiasts, baking hobbyists, and anyone with a love for the aesthetics of a bygone era. It’s particularly adored by those who appreciate the artistry of hand-piped decorations and the satisfaction of creating something visually stunning.
Conclusion
The Retro Decorated Cake is more than a dessert—it’s a piece of history brought to life through flavor and artistry. Whether enjoyed at a birthday, anniversary, or afternoon tea, this cake offers a delightful trip down memory lane. Its timeless appeal and customizable design ensure it will remain a beloved centerpiece for years to come.
Enjoy baking this masterpiece, and savor every nostalgic bite!