Absolutely! Here’s a full, heartfelt and nostalgic take on Peanut Butter Lunch Lady Cookie Bars—the kind of recipe that ties generations together with gooey bites of peanut-buttery comfort.
Peanut Butter Lunch Lady Cookie Bars
Don’t Lose This Recipe—It’s a Keeper!
Introduction:
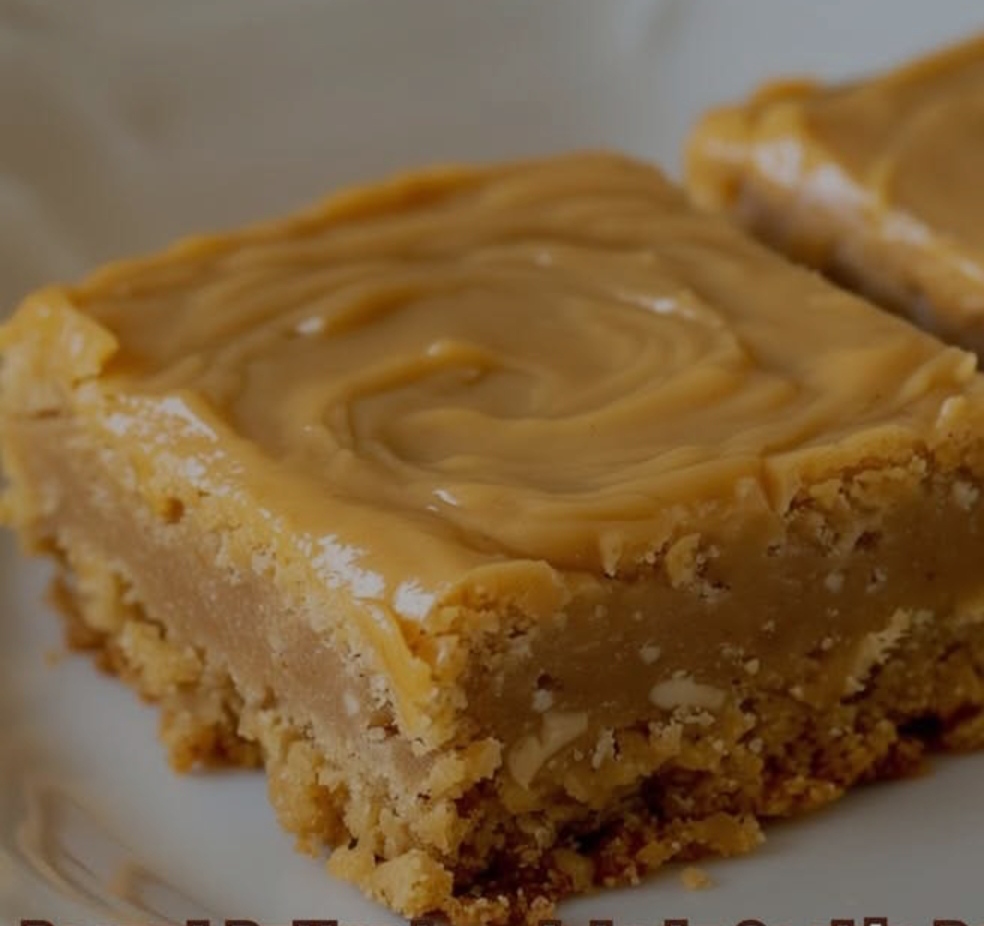
Remember the days of lunch trays and smiling cafeteria ladies who knew how to make magic with a mixing bowl and a big baking sheet? This recipe is a tribute to those beloved school treats—thick, chewy, peanut butter bars slathered in warm, fudgy frosting. The Lunch Lady Peanut Butter Cookie Bar isn’t just dessert. It’s memory. It’s community. It’s love served up on a napkin at room temperature—and it’s perfect.
This version is big—perfect for potlucks, family reunions, bake sales, or just because you want a week of delicious bites stashed away. This is how school-day cravings become grown-up joy.
Ingredients:
For the Cookie Bars:
- 2 cups all-purpose flour
- 2 cups granulated sugar
- 1 tsp baking soda
- ½ tsp salt
- 1 cup (2 sticks) unsalted butter, melted
- 1½ cups creamy peanut butter (divided: 1 cup in batter, ½ cup reserved for swirl or frosting)
- 2 large eggs
- 1 tsp pure vanilla extract
- ½ cup whole milk or buttermilk
For the Fudge Frosting:
- ½ cup (1 stick) butter
- ¼ cup milk
- ¼ cup unsweetened cocoa powder
- 3 cups powdered sugar
- 1 tsp vanilla extract
- ½ cup peanut butter (optional: added for extra creaminess and peanut punch)
Instructions & Method:
Step 1: Preheat & Prep
Preheat your oven to 350°F (175°C). Grease and line a 9×13-inch baking pan (or a half-sheet pan if you want thinner bars) with parchment paper.
Step 2: Make the Batter
In a large mixing bowl, combine the flour, sugar, baking soda, and salt. Whisk together.
In a separate bowl, whisk the melted butter with 1 cup of peanut butter until smooth. Add the eggs, vanilla, and milk. Stir until combined.
Add the wet ingredients to the dry and mix until smooth. Pour into your prepared pan and spread evenly.
Step 3: Bake
Bake for 22–28 minutes, or until the center is set and edges are golden. Don’t overbake—these bars should stay moist and tender!
Step 4: Prepare the Fudge Frosting
In a medium saucepan, melt the butter over medium heat. Stir in the milk and cocoa powder, whisking until smooth. Remove from heat and add powdered sugar, vanilla, and the optional ½ cup peanut butter. Beat until glossy.
Step 5: Frost While Warm
Pour the warm frosting over the warm cookie bars. Use an offset spatula to spread it evenly. Let cool for 1 hour at room temperature—or dive in with a spoon while it’s still gooey (no judgment).
History & Formation:
These bars harken back to the 1970s–90s school cafeteria era, when real lunch ladies made baked goods from scratch and kids could smell peanut butter and chocolate wafting down the hall. This specific formation of bar—moist, dense, fudgy on top—was an economical way to serve something indulgent and comforting.
Recipes were passed down between staff and across school districts. What began as a large-scale recipe was soon scaled down by home bakers who had to recreate that joy in their own kitchens.
Lovers of This Recipe:
- Bakers who believe in nostalgic desserts.
- Families looking for after-school snacks that never fail.
- Peanut butter lovers who want more than just a cookie.
- Anyone who ever stood in line with a tray and a sweet tooth.
Serve these with a tall glass of milk, or sneak one with your morning coffee. They’re magic in every square.
Conclusion:
This isn’t just a cookie bar. It’s a memory, wrapped in warm frosting and love.
Bake it. Share it. Guard the recipe with your life.
But above all—don’t lose this recipe.
It’s got lovers.