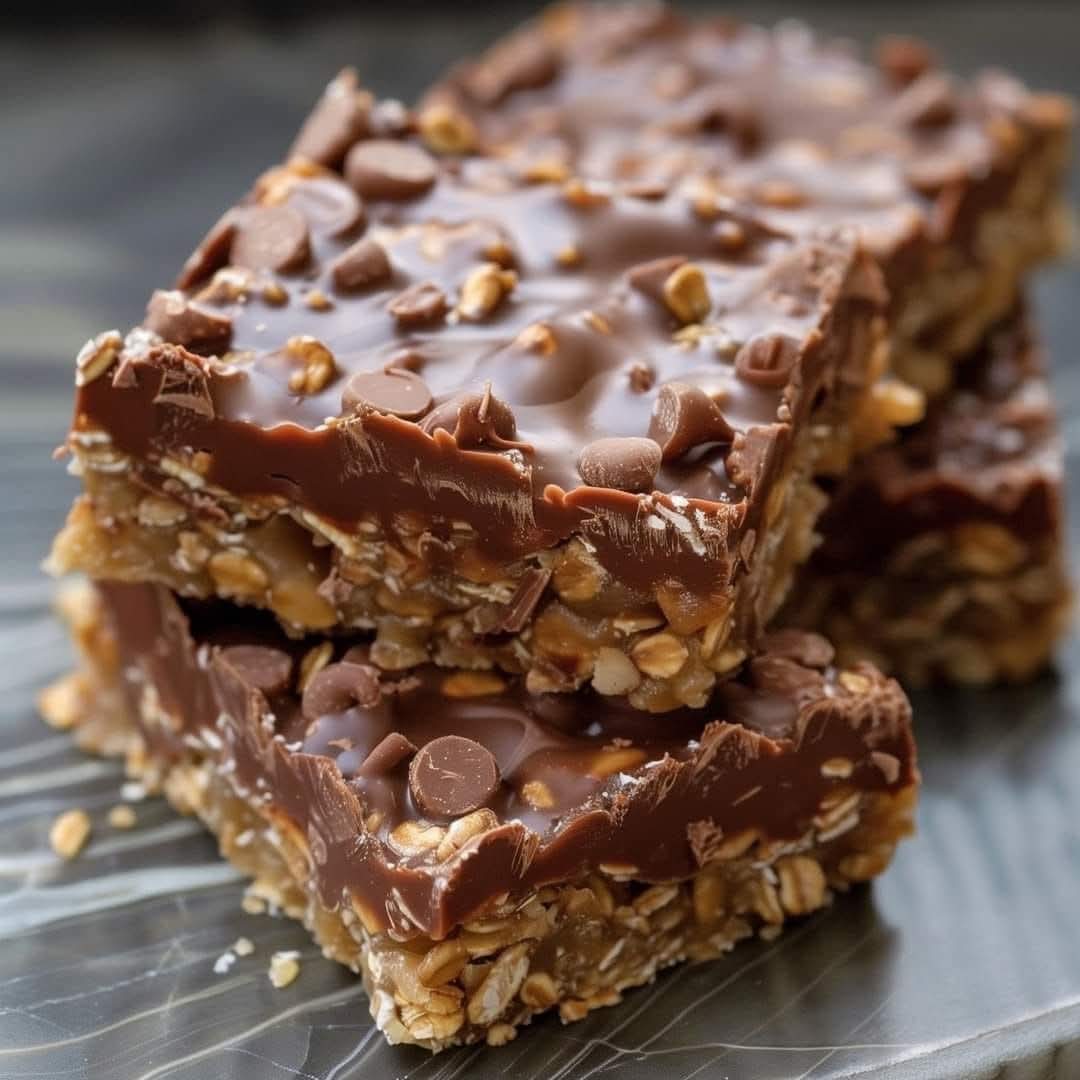
Thank you for sharing the image! Based on it, you’re interested in a rich, chewy, no-bake chocolate oat bar recipe. These bars look like a classic indulgent treat with a hearty oat and nut base, layered with melted chocolate and a sprinkle of chips. Let’s explore everything from history to benefits to a detailed recipe!
No-Bake Chocolate Oat Bars: A Complete Guide
Introduction
No-bake chocolate oat bars are a beloved treat across generations. They’re easy to make, require no oven time, and combine wholesome oats with the indulgent sweetness of chocolate. Often considered a pantry-friendly dessert, they became especially popular in the 1960s and ’70s as part of the growing movement toward quick and easy homemade snacks.
Ingredients (Yields about 16 bars)
Base Layer:
- 3 cups rolled oats
- 1 cup peanut butter (or almond butter)
- 1/2 cup honey or maple syrup
- 1/2 cup chopped walnuts or almonds (optional)
- 1/4 tsp salt
- 1 tsp vanilla extract
Chocolate Layer:
- 1 1/2 cups semi-sweet chocolate chips
- 2 tbsp coconut oil or butter
Topping:
- 1/4 cup chocolate chips (for sprinkling)
- Optional: sea salt flakes, chopped nuts, shredded coconut
Instructions
Step 1: Prepare the Base
- In a saucepan over low heat, combine peanut butter and honey. Stir until smooth.
- Remove from heat, then mix in vanilla and salt.
- Add rolled oats and chopped nuts. Stir until fully coated.
- Press the mixture into a parchment-lined 9×9 inch pan, smoothing it down firmly.
Step 2: Make the Chocolate Layer
- Melt chocolate chips and coconut oil in a microwave-safe bowl (30-second bursts, stirring in between) or over a double boiler.
- Pour melted chocolate over the oat base and spread evenly.
- Sprinkle extra chocolate chips or toppings of choice.
Step 3: Set and Slice
- Refrigerate for at least 2 hours or until firm.
- Once set, lift from the pan, slice into squares, and serve chilled or at room temperature.
Methods & Tips
- Binding Options: Swap peanut butter with sunflower seed butter for a nut-free version.
- Sweeteners: Use agave or date syrup as an alternative to honey/maple.
- Storage: Keep refrigerated in an airtight container for up to 1 week, or freeze for longer shelf life.
History
These bars originate from mid-20th-century America, when home bakers sought quick-fix sweets that didn’t require baking. Variants of this treat appeared in church cookbooks and family recipe boxes, often made for picnics, potlucks, and lunchbox snacks.
Benefits
- Quick and No-Bake: Ideal for hot days or busy schedules.
- Wholesome Ingredients: Oats provide fiber and slow-digesting carbs.
- Customizable: Adjust flavors, textures, and ingredients to suit your dietary needs.
- Portable Energy: Great for school snacks, hiking fuel, or a mid-day boost.
Formation
- Layered bar form, starting with the oat-based chewy layer followed by a firm chocolate topping.
- Pressed and chilled in a square or rectangular pan, then cut into uniform squares or bars.
Lovers of This Treat
- Busy parents who need quick snacks.
- Kids who crave chocolate but need whole grains.
- Health-conscious snackers looking for refined sugar-free options.
- Grandmas who hand down handwritten recipe cards for generations.
Nutrition (Per bar, approx.):
- Calories: 210
- Carbs: 20g
- Fat: 12g
- Protein: 5g
- Fiber: 3g
- Sugar: 8g (depends on choice of sweetener)
Note: Values vary depending on ingredients used.
Conclusion
No-bake chocolate oat bars are a timeless, crowd-pleasing snack. They offer the perfect balance of chewiness, crunch, and rich chocolate flavor—without turning on the oven. Whether you’re making a treat for your kids, prepping snacks for the week, or indulging in a nostalgic dessert, these bars are always a good idea.
Would you like a sugar-free version of this recipe based on your current dietary preferences? I’d be happy to adapt it for you!