Absolutely! Here’s a rich, nostalgic, and beautifully detailed recipe for the legendary:
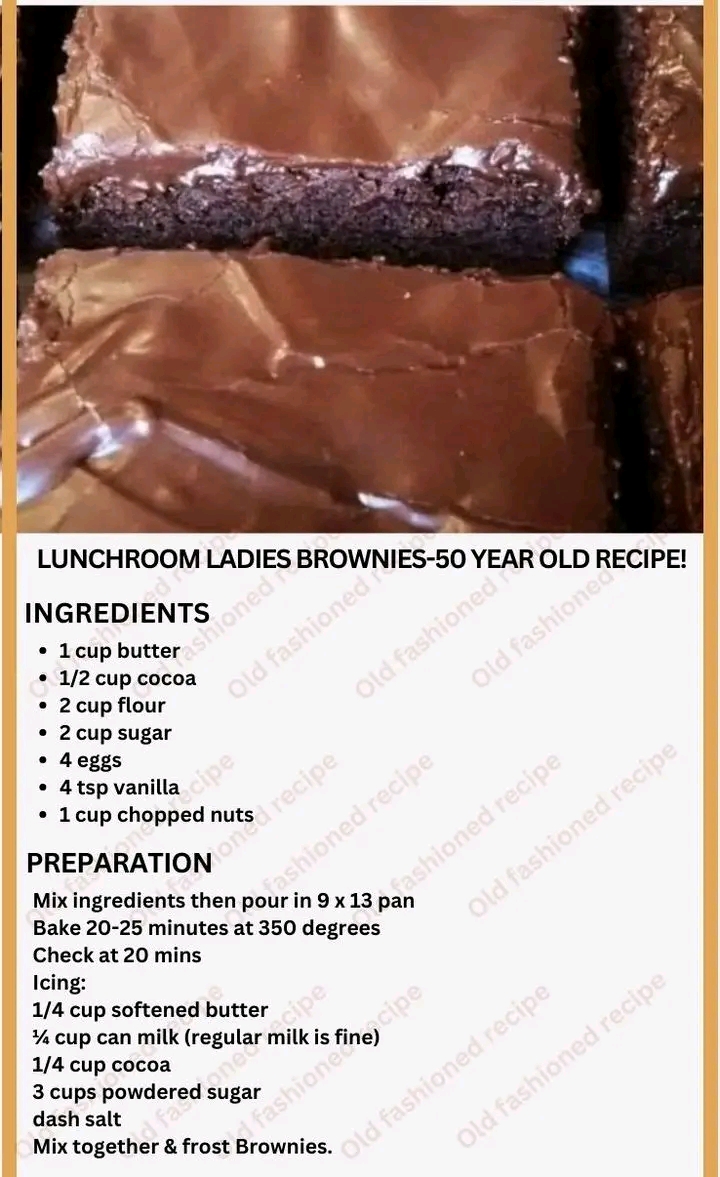
Lunchroom Ladies Brownies
A 50-year-old classic that still melts hearts and wins over generations with every fudgy bite.
Introduction
If you were lucky enough to attend public school in the U.S. during the 1970s or ’80s, there’s a good chance you remember those thick, chocolatey squares served on plastic lunch trays—Lunchroom Ladies Brownies. They weren’t just desserts; they were a treasured moment of sweetness in a sea of sloppy joes and square pizza. These brownies were dense, moist, rich with cocoa, and topped with the most luxurious chocolate frosting.
This recipe comes from the old-school cafeteria kitchens where “lunch ladies” took pride in feeding students real, homemade food. Unlike today’s mass-produced sweets, these were made with pantry staples and love.
Ingredients
For the Brownies
- 1 cup unsalted butter, melted
- ½ cup unsweetened cocoa powder
- 2 cups granulated sugar
- 4 large eggs
- 1 tbsp vanilla extract
- 1 ½ cups all-purpose flour
- ¼ tsp salt
- Optional: 1 cup chopped walnuts or pecans
For the Fudge Frosting
- ¼ cup unsalted butter, melted
- ¼ cup whole milk (or evaporated milk for extra richness)
- ¼ cup unsweetened cocoa powder
- 3 cups powdered sugar
- 1 tsp vanilla extract
- Pinch of salt
Method
1. Preheat and Prep
- Preheat oven to 350°F (175°C).
- Grease and flour a 9×13” baking pan or line it with parchment paper for easy removal.
2. Mix the Brownie Batter
- In a large mixing bowl, whisk together the melted butter and cocoa powder until smooth and shiny.
- Add sugar and whisk to combine.
- Beat in the eggs one at a time, mixing well after each addition.
- Stir in the vanilla extract.
- Fold in flour and salt gently until just combined—do not overmix.
- Fold in nuts if using.
3. Bake
- Spread the batter evenly into the prepared pan.
- Bake for 25–30 minutes, or until a toothpick inserted in the center comes out with a few moist crumbs (not wet batter).
- Let cool completely before frosting.
4. Prepare the Frosting
- In a medium bowl, whisk together melted butter, milk, and cocoa powder.
- Gradually beat in powdered sugar until smooth and spreadable.
- Stir in vanilla and a pinch of salt to balance sweetness.
5. Frost and Finish
- Spread the frosting generously over the cooled brownies.
- Allow to set for 15–30 minutes before cutting into squares.
History and Formation
These brownies hail from school cafeterias in the American Midwest, with most sources tracing them back to the 1960s–70s. Known for being made in huge sheet pans by “lunch ladies,” this dessert was more than a treat—it was a symbol of homemade comfort amidst the routine of school life. The key was simplicity: no chocolate chips, no gimmicks—just real ingredients and real love.
While newer versions try to imitate them with modern twists, nothing compares to the original Lunchroom Ladies Brownies. Their signature frosting—more fudge than icing—sealed their fame in history.
Lovers of This Recipe
Who loves these brownies? Everyone.
- Mothers-in-law who claim they don’t like sweets, but sneak a second square.
- Grandfathers who remember recess and black-and-white TVs.
- Teenagers who say, “These are better than Starbucks brownies.”
- Romantic partners who leave little notes on the brownie container because it tasted like “childhood.”
In fact, some couples have made these part of their anniversary traditions. Lovers bake them for each other, frost together, and then eat them warm with cold milk under a cozy blanket. Yes—brownies can be love letters.
Conclusion
Lunchroom Ladies Brownies are more than dessert. They are time travel in a bite—back to simpler days, cafeteria trays, and loving hands behind the kitchen counter. With this recipe, you bring history, comfort, and joy into your own kitchen.
Make a batch. Share them. Freeze some. Fall in love with them. Bake them for someone you love—or bake them because you love yourself.
Would you like a printable version or a visual step-by-step guide next?