Absolutely! Let’s turn your taro bites recipe into a full, indulgent dessert guide that’s perfect for taro lovers. 🌸🧀
Soft & Creamy Taro Cheese Bites
If you love silky, creamy, and slightly sweet desserts, these Soft & Creamy Taro Cheese Bites are a must-try. Perfectly balanced between the natural earthy sweetness of taro and the rich tang of cream cheese, these bite-sized treats are delightful on hot days and make for a visually stunning dessert with their subtle purple hue. Soft, smooth, and creamy, they’re ideal for afternoon snacks, tea parties, or as a fancy homemade gift.
Ingredients
For the Taro Paste:
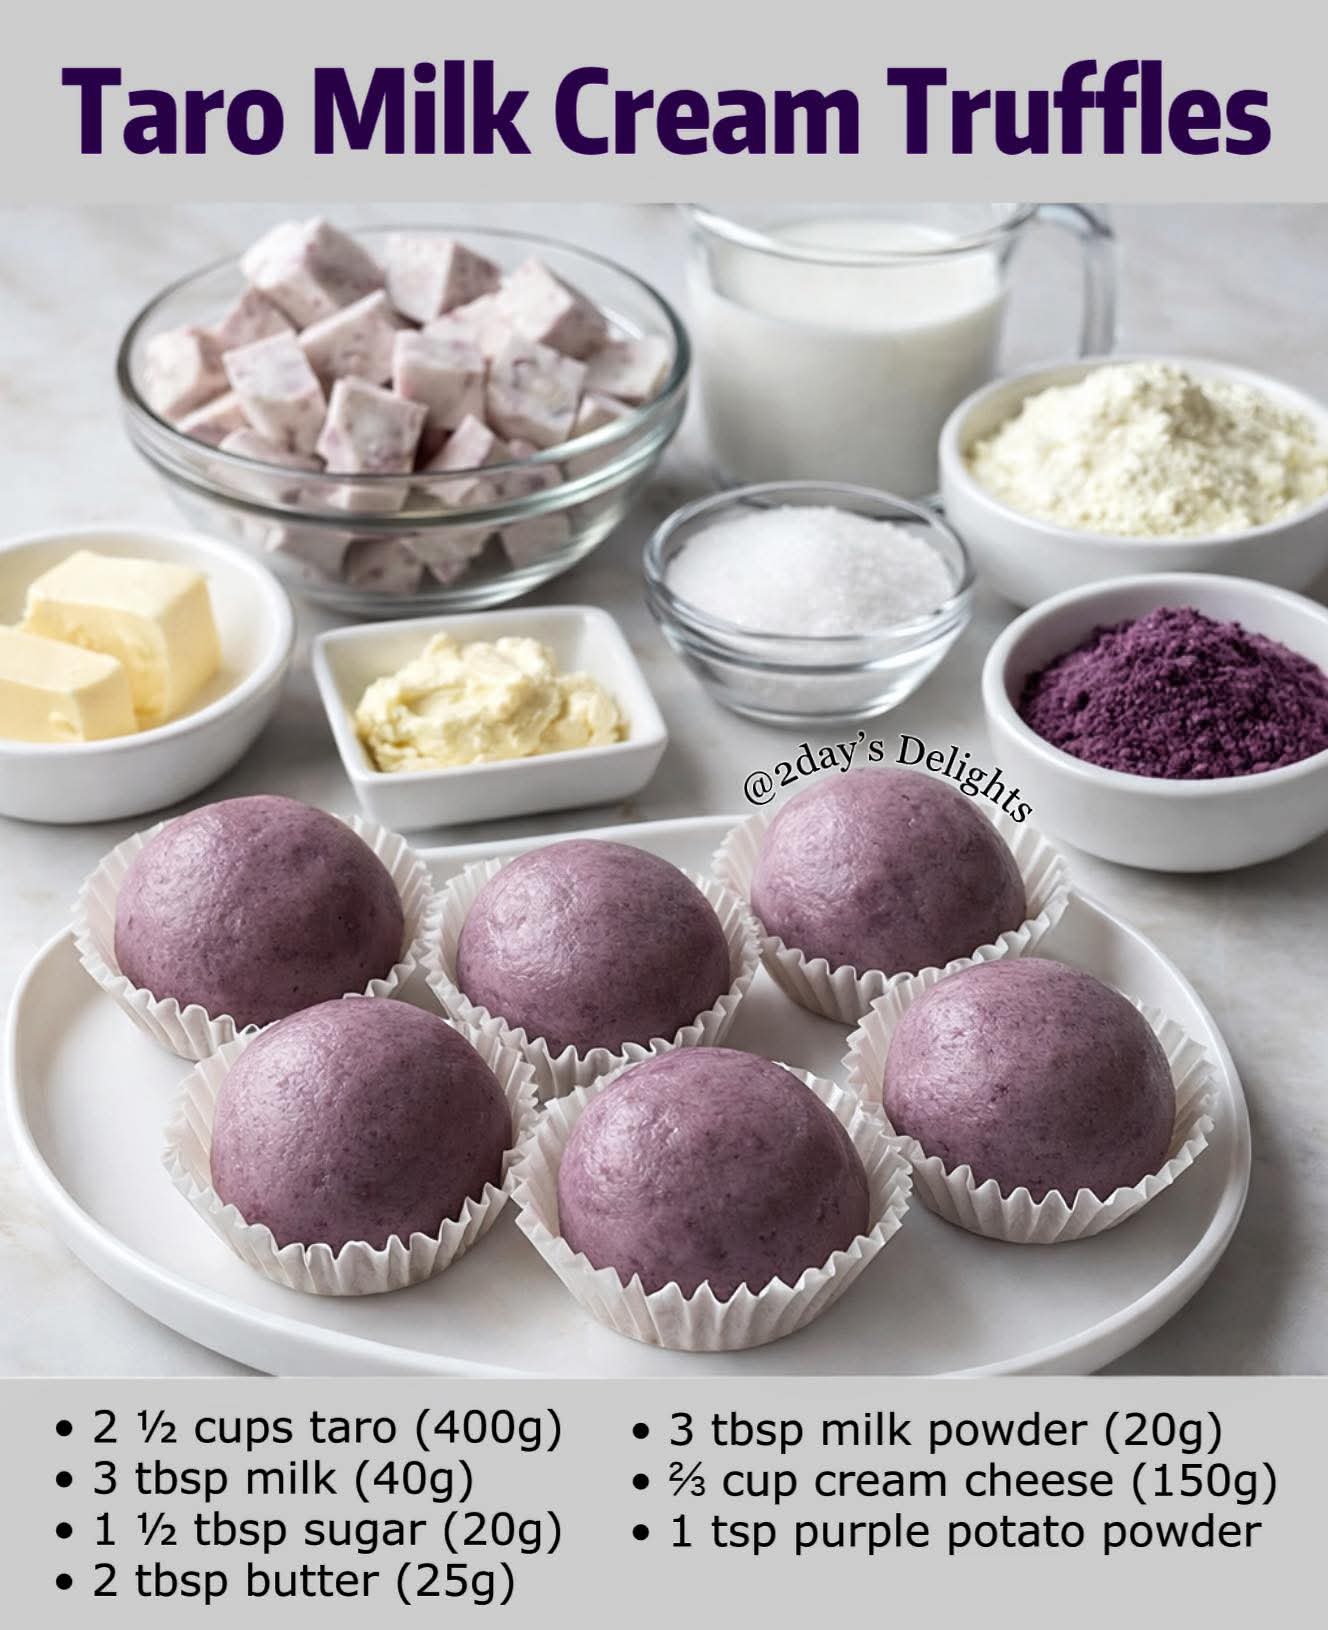
- 2 ½ cups taro (400g), peeled and chopped
- 3 tbsp milk (40g)
- 1 ½ tbsp sugar (20g)
- 2 tbsp butter (25g)
- 3 tbsp milk powder (20g)
- ½–1 tsp purple sweet potato powder (optional, for color)
For the Filling:
- ⅔ cup cream cheese (150g), portioned into 15g balls
Instructions
Step 1: Steam the Taro
Peel and cut taro into uniform chunks. Steam over boiling water for 15-20 minutes, or until fully soft. You should be able to pierce it easily with a chopstick or fork.
Step 2: Make the Taro Paste
While still hot, transfer the taro into a mixing bowl. Add milk, sugar, butter, and milk powder. Mash thoroughly until smooth and creamy. For extra smoothness, you can use a potato masher or a hand blender.
Step 3: Add Color (Optional)
If desired, stir in purple sweet potato powder. This gives your taro bites a vibrant, pastel purple color, making them look as delicious as they taste.
Step 4: Prepare the Cream Cheese Filling
Divide the cream cheese into 15g (about 1 tbsp) balls. Keep chilled until ready to use so they maintain their shape when wrapped.
Step 5: Assemble the Taro Bites
Portion the taro paste into 50g (about 3 tbsp) balls. Flatten each ball slightly in your palm and place a cream cheese ball in the center. Carefully wrap the taro paste around the cheese, sealing it completely, and roll into a smooth ball.
Step 6: Chill and Serve
Place the taro cheese balls in the refrigerator for at least 30 minutes before serving. Cold taro bites have the perfect texture—soft, creamy, and refreshing. They are especially enjoyable on warm days.
Methods & Tips for Perfection
- Mashing: Make sure the taro is hot when mashing. Cold taro is harder to smooth and can be lumpy.
- Flavor Boost: A tiny pinch of salt or a drop of vanilla extract can enhance the sweetness.
- Shaping: Lightly wet your hands to prevent sticking when wrapping cream cheese with taro paste.
- Storage: Keep chilled in an airtight container. They last 2–3 days in the fridge, perfect for make-ahead desserts.
History & Formation
Taro has been a cherished ingredient in Asian desserts for centuries, especially in Chinese, Taiwanese, and Southeast Asian cuisines. Known for its starchy texture and mild sweet flavor, taro is often used in mooncakes, puddings, and pastries. Wrapping a cream cheese center inside a taro ball is a modern innovation that combines traditional flavors with contemporary dessert trends. The pastel purple hue adds visual appeal, reflecting a growing trend of photogenic, Instagram-worthy desserts.
Conclusion
These Soft & Creamy Taro Cheese Bites are a delightful fusion of comfort and elegance. The natural sweetness of taro complements the creamy, slightly tangy cheese, resulting in a bite-sized treat that melts in your mouth. Perfect for dessert lovers, they’re simple to make yet feel sophisticated enough for special occasions.
For Taro Lovers: Extra Tips
- Chocolate Twist: Add a tiny chocolate chunk with the cream cheese for a surprise inside.
- Nutty Crunch: Roll the finished taro balls in crushed toasted coconut or almonds for extra texture.
- Mini Dessert Platter: Serve alongside mochi or pandan jelly for a colorful dessert spread.
Prep Time: 25 minutes | Cooking Time: 20 minutes | Total Time: 45 minutes
Servings: 12–15 bites
If you want, I can also make a step-by-step illustrated version of these taro bites that visually shows how to wrap the cream cheese perfectly—super helpful for beginners!
Do you want me to create that visual guide?