🐣🐰 Easter Egg Oreo Balls – A Festive No-Bake Treat!
These Easter Egg Oreo Balls are the ultimate springtime dessert—sweet, creamy, chocolatey, and incredibly easy to make with just a handful of ingredients. Perfect for Easter gatherings, kids’ parties, or simply satisfying your sweet tooth, these adorable egg-shaped treats are as fun to decorate as they are to eat!
🌸 Introduction
If you love Oreos and chocolate, this recipe will quickly become one of your favorites. With no baking required, these bite-sized delights come together quickly and can be customized with pastel colors, sprinkles, or drizzle designs to match the Easter vibe. They’re soft on the inside, coated in a crisp chocolate shell, and bursting with cookies-and-cream flavor.
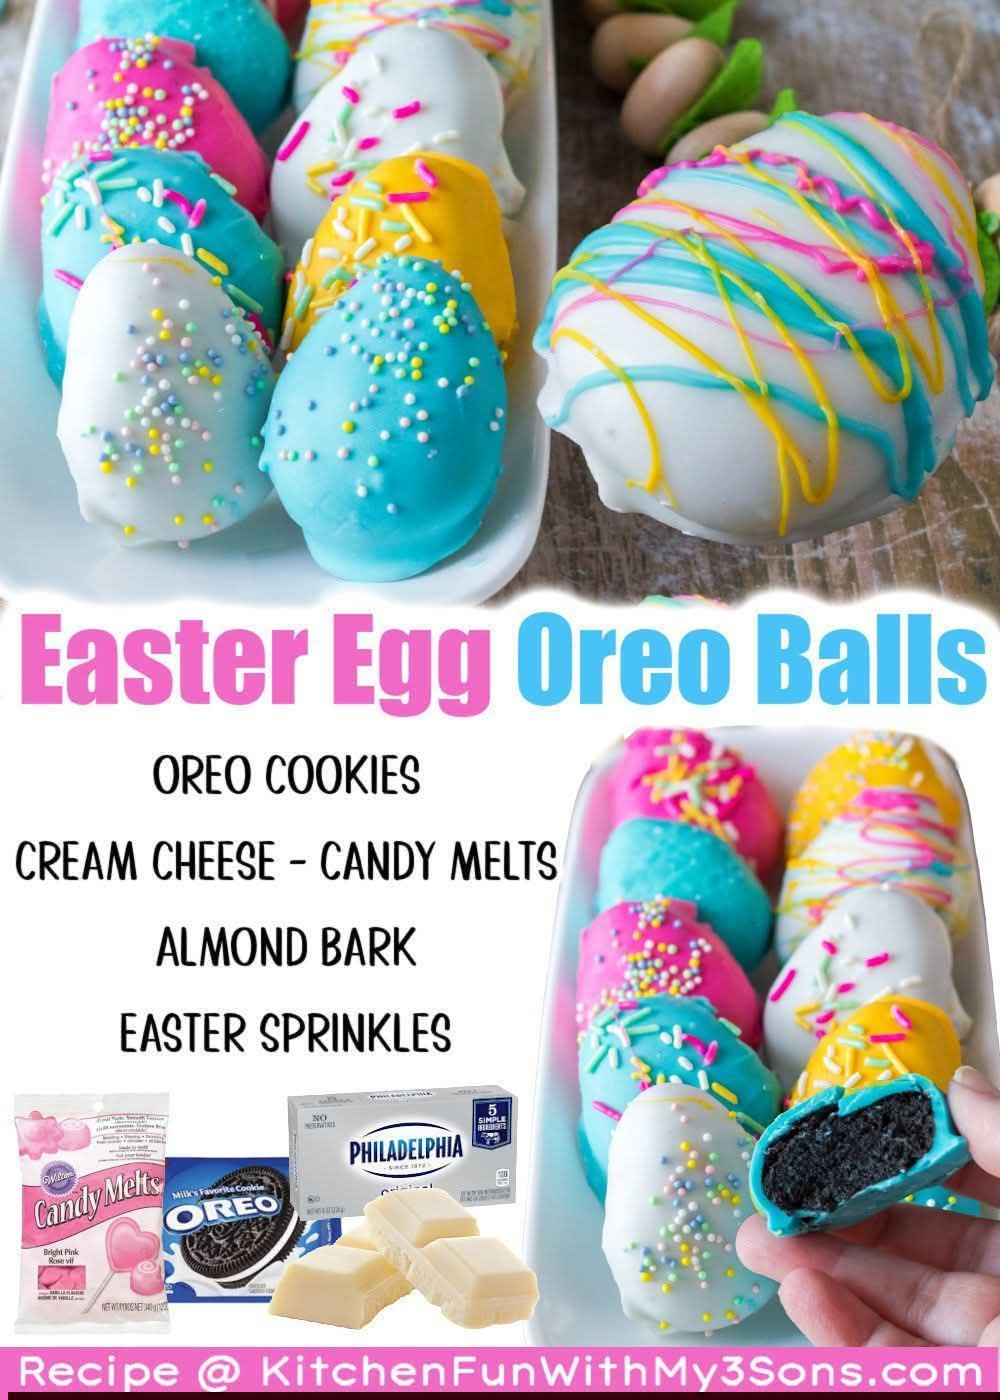
🛒 Ingredients (5 Simple Ingredients!)
- 1 package (36 cookies) Oreo cookies
- 8 oz (225g) cream cheese, softened
- 2–3 cups white chocolate chips or melting wafers
- 1 teaspoon coconut oil or shortening (optional, for smoother melting)
- Food coloring & Easter sprinkles (optional, for decoration)
🥣 Instructions
1. Crush the Oreos
- Place Oreo cookies (with filling) into a food processor.
- Blend until they become fine crumbs.
(No processor? Put them in a zip bag and crush with a rolling pin.)
2. Make the Filling
- Add softened cream cheese to the crumbs.
- Mix until fully combined and smooth.
- The mixture should be thick and dough-like.
3. Shape into Eggs
- Scoop about 1 tablespoon of mixture.
- Roll into an oval or egg shape using your hands.
- Place on a lined baking tray.
4. Chill
- Refrigerate for at least 1 hour (or freeze for 20–30 minutes).
- This helps them firm up for dipping.
5. Melt the Chocolate
- Melt white chocolate in the microwave in 30-second intervals, stirring each time.
- Add coconut oil if needed for a smoother consistency.
6. Dip and Decorate
- Dip each Oreo egg into melted chocolate using a fork.
- Let excess drip off, then place back on tray.
- Decorate immediately with sprinkles or drizzle colored chocolate on top.
7. Set
- Let chocolate harden at room temperature or refrigerate until firm.
🍫 Methods & Tips for Success
- Smooth Coating Tip: Add a little coconut oil to thin the chocolate.
- Clean Dipping: Use a fork and tap gently to remove excess coating.
- Color Fun: Divide melted chocolate and add pastel food coloring for Easter vibes.
- Storage: Keep refrigerated in an airtight container for up to 1 week.
📜 History & Background
Oreo balls (also known as Oreo truffles) became popular in the early 2000s as a quick, no-bake dessert. Their simplicity and rich flavor made them a hit for holidays and parties. Over time, creative variations like Easter egg shapes emerged, turning this classic into a festive seasonal favorite.
🎨 Formation & Presentation
- Shape into small eggs for a traditional Easter look
- Use pastel colors like pink, yellow, blue, and green
- Add zigzag drizzles or polka dots for a playful finish
- Arrange in a basket with shredded paper “grass” for a beautiful display
❤️ Why Everyone Loves These
- No baking required (perfect for beginners!)
- Only 5 ingredients
- Kid-friendly and fun to decorate
- Rich, creamy, and chocolatey
- Perfect for holidays, gifting, and parties
🐰 Conclusion
Easter Egg Oreo Balls are the perfect mix of simplicity and celebration. Whether you’re making them with kids, gifting them to friends, or serving them at a festive gathering, these sweet treats are guaranteed to bring smiles. With endless decoration possibilities, you can make each batch uniquely yours!
If you want, I can also give you color decoration ideas or different flavors (like peanut butter or strawberry Oreo eggs!) 😊