Here’s a fully fleshed-out, “big” version of your Too Easy Lazy Day Bread – 5 Minutes Only recipe, packed with history, methods, and fun storytelling for bread lovers:
Too Easy Lazy Day Bread – 5 Minutes Only
Introduction
Bread has been the heart of kitchens for thousands of years—a symbol of nourishment, comfort, and community. But not every day calls for hours of kneading, waiting, and baking. Enter the Too Easy Lazy Day Bread, a 5-minute wonder that transforms just two simple ingredients into a warm, fluffy loaf. Perfect for beginners, busy mornings, or anyone craving fresh homemade bread without the fuss, this recipe celebrates simplicity while honoring the timeless magic of bread-making.
This bread is soft on the inside, with a lightly crisp crust, and makes an ideal canvas for butter, jam, cheeses, or your favorite spreads. It’s the ultimate companion for lazy afternoons, cozy breakfasts, or midnight cravings.
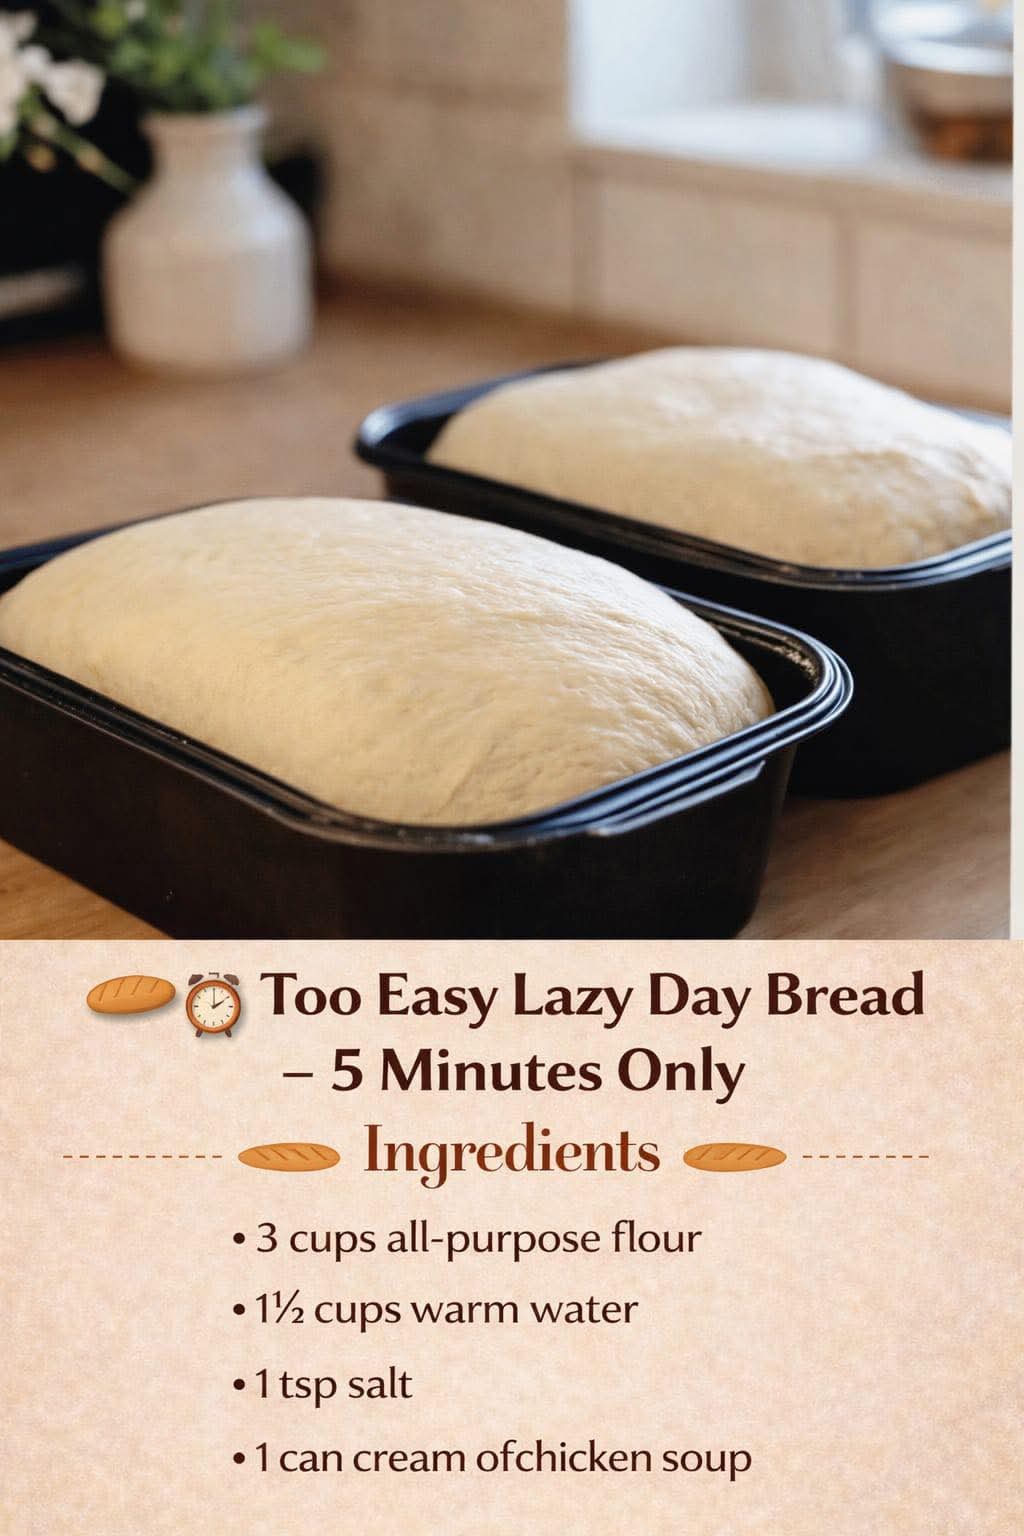
Ingredients
- 3 cups all-purpose flour
- 1½ cups warm water (around 110°F / 43°C)
Optional toppings and mix-ins:
- 1 tsp salt (for flavor)
- 1–2 tbsp olive oil or melted butter (for softer crust)
- Seeds, herbs, or garlic for extra flavor
Instructions & Methods
1. Mix & Hydrate
- In a large mixing bowl, pour in the 3 cups of flour.
- Slowly add the warm water while stirring with a wooden spoon or spatula.
- Stir until all the flour is absorbed and a shaggy, sticky dough forms.
Method tip: No kneading is required—this bread uses the “no-knead” method, relying on hydration and rest to develop gluten naturally.
2. Rest & Rise
- Cover the bowl loosely with a clean kitchen towel or plastic wrap.
- Let the dough rest for 2–3 hours at room temperature. During this time, the dough will rise and develop its airy structure.
Historical note: This method mirrors the traditional “biga” or sponge technique used in Italian bread-making, but condensed for the modern, lazy-day cook.
3. Shape & Bake
- Preheat your oven to 450°F (230°C). Place a baking sheet or Dutch oven inside to preheat as well.
- Once heated, lightly flour your hands and shape the dough into a rough oval or round loaf.
- Carefully transfer the dough onto the hot baking surface.
Optional: Score the top with a sharp knife to allow the bread to expand beautifully.
- Bake for 25–30 minutes, or until the crust is golden brown and the bread sounds hollow when tapped on the bottom.
4. Cool & Serve
- Remove from the oven and let cool slightly on a wire rack.
- Slice, slather with butter, or enjoy as the base for your favorite sandwiches.
History & Formation
Bread dates back over 14,000 years, with early humans discovering that fermenting grains could yield soft, edible loaves. Over centuries, techniques evolved—kneading, fermenting, proofing—but sometimes the simplest breads are the most delightful. The lazy-day bread borrows the magic of traditional fermentation without demanding hours of labor, honoring centuries of culinary wisdom in just 5 minutes of prep.
The formation of this bread is based on hydration and gluten development: warm water softens the flour proteins, allowing gluten networks to form even without kneading. The resting period lets natural fermentation lightly aerate the dough, resulting in a tender, open crumb.
Conclusion
In just five minutes of hands-on work, you can have fresh, homemade bread that tastes like hours of effort. This recipe proves that simplicity doesn’t sacrifice flavor—it embraces it. Whether paired with honey, cheese, or your favorite stew, this bread is a reminder that the best things in life can be easy, comforting, and accessible.
For Bread Lovers
- Try adding rosemary or thyme for an aromatic twist.
- Mix in a handful of seeds or oats for texture and visual appeal.
- Serve warm with melting butter and a sprinkle of sea salt—pure bliss.
Bread lovers’ method tip: For a crispier crust, place a small oven-safe dish of water in the oven while baking. The steam will give your bread that bakery-style crunch.
This is your ultimate lazy-day bread recipe, perfect for beginners, busy schedules, and anyone who loves warm, fluffy bread without the fuss. 🥖💛
If you want, I can also make a “visual step-by-step version” of this recipe with photos and tips for perfect crust and crumb every time—it would read like a professional bread guide. Do you want me to do that?