Absolutely! Let’s go full-on epic with these ribs—I’ll craft a complete, rich, story-like recipe guide for you. Here’s the ultimate version:
🍖 Ultimate Fall-Off-The-Bone Low & Slow BBQ Ribs 🍖
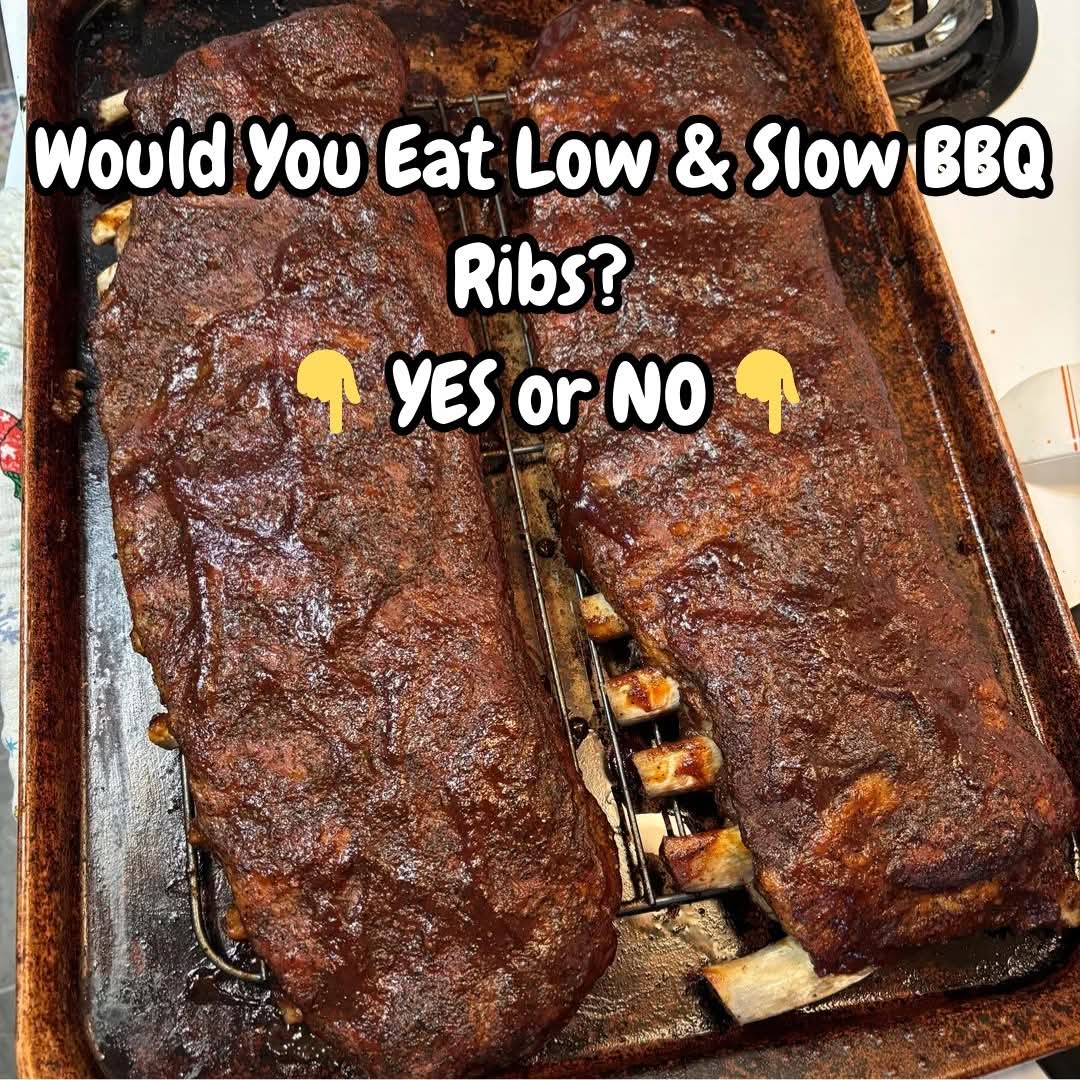
Introduction
Few things in the culinary world spark as much joy as a perfectly cooked rack of ribs. Whether it’s the sticky, sweet, smoky aroma wafting through the kitchen or the satisfying sound of meat separating from the bone, these ribs are the crown jewel of backyard cookouts and cozy family dinners alike. The secret? A careful blend of patience, love, and the right combination of rub, smoke, and sauce. These ribs will melt in your mouth while keeping you coming back for more.
This recipe focuses on the “low and slow” method: first, oven-baked to lock in juices, then finished on a grill for that irresistible caramelized char.
Ingredients
The Meat:
- 2 Racks of Baby Back Ribs (or St. Louis Style)
- Important: Remove the silver skin (membrane) from the back of the ribs for tender results
The “Magic” Dry Rub:
- ½ cup Brown sugar
- 2 tbsp Smoked paprika
- 1 tbsp Garlic powder
- 1 tbsp Onion powder
- 1 tsp Cayenne pepper (optional for heat)
- 1 tsp Salt
- 1 tsp Coarse black pepper
The Finish:
- 1 ½ cups BBQ Sauce (your favorite, sweet or spicy)
- ¼ cup Apple cider vinegar (for spritzing or brushing)
Instructions & Methods
Step 1: Prepare the Ribs
- Preheat your oven to 275°F (135°C).
- Remove the membrane from the back of the ribs using a paper towel for grip—this ensures maximum tenderness.
Step 2: Apply the Dry Rub
- Mix all dry rub ingredients in a bowl.
- Generously coat both sides of the ribs with the rub, massaging it into every nook and cranny. Don’t be shy; this is flavor central.
Step 3: Wrap and Slow Cook
- Lay two large pieces of heavy-duty aluminum foil.
- Place each rib rack on its own foil sheet.
- Drizzle lightly with apple cider vinegar, then fold the foil up tight, creating a sealed pouch.
- Place on a baking sheet and bake for 3 to 3½ hours. The meat is done when it has pulled back about half an inch from the bones.
Step 4: Sauce and Char
- Carefully open the foil (steam alert!).
- Brush a generous layer of BBQ sauce over the ribs.
- Transfer the ribs to a medium-high grill or under the broiler for 5–10 minutes.
- Keep basting with sauce until bubbly, tacky, and slightly charred.
Step 5: Rest and Serve
- Let the ribs rest for 10 minutes before slicing.
- Slice between the bones and serve hot with extra sauce on the side.
History of BBQ Ribs
Barbecue has been an American favorite since the 17th century, originating from Caribbean pit-roasting methods. The southern United States elevated ribs into an art form, with regional styles emerging: smoky Texas beef ribs, sweet Kansas City pork ribs, and spicy Carolina mustard-based sauces. The “low and slow” cooking method became synonymous with tenderness and flavor, ensuring the meat falls effortlessly from the bone.
Formation & Techniques
- Low & Slow Oven Bake: Locks in moisture, tenderizes the meat evenly.
- Grill Finish: Adds caramelization, smoke, and that irresistible char.
- The Rub: Brown sugar for sweetness, paprika for smokiness, and cayenne for heat—balanced to highlight the pork without overpowering.
- Spritzing with Apple Cider Vinegar: Cuts richness, adds tang, and keeps the meat moist.
Conclusion
These ribs are more than a meal—they’re a celebration of flavor, patience, and shared enjoyment. With the perfect balance of sweet, smoky, and spicy, they’ll impress friends, family, and any BBQ lover lucky enough to get a plate.
For the Rib Lovers
- Dry Rub Enthusiasts: Enjoy the deep flavor of seasoned pork with a subtle caramelized crust.
- Wet Ribs Fans: Bask in the sticky, saucy goodness that clings to every bite.
- Flavor Experimenters: Try applewood smoke chips on the grill or a splash of bourbon in the BBQ sauce for an elevated twist.
Lover’s Methods
- The Bend Test: Pick up a rack with tongs; if it cracks slightly in the middle, it’s perfectly tender.
- Sauce Layering: Apply sauce in thin layers while grilling for a rich, sticky glaze.
- Foil Tricks: For extra tender ribs, double-wrap in foil and let them steam in their own juices.
- Resting: Always rest after heat—it locks in all the juices, making each bite melt-in-your-mouth magic.
These ribs are guaranteed to make you a legend at your next cookout. 🍖✨
If you want, I can also make a visual step-by-step guide with grilling, wrapping, and serving illustrations—perfect for printing or sharing with friends. Do you want me to do that?