Absolutely! Let’s dive into a full, detailed recipe for Peanut Butter Lunch Lady Cookie Bars with all the layers you requested — from history to methods, lovers, and beyond. 🍪💛
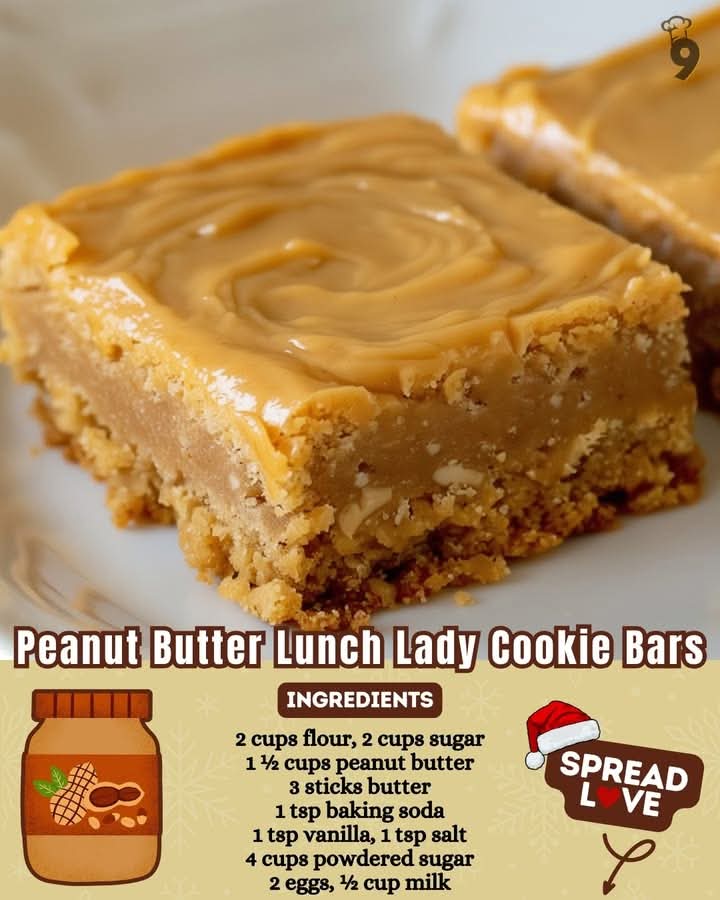
Peanut Butter Lunch Lady Cookie Bars
Introduction
Ah, the nostalgia of school lunches… and one treat that stood out above all: the peanut butter cookie bar, with its soft, chewy texture and creamy peanut butter frosting. These bars aren’t just dessert — they’re a bite of memory. Soft enough to sink your teeth into, yet sturdy enough to hold together, they pair perfectly with milk or coffee. Today, we bring that cafeteria classic to your kitchen, complete with frosting that melts in your mouth and flavors that linger.
History
Lunch lady cookies became a staple of American school cafeterias in the 1980s and 1990s. They were designed to be large, soft, and sweet — perfect for kids who needed an energy boost during the day. The peanut butter version was especially beloved for its rich, nutty flavor and the frosting that topped it, often reminiscent of the frosting on a peanut butter sandwich cookie. Over the years, home bakers have recreated these nostalgic treats, keeping them soft, flavorful, and indulgent — a sweet memory you can enjoy anytime.
Ingredients
For the Cookie Bars
- 2 ½ cups all-purpose flour
- 1 tsp baking soda
- ½ tsp salt
- 1 cup unsalted butter, softened
- 1 cup creamy peanut butter
- 1 ½ cups brown sugar, packed
- ½ cup granulated sugar
- 2 large eggs
- 2 tsp vanilla extract
For the Peanut Butter Frosting
- ½ cup unsalted butter, softened
- 1 cup creamy peanut butter
- 2 cups powdered sugar
- 2–4 tbsp milk (adjust for consistency)
- 1 tsp vanilla extract
Optional: a sprinkle of crushed peanuts for topping
Instructions
Step 1: Prepare the Cookie Base
- Preheat your oven to 350°F (175°C) and line a 9×13-inch baking pan with parchment paper.
- In a medium bowl, whisk together flour, baking soda, and salt. Set aside.
- In a large bowl, cream together butter, peanut butter, brown sugar, and granulated sugar until light and fluffy.
- Beat in the eggs one at a time, then stir in vanilla extract.
- Gradually mix in the flour mixture until fully incorporated.
Step 2: Bake the Bars
- Spread the dough evenly into the prepared pan.
- Bake for 20–25 minutes or until lightly golden around the edges but still soft in the center.
- Let cool completely in the pan before frosting.
Step 3: Make the Peanut Butter Frosting
- In a bowl, beat the butter and peanut butter together until creamy.
- Gradually add powdered sugar, alternating with milk, until frosting is smooth and spreadable.
- Stir in vanilla extract.
Step 4: Frost and Serve
- Spread frosting evenly over cooled cookie bars.
- Optional: sprinkle crushed peanuts on top for texture.
- Chill for 15–30 minutes to set the frosting slightly before slicing into bars.
Methods
- Creaming Method: For the cookie dough, creaming butter and sugar ensures a soft, chewy texture.
- Layering: Frosting after baking ensures the peanut butter flavor stays prominent and creamy.
- Chilling: Helps the frosting set and makes slicing cleaner.
Formation
These cookie bars are formed by pressing the dough evenly into the pan and baking as a single sheet. This sheet method guarantees uniform thickness and a consistent chewy texture throughout. Once cooled, they’re cut into rectangular bars, reminiscent of the cafeteria classic.
Conclusion
These Peanut Butter Lunch Lady Cookie Bars are a sweet bridge between childhood memories and adult baking skills. Soft, rich, and topped with creamy frosting, they’re perfect for lunchboxes, after-school snacks, or even a cozy treat with your morning coffee. Every bite delivers nostalgia with a modern, homemade twist.
Lovers’ Notes
- Peanut Butter Lovers: Use your favorite natural peanut butter for a deeper, more authentic flavor.
- Chocolate Lovers: Drizzle melted chocolate over the frosting for an extra indulgence.
- Texture Lovers: Add mini chocolate chips or chopped peanuts into the dough for a little crunch.
- Frosting Lovers: Experiment with a light dusting of cocoa powder on top or swirl with chocolate for visual flair.
Methods for Lovers
- Soft & Chewy: Don’t overbake the bars; pull them out when edges are set but centers are soft.
- Creamy Frosting: Beat frosting thoroughly for maximum smoothness and spreadability.
- Storage: Store in an airtight container at room temperature for up to 4 days, or refrigerate to keep frosting firmer.
- Freezer Friendly: Slice bars first, then freeze individually for easy grab-and-go treats.
These bars are a full-on celebration of peanut butter, nostalgia, and homemade goodness — a perfect way to relive the cafeteria classics in your own kitchen.
If you want, I can also create a fun “cafeteria-style” version with a slightly fluffier frosting and fudgy bottom layer — the ultimate throwback upgrade. It’ll be over-the-top delicious. Do you want me to make that next?