Here is a big, beautiful, and comprehensive guide to Grandma’s Peach Cobbler Pie, just as you requested. It’s more than just a recipe; it’s an experience.
—
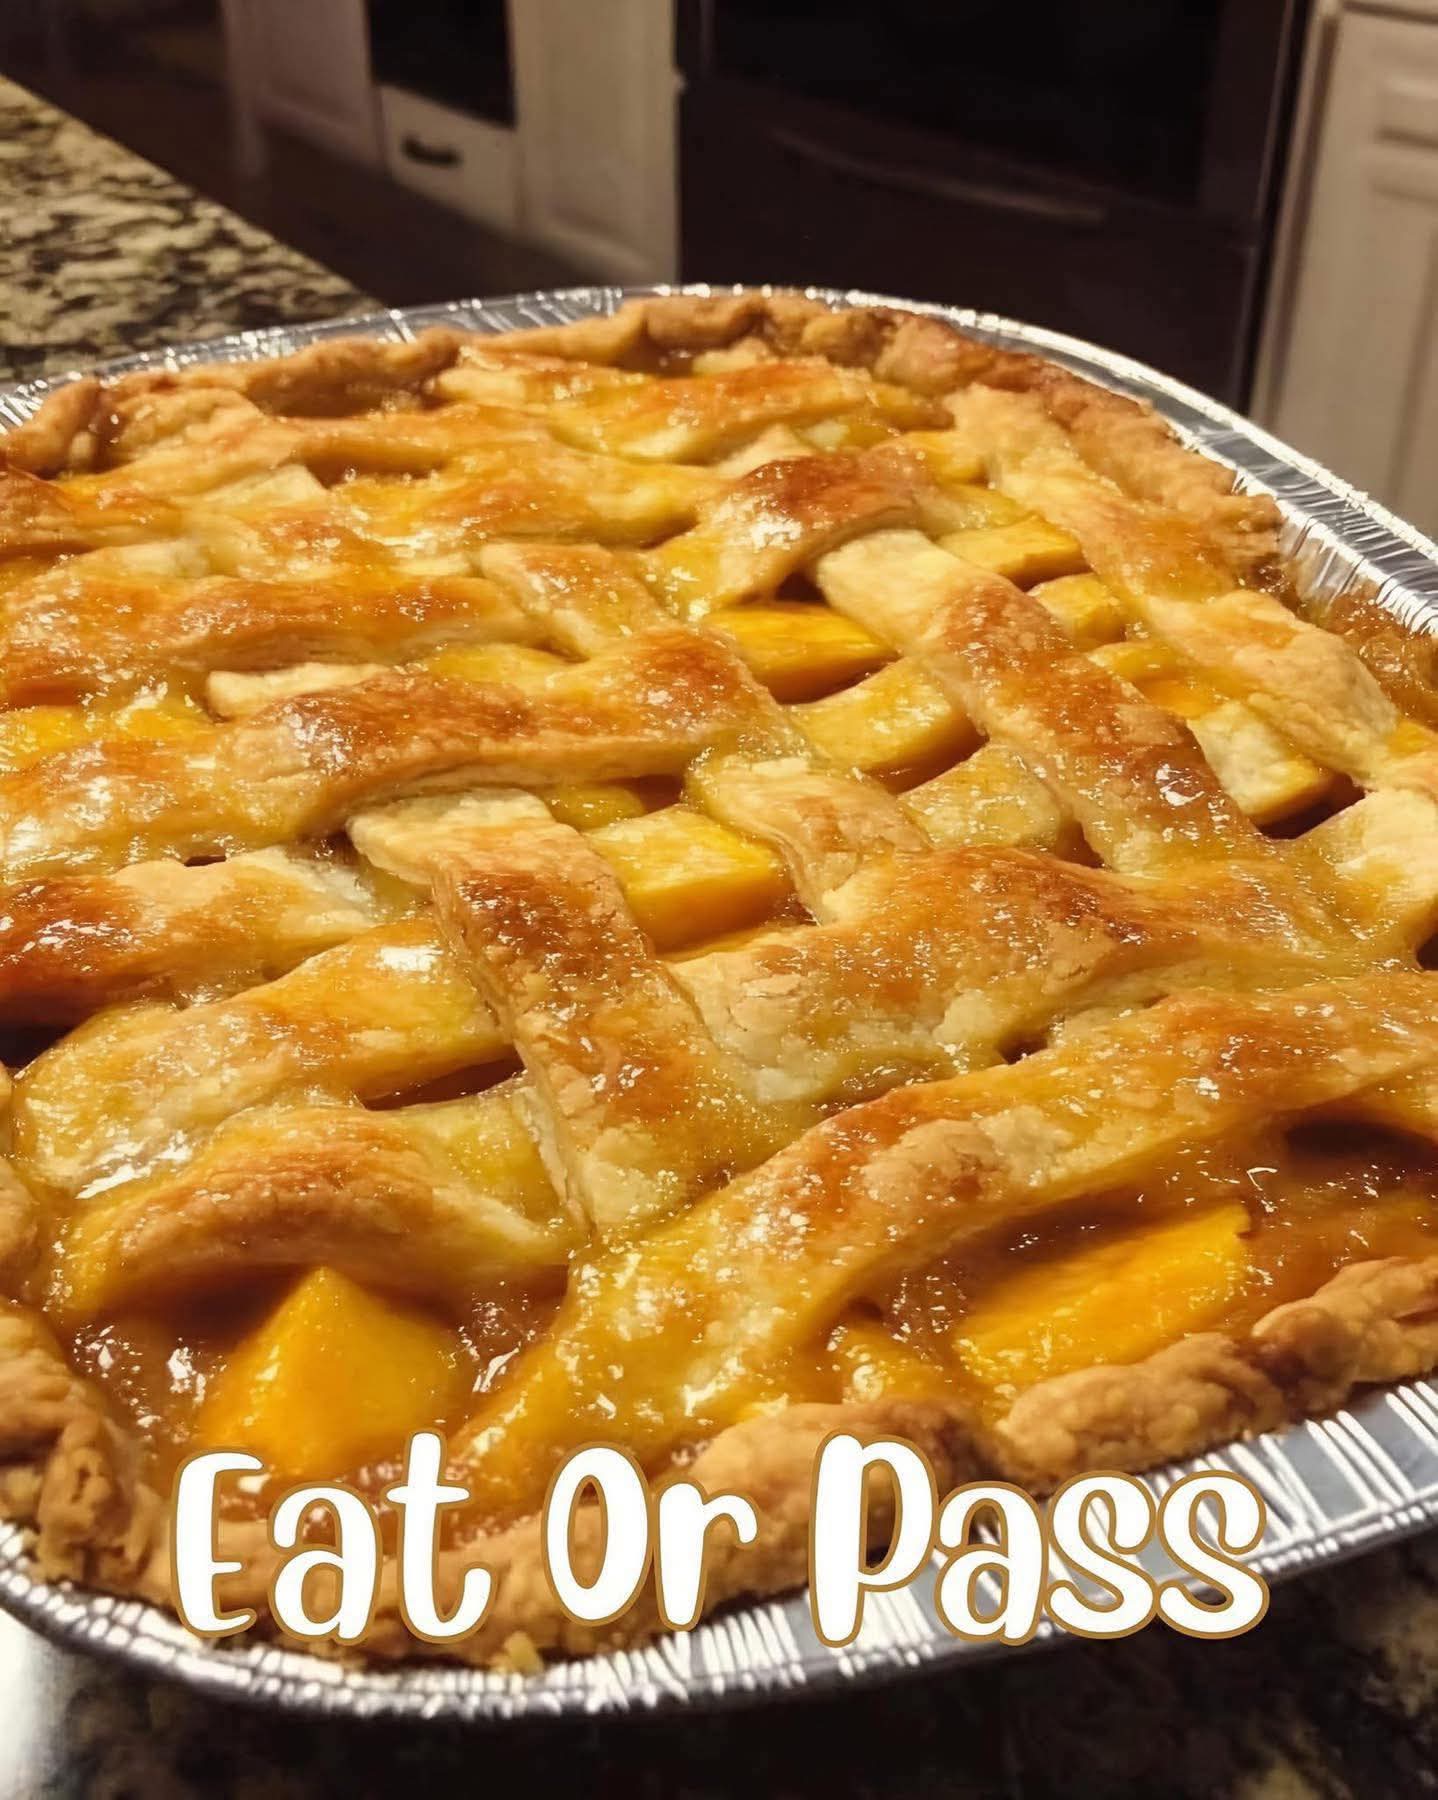
Grandma’s Legacy: The Ultimate Peach Cobbler Pie
There are some desserts that are more than just a combination of flour, sugar, and fruit. They are edible memories, warm hugs on a plate, and a direct line to our past. This recipe for Grandma’s Peach Cobbler Pie is exactly that. It’s the taste of late summer afternoons, the smell of a kitchen filled with love, and the feeling of a family gathered around a table. This isn’t just a dessert; it’s a heirloom recipe, passed down with the implicit instruction to share it, to make it, and to create new memories with it. It masterfully combines the juicy, spiced fruit filling of a classic cobbler with the sturdy, buttery, and flaky crust of a pie, creating the best of both worlds in one glorious dish. Get ready to fill your home with an irresistible aroma and your heart with warmth.
—
Ingredients (The Building Blocks of Love)
This recipe is designed for a 9-inch deep-dish pie plate.
For the Peach Filling:
· 2 lbs sliced frozen peaches (Do not thaw; the ice crystals help create the perfect juice)
· 1 cup granulated sugar (Adjust based on the sweetness of your peaches and your preference)
· 1 tsp ground cinnamon (For that warm, comforting spice)
· 1/4 tsp ground nutmeg (A touch of aromatic complexity)
· 1 tbsp lemon juice (To brighten the flavors and balance the sweetness)
· 2 tbsp all-purpose flour (Helps to thicken the peach juices as it bakes)
For the Buttery Pie Crust (Top and Bottom):
· 2 ½ cups all-purpose flour (Plus extra for dusting)
· 1 tsp salt
· 1 tbsp granulated sugar (A hint of sweetness in the crust)
· 1 cup (2 sticks) unsalted butter, very cold and cubed (The secret to a flaky crust)
· 6-8 tbsp ice water (As needed)
For the Topping & Assembly:
· 8 tbsp (1 stick) unsalted butter (To be dotted on top of the filling for richness)
· 1 large egg, beaten (For an egg wash, to give the crust a golden sheen)
· Coarse sugar (like turbinado or demerara), for sprinkling (Adds a delightful crunch)
—
Methods: A Step-by-Step Love Story
Part 1: The Crust (Making the Vessel)
1. Combine Dry Ingredients: In a large bowl, whisk together the 2 ½ cups of flour, salt, and 1 tbsp of sugar.
2. Cut in the Butter: Add the cold, cubed butter. Using a pastry blender or your fingertips, work the butter into the flour until the mixture resembles coarse meal with some pea-sized butter pieces remaining. The key here is to keep the butter cold – it creates steam when baking, which makes the crust flaky.
3. Bring it Together: Sprinkle the ice water over the mixture, 1 tablespoon at a time, tossing with a fork until the dough just begins to come together. It should look shaggy, not wet.
4. Chill Out: Turn the dough out onto a lightly floured surface, gather it into a ball, and divide it in half. Flatten each half into a disk, wrap in plastic wrap, and refrigerate for at least 1 hour. This allows the gluten to relax and the butter to firm up again.
Part 2: The Filling & Assembly (Building the Memory)
1. Preheat & Prep: Preheat your oven to 400°F (200°C).
2. Prepare the Filling: In a large bowl, gently toss the frozen peach slices with 1 cup of sugar, 1 tsp cinnamon, ¼ tsp nutmeg, 1 tbsp lemon juice, and 2 tbsp flour. Set aside.
3. Roll the Dough: On a lightly floured surface, roll out one disk of dough into a 12-inch circle. Gently transfer it to your 9-inch pie plate, pressing it into the bottom and sides. Leave the overhang.
4. Fill ‘er Up: Pour the peach filling into the crust-lined pie plate. It will be mounded high, but it will settle as it bakes. Dot the top of the peaches evenly with the 8 tbsp of butter. This is Grandma’s secret to an incredibly rich and luscious filling.
5. Top It Off: Roll out the second disk of dough into another 12-inch circle. You can place it on whole and cut vents, or get creative! Cut it into strips for a classic lattice top, which allows steam to escape and looks beautiful.
6. Seal & Crimp: If using a whole top, trim the overhang to about an inch, tuck it under itself, and crimp the edges to seal. For a lattice, weave the strips and then crimp the edge.
7. The Finishing Touches: Brush the entire top crust (and crimped edges) with the beaten egg wash. Sprinkle generously with coarse sugar. This creates a beautiful, glossy, crunchy crust.
Part 3: The Baking (The Transformation)
1. Bake: Place the pie on a baking sheet to catch any potential drips. Bake for 20 minutes at 400°F.
2. Reduce Heat: Reduce the oven temperature to 375°F (190°C) and continue baking for another 40-50 minutes. If the crust is browning too quickly, loosely cover it with a piece of aluminum foil or a pie shield.
3. Check for Doneness: The pie is done when the crust is a deep golden brown and the filling is bubbly and thick. You should see thick bubbles escaping from the vents.
4. The Hardest Part: Cooling: Place the pie on a wire rack and let it cool for at least 2-3 hours before serving. This allows the filling to set properly. Serving it too warm will result in a runny, soupy mess, no matter how delicious it tastes.
—
A Slice of History
The “cobbler” is a truly American dessert, born from the necessity of settlers who didn’t have the ingredients or equipment for traditional European puddings and suet cakes. They would top a stewed fruit filling with a dollop of biscuit dough, which after baking, resembled a “cobbled” stone street. The pie, of course, has European roots. This “Peach Cobbler Pie” is a beautiful hybrid, likely created by a resourceful grandmother who loved the structure of a pie crust but craved the juicy, deep-dish fruit filling of a cobbler. By combining them, she created a dessert that is both elegant and rustic, refined and deeply comforting.
—
Benefits (Beyond the Obvious Deliciousness)
· Comfort Food Supreme: The combination of warm, spiced fruit and buttery, flaky crust is scientifically proven (in our hearts) to boost mood and evoke feelings of nostalgia and safety.
· Versatility: You can easily swap the peaches for other fruits like apples, berries, or cherries, making it a dessert for all seasons.
· A Connection to the Past: Making this recipe is an act of preservation. It’s a way to connect with family history and keep a tradition alive for future generations.
· Stress Relief: The act of making a pie – from working the dough with your hands to watching it transform in the oven – can be a wonderfully meditative and rewarding process.
—
The Science of Formation: How It Works
· Gluten Formation: When you add water to flour, gluten proteins form, creating the structure of the crust. Keeping the butter cold and working the dough minimally ensures that the gluten strands are short and tender, not long and tough.
· Steam Leavening: The cold butter melts in the hot oven, releasing steam. This steam gets trapped between the layers of dough, pushing them apart and creating the characteristic flaky layers.
· Starch Thickening: The flour tossed with the peaches absorbs the fruit’s juices as they heat up. The starch granules swell and gelatinize, thickening the liquid into a luscious, spoonable syrup. The frozen peaches release their liquid more slowly, allowing for better thickening.
· The Maillard Reaction: The egg wash and the sugars in the crust undergo the Maillard reaction at high heat, creating the beautiful deep-brown color and complex, nutty flavors.
—
For the Lovers
This pie is for:
· The Grandparent: Who deserves to taste the love they’ve given for a lifetime.
· The Family Gatherer: Who wants to bring a show-stopping dessert to a reunion or holiday.
· The Comfort-Seeker: On a cool evening, needing a warm hug in edible form.
· The Memory-Maker: Baking with their own children, passing down the recipe and the tradition.
· The Peach Enthusiast: Who knows that the true potential of this fruit is only realized when it’s baked with butter and sugar into a glorious pie.
—
Nutrition Information (A Rough Guide)
Please note this is an estimate and will vary based on specific ingredients and portion size.
· Serving Size: 1 slice (1/8 of the pie)
· Calories: Approximately 550-650
· Fat: 28-35g
· Carbohydrates: 70-85g
· Protein: 5-7g
· Fiber: 3-4g
· Sugar: 45-55g
(This is a decadent dessert meant for sharing and special occasions. The main nutritional benefit is for the soul.)
—
Conclusion: A Legacy on a Plate
Grandma’s Peach Cobbler Pie is more than the sum of its parts. It’s a testament to the simple truth that the best things in life are made with love, patience, and a little bit of butter. It’s a recipe that demands to be shared, not just on a plate, but through the act of making it. So, gather your ingredients, preheat your oven, and create a masterpiece. Don’t let this recipe get lost; bake it, share it, and become the “Grandma” who passes it on to the next generation.
—
For the Lovers (of Details)
· For a deeper flavor: Add a splash of bourbon or vanilla extract to the peach filling.
· For a textural twist: Sprinkle a handful of chopped pecans or almonds over the filling before adding the top crust.
· Serving Suggestion: This pie is divine on its own, but a scoop of vanilla bean ice cream or a dollop of lightly sweetened whipped cream takes it straight to heaven. The cold creaminess is the perfect contrast to the warm, spiced fruit.
· Storage: Cover and store leftover pie at room temperature for up to 2 days, or in the refrigerator for up to 5 days. It’s also delicious cold the next morning for breakfast (we won’t tell)!