Of course! Here is a comprehensive guide to Hawaiian Pineapple Cake, transformed into a delightful, detailed recipe that includes everything from its history to its nutritional information.
—
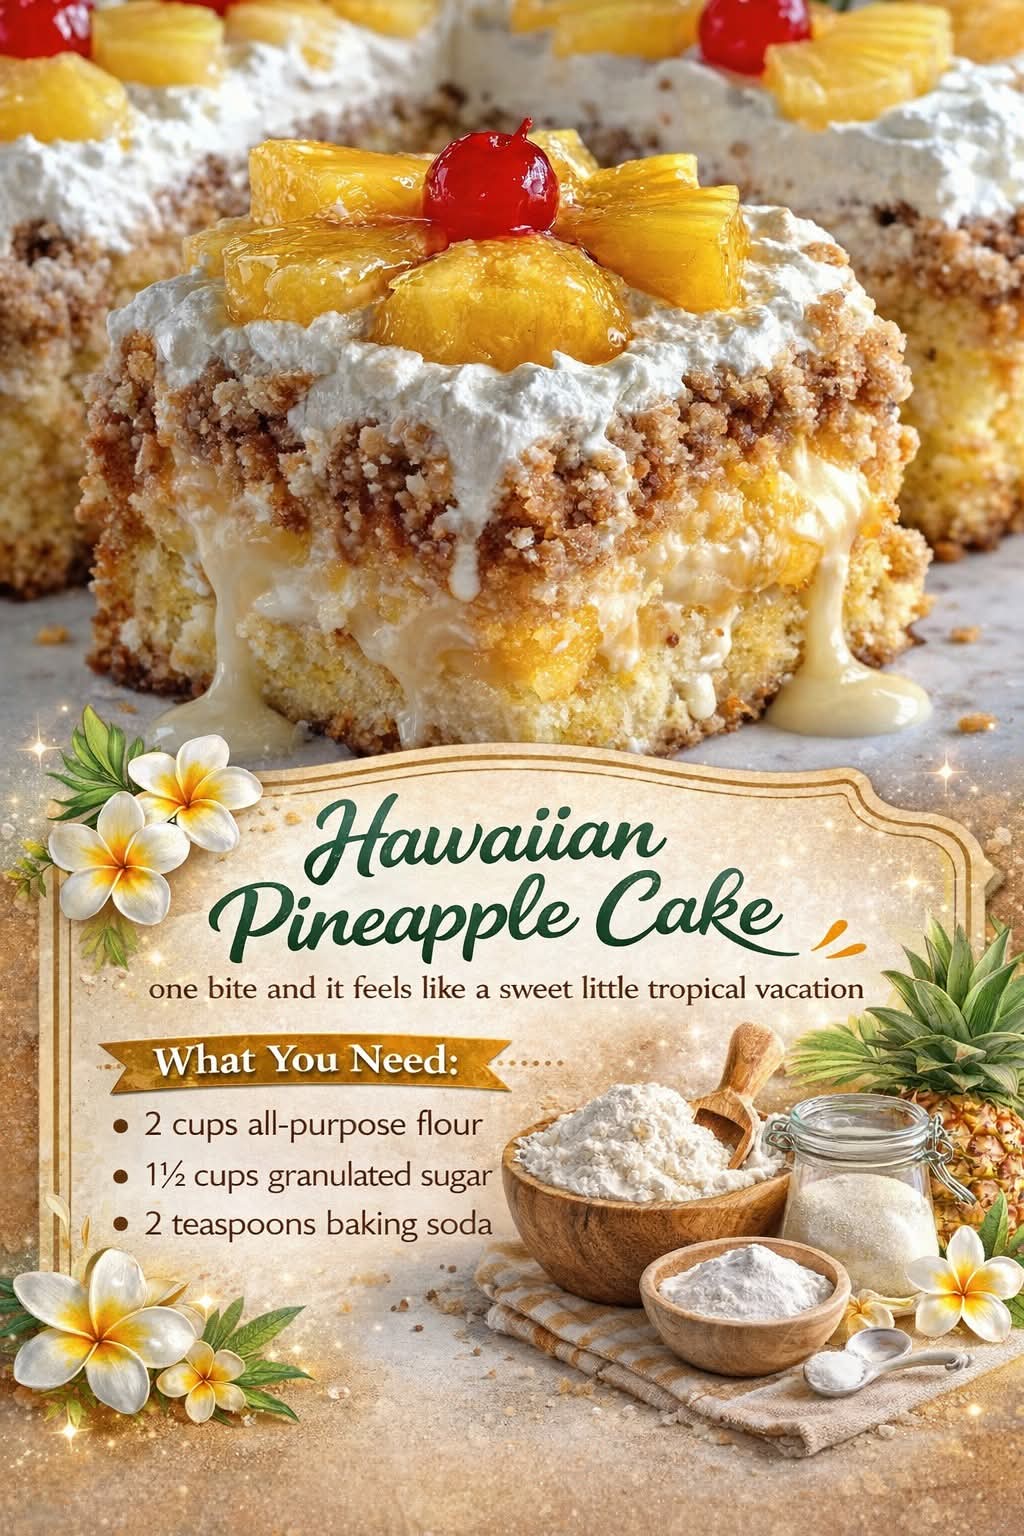
The Ultimate Guide to Hawaiian Pineapple Cake: A Slice of Island Paradise
Introduction
Close your eyes and imagine a gentle ocean breeze, the warm sun on your skin, and the sweet, tangy aroma of pineapples wafting through the air. That is the magic a slice of authentic Hawaiian Pineapple Cake brings to your table. This isn’t just a dessert; it’s a tropical escape, a moist and flavorful cake that captures the very essence of the Hawaiian Islands. Known for its incredible simplicity and rich taste, this cake has become a beloved classic far beyond the shores of its origin. It’s a dessert that evokes smiles and satisfied sighs, perfect for summer luaus, family gatherings, or any time you need a little taste of paradise . This guide will walk you through everything you need to know to create this masterpiece, from its surprising history to the final, delicious bite.
The History of Cake in Hawaii
While the exact origin of the “Hawaiian Pineapple Cake” is a blend of home recipes and creative bakers, its story is deeply intertwined with Hawaii’s most famous fruit. The popularity of pineapple in desserts soared in the early 20th century, particularly with the rise of the Dole Company. Pineapple Upside Down Cake, for instance, became a national sensation in the 1920s and was heavily popularized by Dole as a way to use canned pineapple rings .
However, a more specific and fascinating chapter in Hawaiian cake history is the invention of the “Happy Cake” in 1967. Created by Dick Rodby at his Kemo’o Farms Restaurant in Wahiawa, a town surrounded by pineapple fields, this cake was his take on a Hawaiian fruitcake. Made with local pineapple, macadamia nuts, and coconut, it became a sensation. Rodby trademarked the name “Happy Cake,” and it soon gained fame across the United States, ordered as gifts for Hawaiian-themed parties and enjoyed by everyone from Hollywood elite to U.S. presidents . The recipe we explore today carries that same spirit of aloha—using simple, tropical ingredients to create a dessert that truly makes people happy.
Why You’ll Love This Cake (The Benefits)
This Hawaiian Pineapple Cake isn’t just delicious; it comes with a host of benefits that make it a go-to recipe:
· Incredibly Moist: Thanks to the crushed pineapple and its juice, this cake is guaranteed to be moist and tender for days .
· Simplicity at Its Best: You don’t need an electric mixer for the cake base. Most versions are one-bowl wonders, requiring no complicated techniques .
· Pantry-Friendly Ingredients: The core ingredients are staples you likely already have in your kitchen. Canned pineapple is the star, making it a dessert you can whip up anytime .
· Versatile: It can be served plain, dusted with powdered sugar, or dressed up with a luscious cream cheese frosting and coconut flakes .
· Crowd-Pleaser: Its unique, tropical flavor is a welcome change from everyday cakes and is sure to impress guests of all ages .
The Master Recipe: Hawaiian Pineapple Cake with Cream Cheese Frosting
This recipe combines the best elements from various sources to create the definitive version of this tropical classic .
Ingredients
For the Cake:
· 2 cups All-Purpose Flour
· 2 cups Granulated Sugar
· 2 large Eggs, lightly beaten
· 1 teaspoon Baking Soda
· 1/2 teaspoon Salt
· 1 teaspoon Vanilla Extract
· 1 can (20 oz) Crushed Pineapple in juice (undrained)
For the Cream Cheese Frosting:
· 1/2 cup (1 stick) Unsalted Butter, softened
· 1 package (8 oz) Cream Cheese, softened
· 1 teaspoon Vanilla Extract
· 1 ½ cups Confectioners’ (Powdered) Sugar
For Garnish (Optional):
· 1/2 cup Sweetened Shredded Coconut, toasted
· 1/4 cup Chopped Macadamia nuts or Pecans
Essential Kitchen Tools
· One 9×13 inch baking pan
· Mixing bowls (large and medium)
· Whisk
· Spatula
· Toothpick for testing doneness
· Electric hand mixer or stand mixer (for frosting)
· Wire cooling rack
Step-by-Step Instructions (The Method)
Step 1: Preparation
Preheat your oven to 350°F (175°C). Grease and flour a 9×13 inch baking pan, or spray it generously with baking spray containing flour. This ensures your cake will release perfectly.
Step 2: Combine Dry Ingredients
In a large mixing bowl, whisk together the 2 cups of all-purpose flour, 2 cups of granulated sugar, 1 teaspoon of baking soda, and 1/2 teaspoon of salt. Whisking not only combines them but also aerates the flour for a lighter crumb.
Step 3: Add Wet Ingredients
Make a well in the center of the dry ingredients. Add the 2 beaten eggs, 1 teaspoon of vanilla extract, and the entire can of crushed pineapple with its juice. It is very important not to drain the pineapple, as the juice is crucial for the cake’s moisture and flavor .
Step 4: Mix the Batter
Using a spatula or wooden spoon, gently stir the ingredients together until just combined. Be careful not to overmix; a few small lumps are perfectly fine. Overmixing can develop the gluten in the flour and result in a tough cake. The batter will be thin, which is normal.
Step 5: Bake
Pour the batter into your prepared pan and spread it evenly. Bake for 35-40 minutes, or until the top is golden brown and a toothpick inserted into the center comes out clean or with just a few moist crumbs .
Step 6: Cool the Cake
Place the pan on a wire rack and allow the cake to cool completely in the pan. It is essential that the cake is completely cool before you add the cream cheese frosting; otherwise, the frosting will melt and slide right off.
Step 7: Make the Frosting
While the cake cools, make the frosting. In a medium bowl, beat the softened butter and cream cheese together with an electric mixer until the mixture is smooth, creamy, and free of lumps . Add the 1 teaspoon of vanilla and gradually beat in the 1 ½ cups of confectioners’ sugar. Continue beating until the frosting is light and fluffy.
Step 8: Frost and Garnish
Once the cake is completely cool, spread the cream cheese frosting evenly over the top. For a true taste of the islands, sprinkle with toasted coconut and chopped macadamia nuts .
Step 9: Serve and Enjoy
Slice the cake into squares and serve. For the cleanest slices, you can chill the frosted cake for about 30 minutes before cutting. Store any leftovers in an airtight container in the refrigerator for up to 5 days .
The Formation: The Science of a Perfect Cake
What makes this cake so uniquely moist and tender? The “formation” or science behind it is fascinating. Traditional cakes rely on creaming butter and sugar to incorporate air, and they use eggs to provide structure. This cake is different.
The magic lies in the crushed pineapple . The acid in the pineapple juice tenderizes the gluten in the flour, preventing the cake from becoming tough or chewy. This natural tenderizing effect is similar to using buttermilk in other recipes.
Furthermore, because the pineapple contains so much moisture, it eliminates the need for added oil or butter in the cake batter itself. As the cake bakes, the natural sugars in the pineapple caramelize slightly, adding depth of flavor and contributing to the beautiful golden-brown crust. The baking soda reacts with the acidic pineapple juice, providing the lift the cake needs to become light rather than dense. This beautiful chemical reaction is what creates the cake’s signature “formation”—a perfectly moist, fine-grained crumb that stays fresh for days.
Nutrition Information
This cake is a treat, and like all treats, it’s best enjoyed in moderation. The nutrition facts below are an estimate based on a recipe that includes the cream cheese frosting and is sliced into 12 servings. Values will vary depending on specific ingredients and portion sizes.
Nutrient Approximate Amount Per Serving
Calories 390-450 kcal
Total Fat 16-20g
Saturated Fat 9-12g
Cholesterol 55-80mg
Sodium 240-320mg
Total Carbohydrates 58-66g
Dietary Fiber 1-2g
Total Sugars 42-49g
Protein 4-6g
Note: This cake provides a good source of energy from carbohydrates and contains some Vitamin C from the pineapple .
A Dessert for Its Lovers
Hawaiian Pineapple Cake has a devoted following, and it’s easy to see why. It’s a dessert for:
· Busy Bakers: Those who want a show-stopping dessert without spending hours in the kitchen. The simple, one-bowl method is a dream .
· Tropical Food Enthusiasts: Anyone who loves the bright, sunny flavors of pineapple, coconut, and macadamia nuts will find this cake irresistible .
· Party Hosts: It’s the perfect make-ahead dessert for luaus, summer barbecues, and potlucks. It travels well and is always a conversation starter.
· Nostalgics: For many, the combination of pineapple and cake brings back fond memories of classic desserts from the mid-20th century, like the Dole-inspired upside-down cakes or the famous Happy Cake .
Conclusion
Hawaiian Pineapple Cake is more than just a recipe; it’s an experience. From its roots in the pineapple-rich soils of Hawaii to its evolution into a beloved American classic, this cake carries with it a story of innovation and simple, delicious pleasure. With its incredibly moist crumb, sweet and tangy flavor, and easy preparation, it’s a dessert that promises to transport you to a tropical state of mind with every single bite. So, preheat your oven, open a can of pineapple, and get ready to share a slice of aloha with everyone you love.