Absolutely! Let’s turn your simple 3-ingredient homemade cheese into a full, indulgent recipe feature, with all the layers of history, methods, and love that a great kitchen creation deserves. Here’s a detailed version:
Homemade Creamy Fresh Cheese – A Simple 3-Ingredient Delight
Introduction
There’s something magical about making cheese at home. The aroma of warm milk curdling, the creamy texture that you control, and the pride of creating something fresh and wholesome—it’s a ritual that’s been cherished for centuries. This easy 3-ingredient fresh cheese is perfect for cheesecakes, creamy dips, spreads on toast, or even stuffed into savory dishes. Rich, velvety, and bursting with homemade charm, it’s proof that sometimes simplicity is the ultimate luxury.
Ingredients
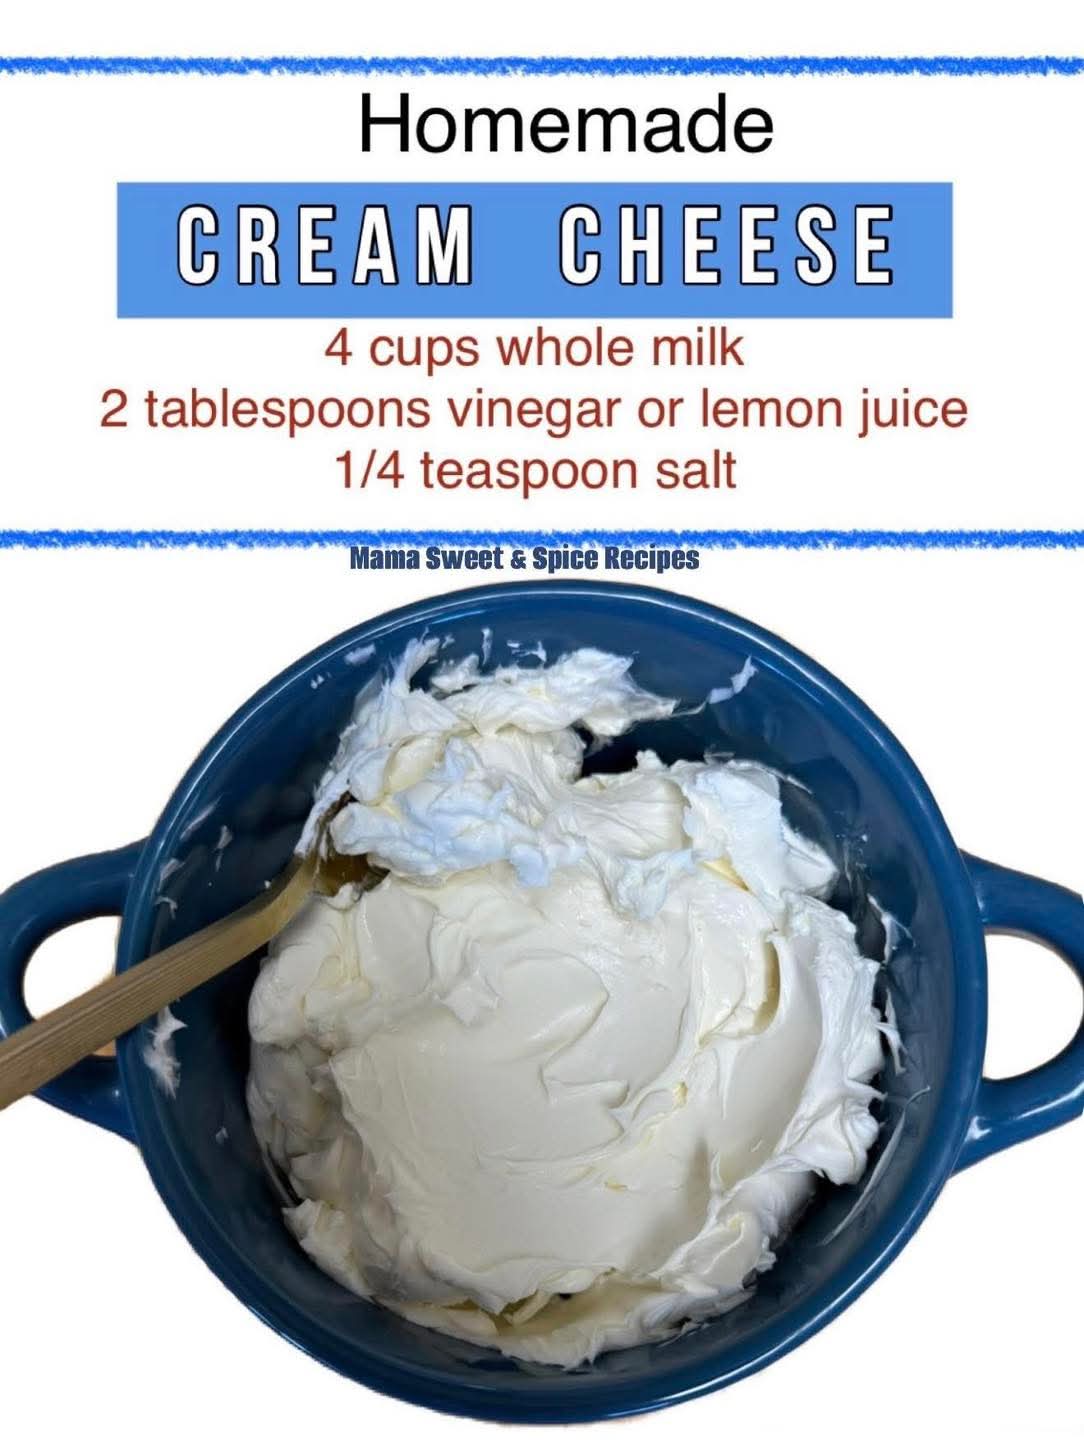
- 4 cups fresh milk (whole milk is best for creaminess)
- 2 tablespoons vinegar (white or apple cider)
- ¼ teaspoon salt
Optional lovers’ touch: herbs like chives, dill, or garlic powder for savory spreads, or a drizzle of honey for a sweeter variation.
Instructions & Methods
1. Heating the Milk
- Pour the milk into a medium saucepan.
- Slowly bring it to a gentle boil over medium heat, stirring occasionally to prevent a skin from forming.
- Method tip: Keep your eyes on it—milk can boil over quickly!
2. Curdling
- Reduce the heat to low.
- Add vinegar gradually while stirring with a spatula. You’ll notice the milk instantly beginning to separate into curds (solid) and whey (liquid).
- Once the curds are fully separated, remove the saucepan from the heat.
- Method tip: Stir gently; you want delicate curds, not a broken mess.
3. Straining
- Line a strainer with a clean cheesecloth and pour the curds and whey through it.
- Gather the corners of the cheesecloth and gently squeeze out excess liquid.
- Historical note: This technique dates back thousands of years, where early cheesemakers would hang curds to remove whey using cloths made from linen or muslin.
4. Blending
- Transfer the curds to a food processor.
- Add salt and blend until smooth, creamy, and spreadable.
- Method lovers’ tip: For an extra silky texture, pulse slowly and scrape down the sides as needed.
5. Chilling & Serving
- Refrigerate the cheese for at least 30 minutes to let flavors meld and texture firm up slightly.
- Serve cold on crackers, as a dip, or as a cheesecake base.
History & Formation
Fresh cheese, or curd cheese, has roots in ancient civilizations across the Middle East and Europe. It was a way to preserve milk, provide protein, and craft versatile dishes from a simple base. This method of acid-curdling with vinegar or lemon juice has been a staple for home kitchens for centuries, celebrated for both its speed and natural simplicity.
The process is almost alchemical: liquid milk transforms into creamy curds, while whey separates, carrying away excess moisture and leaving you with a velvety texture perfect for indulgence or culinary creativity.
Conclusion
Making your own fresh cheese at home is more than just a recipe—it’s a journey. It’s about the warmth of the kitchen, the satisfaction of creating something from scratch, and the pure joy of tasting freshness that can’t be bought. With just 3 ingredients and a few minutes of care, you can elevate everyday meals, desserts, or snacks into moments of homemade luxury.
Lovers’ Touch & Variations
- Herbed Lover’s Edition: Fold in chopped herbs (basil, chives, thyme) for a savory dip.
- Sweet Lovers’ Spread: Blend in a teaspoon of honey or vanilla for a cheesecake-ready filling.
- Spicy Lovers’ Kick: Mix in a pinch of paprika or red chili flakes for a zingy version.
Methods for Lovers:
- Serve dolloped on warm toast with a drizzle of olive oil.
- Swirl into smoothies or pasta for creamy indulgence.
- Layer with fruits or roasted vegetables for a decadent snack platter.
If you want, I can make a visual step-by-step infographic for this cheese recipe—perfect for kitchen display while you make it. It’ll include curd formation, blending, and serving suggestions.
Do you want me to make that?