Absolutely! Let’s create a full, detailed recipe for your 🍍 Pineapple Cream Cheese Cobbler 🍰, complete with history, formation, and all the tasty details. Here’s a big, comprehensive version:
🍍 Pineapple Cream Cheese Cobbler – Full Recipe 🍰
Introduction
Imagine a dessert that combines the tropical sweetness of juicy pineapple with the luscious creaminess of cheesecake and finishes with a golden, buttery crust that crunches at every bite. That’s Pineapple Cream Cheese Cobbler—a comfort dessert perfect for family gatherings, summer cookouts, or cozy evenings at home. Every spoonful is a harmony of sweet, tangy, and creamy textures, making it a tropical treat that melts in your mouth.
This cobbler isn’t just a dessert; it’s a celebration of layers—the fruit, the cheesecake, and the crust—coming together in a warm, inviting dish that’s as stunning to look at as it is to taste.
Ingredients
For the Pineapple Layer
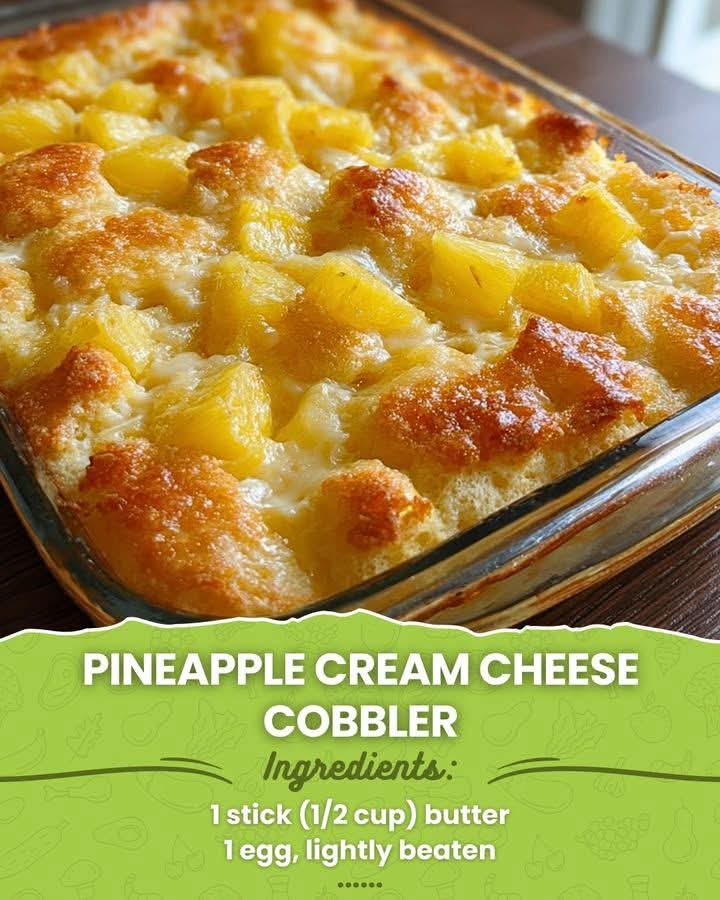
- 1 large can (20 oz) crushed pineapple, drained
- 1/4 cup granulated sugar
- 1 tsp vanilla extract
For the Cream Cheese Layer
- 8 oz cream cheese, softened
- 1/2 cup granulated sugar
- 1 large egg
- 1/2 tsp vanilla extract
- 1/4 cup sour cream
For the Cobbler Crust
- 1 cup all-purpose flour
- 1/2 cup granulated sugar
- 1 tsp baking powder
- 1/4 tsp salt
- 1/2 cup unsalted butter, cold and cubed
- 1/4 cup milk
Optional Topping
- Whipped cream or toasted coconut flakes for garnish
Instructions & Methods
Step 1: Preheat & Prepare
- Preheat your oven to 350°F (175°C).
- Grease a 9×9-inch baking dish lightly with butter or nonstick spray.
Step 2: Pineapple Layer
- In a medium bowl, combine drained pineapple, sugar, and vanilla extract.
- Spread the pineapple evenly on the bottom of the prepared baking dish.
Step 3: Cream Cheese Layer
- In a separate bowl, beat the softened cream cheese until smooth.
- Add sugar, egg, sour cream, and vanilla extract, mixing until creamy and well combined.
- Carefully pour this mixture over the pineapple layer and smooth it with a spatula.
Step 4: Cobbler Crust
- In a mixing bowl, whisk together flour, sugar, baking powder, and salt.
- Cut in the cold cubed butter using a pastry cutter or your fingers until the mixture resembles coarse crumbs.
- Add milk gradually and stir until a soft dough forms.
- Drop spoonfuls of the dough evenly over the cream cheese layer. It’s okay if there are gaps—the crust will spread slightly during baking.
Step 5: Bake
- Bake in the preheated oven for 35–40 minutes, or until the crust is golden brown and the cream cheese layer is set.
- Allow to cool slightly before serving to let the layers firm up.
Step 6: Serve
- Slice into squares and serve warm or at room temperature.
- Optional: Top with whipped cream or toasted coconut flakes for extra tropical flair.
History & Formation
The cobbler has a long-standing history in American cuisine, originating as a practical way to make a fruit dessert when pies weren’t possible. Cream cheese became popular in desserts in the 20th century, giving rise to the cheesecake craze. Combining tropical pineapple with a creamy layer and buttery cobbler topping is a modern twist, blending traditional Southern cobblers with tropical flavors often found in Caribbean desserts.
This Pineapple Cream Cheese Cobbler is essentially a layered dessert, inspired by both classic fruit cobblers and cheesecake bars, designed to celebrate the best textures: juicy fruit, creamy filling, and a tender, golden crust.
Conclusion
This cobbler is a tropical escape in a baking dish—sweet pineapple, smooth cheesecake, and a rich crust. It’s perfect for potlucks, family dinners, or as a decadent weekend treat. Every bite delivers a comforting mix of flavors and textures, proving that the simplest ingredients can create magic when layered thoughtfully.
Dessert Lovers’ Notes
- Flavor boosters: Add a pinch of cinnamon to the pineapple for warmth, or a teaspoon of rum extract for an island vibe.
- Texture tweak: Fold 1/4 cup of shredded coconut into the crust for a tropical crunch.
- Serving ideas: Best served with vanilla ice cream or a dollop of whipped cream.
If you want, I can also create a beautiful, step-by-step photo-style version of this recipe, showing each layer visually, so it looks like a professional dessert magazine feature. It makes it extra tempting!
Do you want me to do that?