Absolutely! Here’s a full, indulgent version of your Red Velvet Thanksgiving Pie with everything from history to methods, lovers, and more. 🍰❤️
Red Velvet Pie — The Showstopper of Thanksgiving Desserts
Thanksgiving is all about gathering around the table, sharing laughter, and indulging in delicious comfort foods. While pumpkin and pecan pies have long held the spotlight, the vibrant and velvety Red Velvet Pie is a modern twist that steals the show. With its rich cocoa undertones, creamy sweetness, and that signature red hue, it’s both eye-catching and utterly irresistible. Bonus: this recipe is surprisingly easy, perfect for busy holiday bakers who still want to wow their guests.
Ingredients
For the Crust:
- 1 pre-made pie crust (or homemade if you prefer)
For the Filling:
- 1 box red velvet cake mix (≈15.25 oz)
- ½ stick unsalted butter, melted
- 1 can sweetened condensed milk (≈14 oz)
- ½ cup semi-sweet or milk chocolate chips
- 1 tsp vanilla extract (optional, for extra depth)
Optional Toppings:
- Whipped cream or cream cheese frosting
- Red sprinkles or shaved chocolate
- Crushed nuts (pecans or walnuts work beautifully)
Instructions
Step 1 — Prepare the Crust
- Preheat your oven to 350°F (175°C).
- Place the pie crust in a 9-inch pie pan and gently press it into the edges.
- Pre-bake for 7–8 minutes until slightly firm but not browned. This prevents a soggy bottom.
Step 2 — Make the Filling
- In a mixing bowl, combine the red velvet cake mix and melted butter until fully moistened.
- Stir in the sweetened condensed milk gradually. The mixture should be smooth and pourable.
- Fold in the chocolate chips, reserving a few for topping.
Step 3 — Assemble the Pie
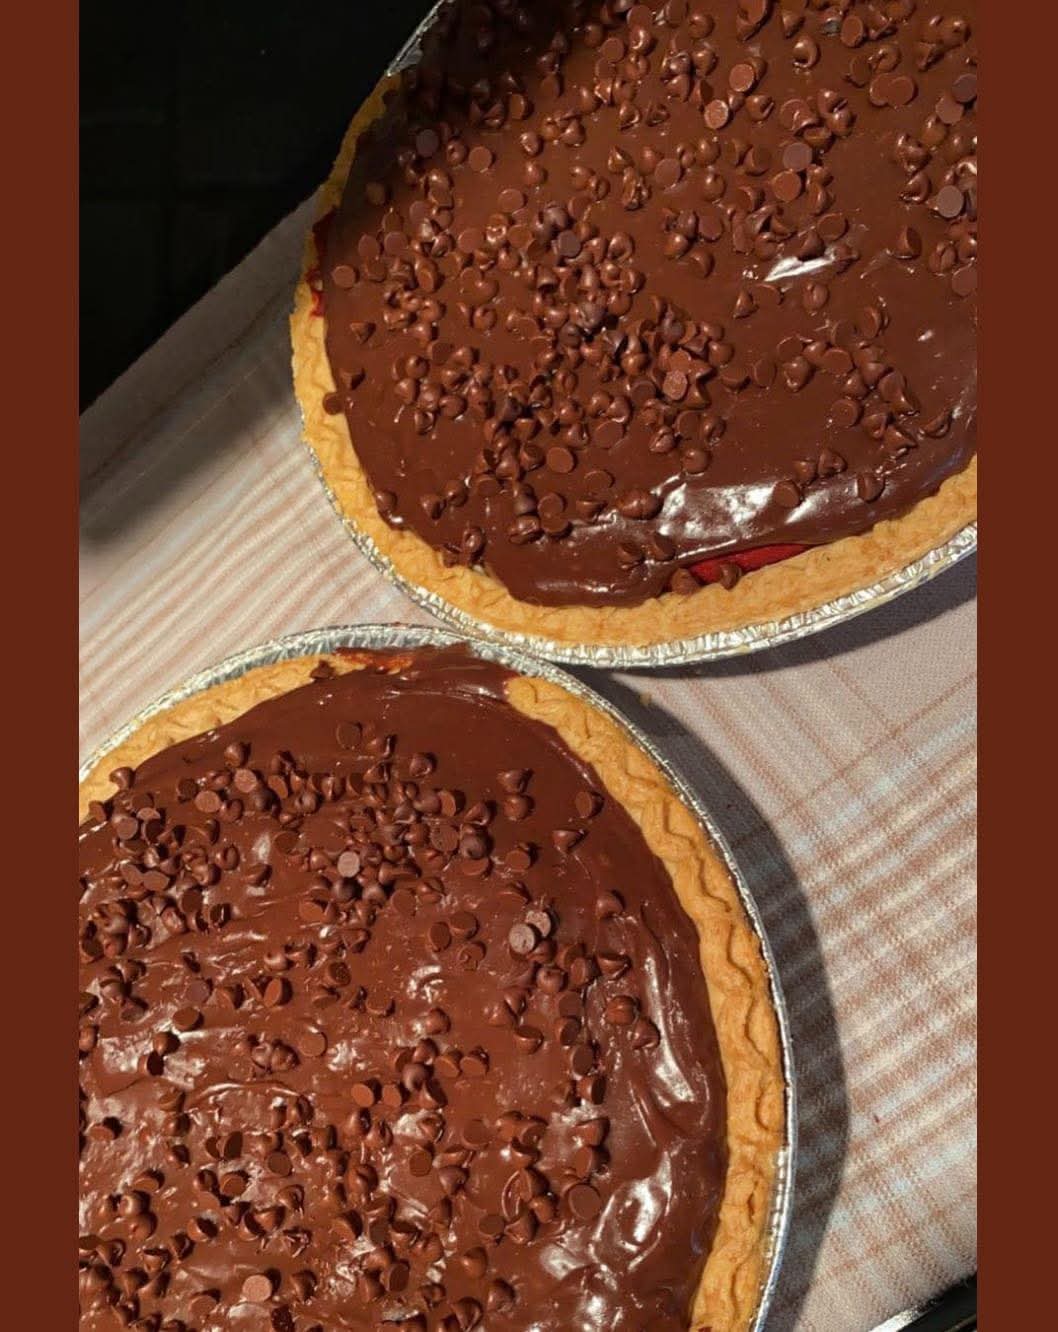
- Pour the red velvet filling into the pre-baked pie crust.
- Sprinkle the remaining chocolate chips on top for a decorative touch.
- Optional: drizzle a tiny bit of sweetened condensed milk for a marbled look.
Step 4 — Bake
- Bake at 350°F (175°C) for 25–30 minutes or until the edges are set and the center is slightly jiggly.
- Allow the pie to cool at room temperature for 30 minutes, then refrigerate for at least 2 hours before serving. This helps it set perfectly.
Step 5 — Garnish & Serve
- Top with whipped cream, cream cheese frosting, or even a scoop of vanilla ice cream.
- Sprinkle with red velvet crumbs, chocolate shavings, or crushed nuts for a festive finish.
History & Formation
Red velvet cake dates back to the early 20th century in the United States, famous for its striking red color and tender crumb. Traditionally a Southern dessert, it became iconic thanks to its visual appeal and luxurious cocoa flavor. Turning it into a pie is a clever modern twist — combining the charm of classic American pies with the bold beauty of red velvet cake. This transformation is ideal for holiday tables where you want something familiar yet unique.
Methods & Tips for Perfection
- Preventing soggy crust: Always pre-bake the crust lightly before adding wet filling.
- Even baking: Use a glass or ceramic pie dish to ensure gentle, even heat.
- Flavor boost: Add 1 tsp of vinegar to enhance the red velvet tanginess.
- Chocolate twist: Swap chocolate chips for white chocolate or caramel bits for variety.
Conclusion
This Red Velvet Pie is a guaranteed crowd-pleaser — visually stunning, decadently creamy, and surprisingly easy. It combines the best of two dessert worlds: the comfort of pie and the indulgence of red velvet cake. Serve it this Thanksgiving, and watch it disappear before anyone can say, “pass the pumpkin pie.”
For the Lovers of Dessert
- Chocolate lovers: Sprinkle extra chocolate chips or drizzle melted chocolate on top.
- Cream lovers: Add a thick layer of cream cheese frosting before serving.
- Crunch lovers: Top with pecans or chocolate cookie crumbs for texture contrast.
This pie is not just a dessert — it’s a conversation starter, a photo-worthy centerpiece, and a love letter to anyone who appreciates sweets. ❤️
If you want, I can also make a step-by-step visual guide version for this pie — showing the layers, chocolate swirls, and final plating, so it’s impossible to get wrong. Would you like me to do that?