Absolutely! Let’s turn your simple no-bake peanut butter cheesecake balls into a big, rich, storytelling-style recipe with all the details you asked for. Here we go:
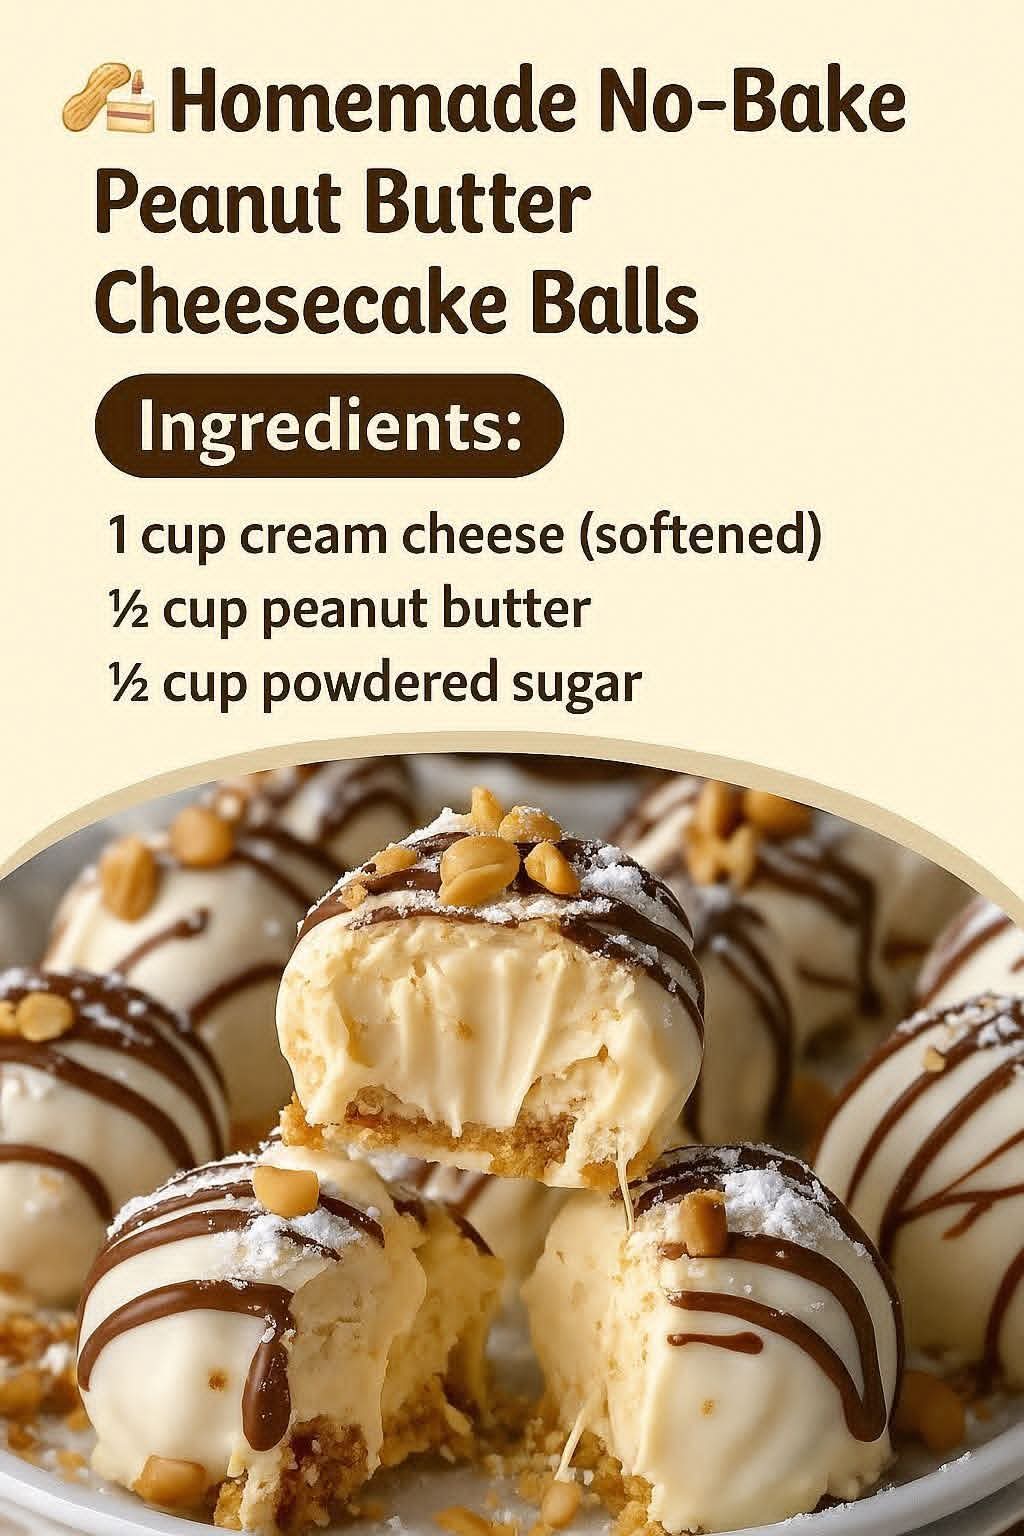
🍫 Homemade No-Bake Peanut Butter Cheesecake Balls
Introduction
There’s something magical about bite-sized desserts—they’re fun, indulgent, and perfect for any occasion. These No-Bake Peanut Butter Cheesecake Balls combine creamy, dreamy cheesecake with the nutty richness of peanut butter and a subtle crunch from graham crackers. Topped with optional chocolate for dipping, they’re the ultimate treat for dessert lovers, party-goers, and anyone craving a sweet snack that melts in your mouth. Best of all, no oven is required, making them perfect for a quick, fuss-free dessert.
Whether you’re hosting a party, making treats for the holidays, or just indulging in a late-night snack, these cheesecake balls are sure to become a family favorite.
Ingredients
For the Cheesecake Balls:
- 1 cup cream cheese, softened to room temperature
- ½ cup creamy peanut butter (natural or store-bought)
- ½ cup powdered sugar
- 1 cup crushed graham crackers
Optional for Dipping or Drizzling:
- ½ cup chocolate chips (milk, dark, or semi-sweet)
- 1 tsp coconut oil (to thin chocolate for dipping, optional)
Instructions
Step 1: Prepare the Base Mixture
- In a medium mixing bowl, combine the softened cream cheese and peanut butter.
- Beat with a hand mixer or sturdy spoon until smooth and creamy.
- Gradually add powdered sugar, mixing until fully incorporated.
Step 2: Add the Crunch
- Fold in the crushed graham crackers until the mixture holds together but remains soft.
- Taste and adjust sweetness if desired.
Step 3: Form the Balls
- Using a small cookie scoop or spoon, scoop out portions of the mixture and roll into 1-inch balls.
- Place the balls on a baking sheet lined with parchment paper.
- Chill in the fridge for at least 1 hour to firm up.
Step 4: Optional Chocolate Coating
- Melt chocolate chips with coconut oil in a microwave-safe bowl, heating in 20-second intervals and stirring in between until smooth.
- Dip each chilled cheesecake ball into the melted chocolate, letting excess drip off.
- Return the chocolate-covered balls to parchment paper and refrigerate until chocolate sets.
Methods & Tips
- For a crunchy exterior: Roll balls in extra crushed graham crackers or finely chopped peanuts before chilling.
- Flavor variations: Swirl in some mini chocolate chips or crushed pretzels for a salty-sweet contrast.
- Storage: Keep refrigerated for up to 5 days or freeze for up to 2 months. Let thaw for 10–15 minutes before serving.
- Presentation: Serve in mini cupcake liners for an elegant touch.
History & Formation
The idea of bite-sized cheesecakes originates from the American love for cheesecake, a dessert that traces back to ancient Greece but became iconic in the U.S. with New York-style cheesecakes. Over time, dessert enthusiasts started experimenting with no-bake versions for convenience. Adding peanut butter gives a classic American twist, reminiscent of peanut butter cups and childhood snacks. The formation of these balls is practical—easy to eat, no knife required, and perfect for gatherings or as a homemade gift.
Conclusion
These No-Bake Peanut Butter Cheesecake Balls are a small but mighty dessert. Creamy, nutty, sweet, and a little indulgent, they satisfy every craving without heating up the kitchen. They’re perfect for parties, holiday treats, or just a cozy night in.
Lovers’ Touch
- Peanut Butter Lovers: You can double the peanut butter for a richer, more pronounced nutty flavor.
- Chocolate Lovers: Add a drizzle of dark chocolate on top after coating for extra indulgence.
- Graham Cracker Lovers: Mix in cinnamon with the crackers for a spiced, cozy flavor.
Methods for Lovers
- For smoothest chocolate coating, temper your chocolate by melting slowly and stirring constantly.
- For creamiest balls, ensure cream cheese is fully softened and peanut butter is room temperature before mixing.
If you want, I can also make a fully illustrated, step-by-step version with photos or a diagram showing rolling, dipping, and final presentation—perfect for sharing or printing.
Do you want me to do that next?