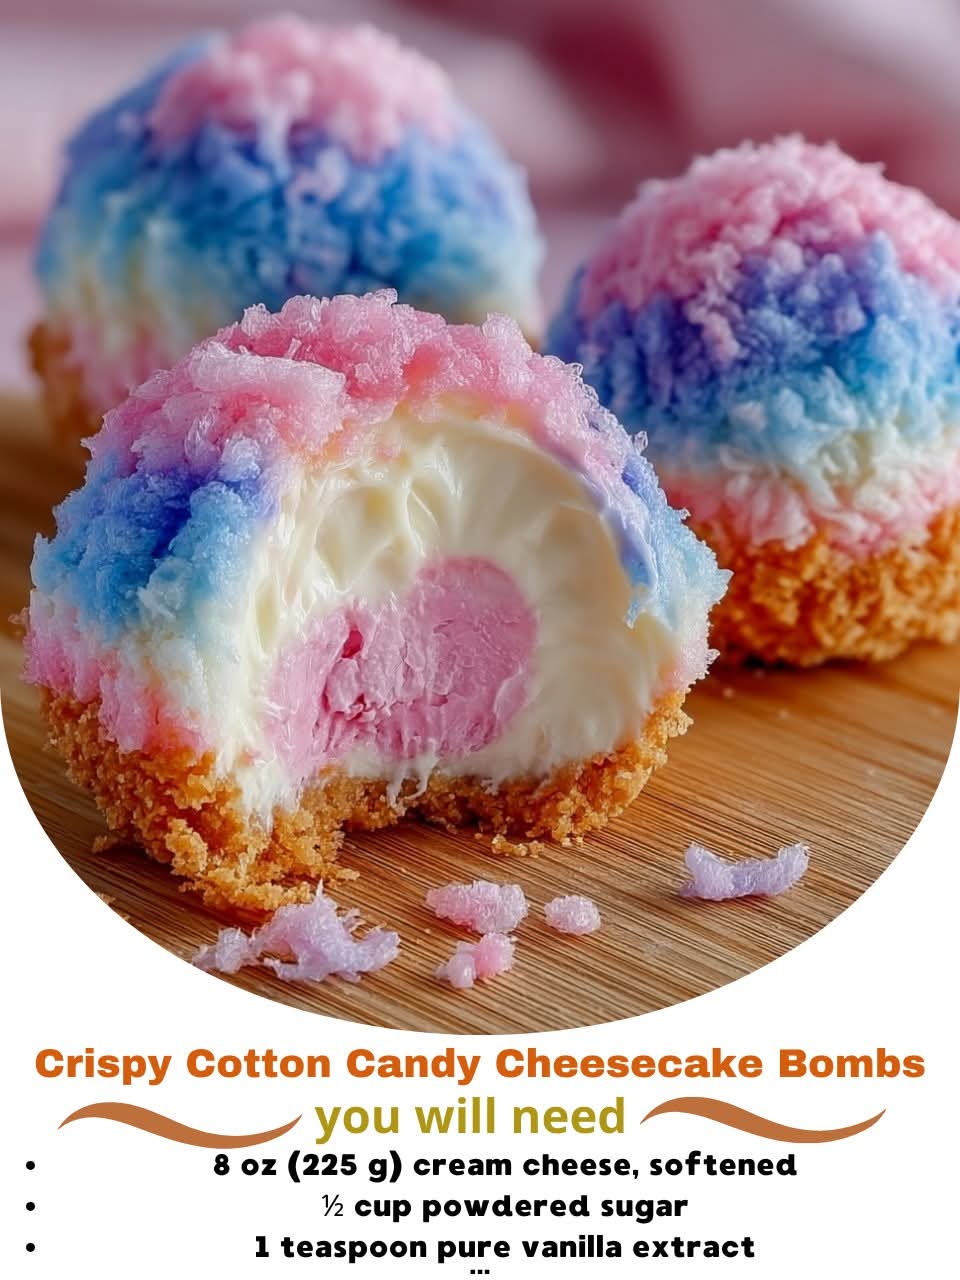
Crispy Cotton Candy Cheesecake Bombs blend creamy cheesecake with carnival nostalgia. The fried dough crunch meets a sweet, airy cotton candy filling, perfect for parties. One key to perfecting them is maintaining the correct frying oil temperature for the ideal texture.
📝 Core Ingredients & Required Equipment
To make about 8 cheesecake bombs, you will need the following ingredients, which are separated by component:
· Cheesecake Filling
· Cream Cheese: 8 oz (225g), softened
· Powdered Sugar: ½ cup
· Vanilla Extract: 1 teaspoon, pure
· Cotton Candy Extract: ½ teaspoon
· Heavy Cream: 2 tablespoons
· Whipped Topping: ¼ cup (like Cool Whip)
· Dough & Frying
· Refrigerated Biscuit Dough: 1 package (8-count)
· All-Purpose Flour: 2 tablespoons, for dusting
· Vegetable Oil: 4 cups, for deep frying
· Coating & Garnish
· Granulated Sugar: 1 cup
· Food Coloring: Pink and blue, optional
· Cotton Candy: For topping
Kitchen Tools You’ll Need
· Large mixing bowl
· Hand mixer or stand mixer
· Rolling pin
· Deep pot or fryer
· Candy thermometer (highly recommended)
· Slotted spoon
· Paper towels
👩🍳 Step-by-Step Recipe Instructions
1. Make and Chill the Filling
In a large bowl, beat the softened cream cheese until smooth. Add the powdered sugar, vanilla extract, and cotton candy extract, then beat again until the mixture is fluffy. Gently fold in the heavy cream and whipped topping using a spatula until combined. Cover the bowl and refrigerate for at least 30 minutes. This chilling step is crucial as it firms up the filling, making it much easier to handle and shape into balls later.
2. Prepare the Dough
While the filling chills, separate the biscuits from the packaged dough. On a lightly floured surface, roll out each biscuit into a flat circle, about ⅛-inch thick.
3. Assemble the Bombs
Remove the chilled filling from the refrigerator. Scoop about 1-2 tablespoons of filling and roll it into a smooth ball with your hands. Place one filling ball in the center of each flattened dough round. Carefully fold the dough edges up and over the filling, pinching the seams tightly to seal it completely. Gently roll the sealed bomb between your palms to form a smooth sphere. Pro Tip: For a secure seal that prevents leaks during frying, you can lightly brush the edges of the dough with water before pinching them together.
4. Fry to Perfection
Pour the vegetable oil into a deep, heavy pot and heat it to 350°F (175°C). Use a candy thermometer to monitor the temperature accurately. Maintaining this temperature is key to achieving a crispy, golden exterior without the bombs becoming greasy.
Once the oil is hot, gently lower 2-3 bombs into the pot at a time, being careful not to overcrowd. Fry for 1-2 minutes per side until they are puffed and uniformly golden brown. Remove the bombs with a slotted spoon and let them drain on a plate lined with paper towels.
5. Create the Colorful Coating
While the bombs are draining, prepare the sugar coating. In a shallow bowl, mix the granulated sugar with a few drops of cotton candy extract (if using) and the pink and blue food coloring. Stir until the color is evenly distributed, creating a pastel sugar mixture.
6. Coat and Garnish
While the fried bombs are still warm (but not hot), roll each one in the colored sugar until fully coated. The residual heat helps the sugar adhere better. For a final festive touch, top each bomb with a small piece of cotton candy right before serving.
💡 Expert Tips & Creative Variations
· Frying Temperature is Critical: A steady oil temperature of 350°F (175°C) is non-negotiable for the best texture. If the oil is too cool, the bombs will absorb grease and become soggy; if it’s too hot, the outside will burn before the inside is done.
· Troubleshooting Common Issues: If your filling leaks during frying, the dough likely wasn’t sealed tightly enough. If the final texture is soggy, the bombs may have been coated in sugar before excess oil drained off.
· Alternative Cooking Methods: For a lighter version, you can bake the assembled (but uncoated) bombs in a preheated oven at 375°F for 12-15 minutes until golden, or air fry them at 370°F for 8-10 minutes.
· Fun Flavor Variations:
· Chocolate-Dipped: Dip the cooled bombs in melted white or milk chocolate.
· Birthday Cake: Add rainbow sprinkles and a dash of birthday cake extract to the filling.
· Different Coating: Instead of colored sugar, try rolling the bombs in crushed graham crackers or vanilla cookie crumbs for a different crunch.
🍽️ Nutrition & Serving Suggestions
Based on a standard fried version, one cheesecake bomb contains approximately:
· Calories: 320 kcal
· Fat: 18 g
· Carbohydrates: 32 g
· Sugar: 14 g
· Protein: 5 g
How to Serve
These bombs are best enjoyed fresh and slightly warm. They pair wonderfully with:
· A scoop of vanilla ice cream or a dollop of whipped cream.
· A drizzle of white chocolate, raspberry sauce, or caramel.
· A side of fresh berries to balance the sweetness.
· For drinks, try iced coffee, a milkshake, or a sparkling beverage.
🔍 Origins & Enduring Popularity
This recipe is a modern, playful fusion that taps into deep-seated food nostalgia. It marries the American fairground tradition of fried dough (like funnel cakes and fried Oreos) with the universal childhood joy of cotton candy. The concept of portable, filled fried desserts has roots in various global cultures, from Italian zeppole to Polish paczki. This recipe updates that idea with contemporary flavors and visual appeal, making it particularly popular for social media and themed parties where its colorful, photogenic quality is a major draw.
I hope this comprehensive guide helps you create these magical treats. Would you like more details on making the sugar coating, or ideas for other festive dessert bombs to try?