Absolutely! Let’s turn your simple blackberry jam recipe into a rich, detailed, and charming “big recipe” with history, methods, and all the delightful touches for lovers of homemade preserves. Here’s a full version:
🍇 Best Homemade Blackberry Jam – A Love Letter to Summer in a Jar
Introduction
There’s something magical about homemade jam—the deep, vibrant flavor of fresh fruit, the sweet aroma that fills the kitchen, and the satisfaction of knowing exactly what’s in every jar. Blackberry jam, in particular, captures the essence of late summer. Its bold, slightly tart flavor pairs beautifully with buttery toast, scones, or even as a decadent swirl in yogurt or desserts. Making your own jam is more than a recipe; it’s a cherished tradition, a sensory experience, and a gift you can share with those you love.
Ingredients
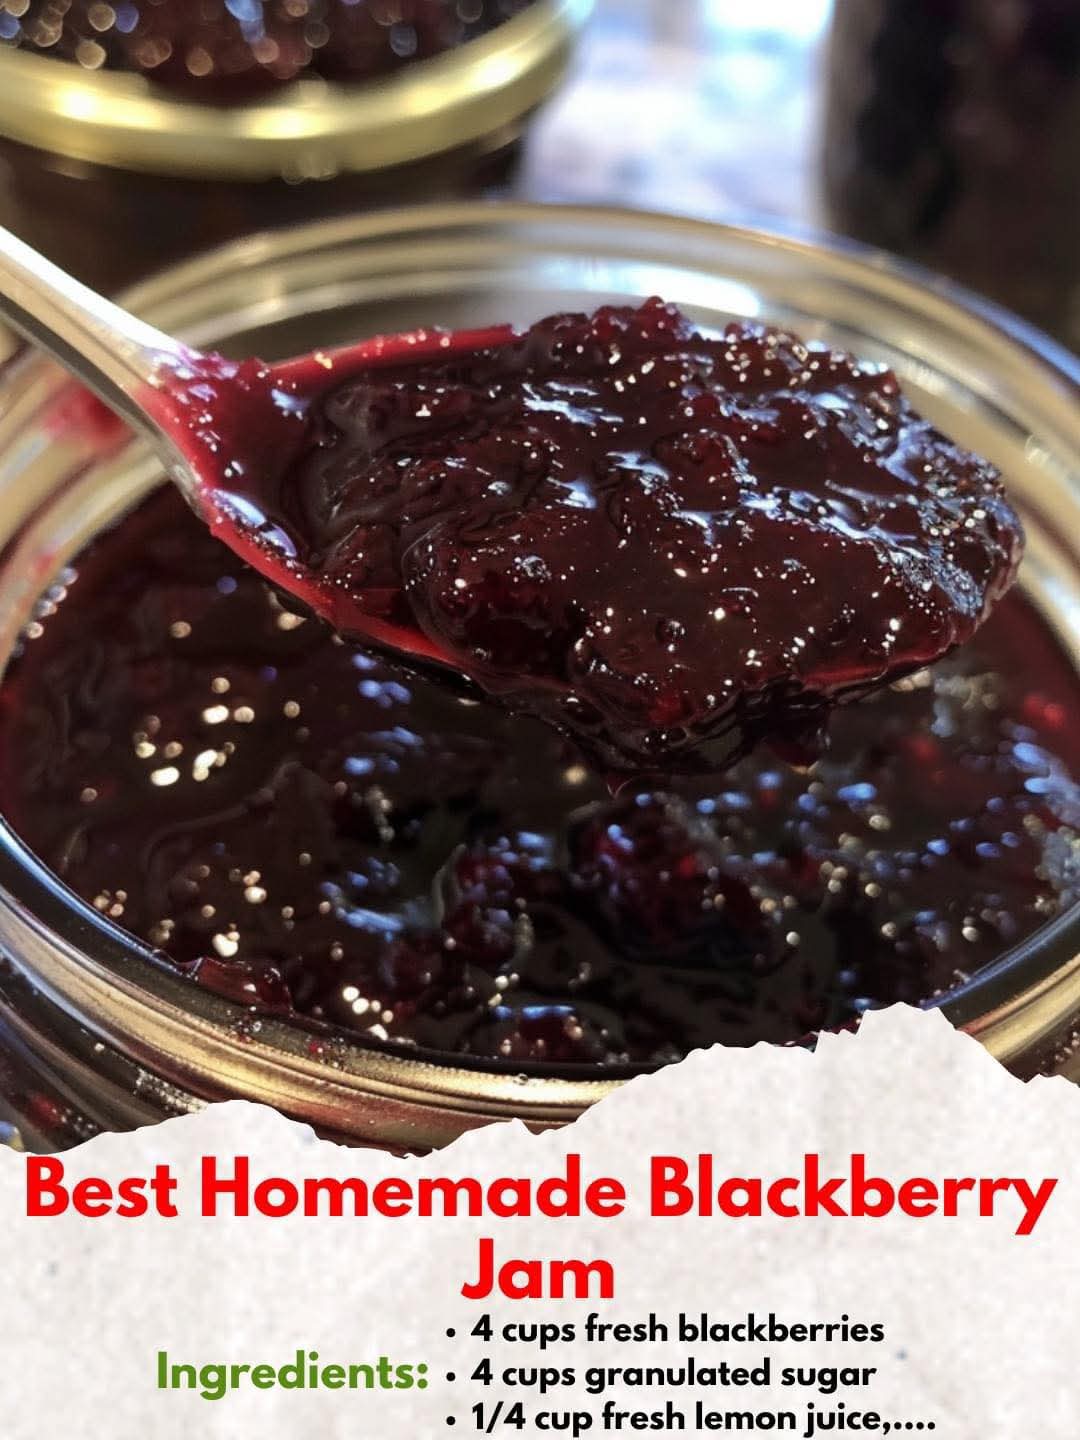
- 4 cups fresh blackberries (picked at peak ripeness for the sweetest flavor)
- 4 cups granulated sugar
- 1/4 cup fresh lemon juice (helps balance sweetness and preserves color)
Optional:
- 1/2 teaspoon vanilla extract for a subtle warmth
- A pinch of cinnamon or nutmeg for a unique twist
Instructions & Methods
1. Prepare the Blackberries
- Rinse the blackberries gently under cold water, removing stems and any leaves.
- Place the berries in a large mixing bowl. Use a potato masher, fork, or even your hands to mash them to your preferred consistency—leave some chunks for texture, or make it smooth for a classic spread.
Pro Tip: A few whole berries in your jam give it a rustic, artisanal feel, perfect for homemade gifts.
2. Cook the Jam
- Transfer the mashed blackberries to a large, heavy-bottomed saucepan.
- Add sugar and lemon juice, stirring well to combine.
- Heat over medium heat until the mixture comes to a gentle boil, stirring frequently to prevent sticking.
- Reduce the heat to medium-low and let the jam simmer for 20–25 minutes. Stir occasionally until the jam thickens and deepens in color.
Method Notes:
- Skim off any foam that forms on top for a clearer jam.
- For smoother jam, you can blend the mixture briefly with an immersion blender before boiling.
3. Test for Doneness
- Place a small spoonful of jam on a chilled plate. Let it sit for 1 minute.
- Push gently with your finger; if it wrinkles and holds its shape, it’s ready.
- If it’s still runny, simmer for a few more minutes and test again.
4. Sterilize the Jars
- Place jars and lids in a large pot of boiling water for 10 minutes.
- Remove with tongs and place them on a clean kitchen towel to dry.
Why It Matters: Sterilizing jars ensures your jam stays fresh and safe for months.
5. Fill the Jars
- Let the hot jam cool for a few minutes before ladling into jars, leaving about 1/4 inch of headspace.
- Wipe rims clean, place lids on, and screw bands until fingertip-tight.
6. Process the Jars (Optional for Long-Term Storage)
- Place jars in a boiling water bath, ensuring they’re fully submerged.
- Boil for 10 minutes, then remove carefully.
- Let jars cool completely on a clean towel.
- Test the seals by pressing the center of each lid—if it doesn’t pop back, it’s sealed.
Alternative: Refrigerate jam if you prefer not to process, but use within 2–3 weeks.
History & Formation
Blackberry jam has been a beloved preserve for centuries. In the Victorian era, families would gather blackberries from hedgerows and prepare jam not only as food but as a means of celebrating seasonal abundance. The tradition of home canning became especially important in the 19th and 20th centuries, providing a way to enjoy summer fruits all year long. Today, making blackberry jam is both a nod to history and a simple pleasure of modern life—an intimate, hands-on process that connects us to the land and to those we share it with.
Conclusion
Your homemade blackberry jam is more than a spread—it’s a labor of love. Its deep color, bold flavor, and fruity aroma are a testament to the care you’ve put into it. Perfect for breakfast, dessert, or gifting, every spoonful is a celebration of summer and the timeless art of preserving fruit.
Lovers of Blackberry Jam Will Appreciate:
- Spreading it on warm, buttery toast or croissants
- Swirling into yogurt, oatmeal, or ice cream
- Pairing with soft cheeses for a sophisticated snack
- Gifting to friends and family with personalized labels
Methods for Lovers
- Chunky vs. Smooth: Adjust mashing according to preference—rustic chunks are cozy; smooth is elegant.
- Flavor Enhancers: Add a splash of liqueur, vanilla, or spices for a signature twist.
- Creative Uses: Use as a filling for cakes, tarts, or thumbprint cookies.
This recipe celebrates tradition, love, and the simple joy of turning fresh fruit into something timeless. 🍇❤️
If you want, I can also create a step-by-step illustrated version of this recipe, perfect for sharing or gifting—it would include pictures for each stage from mashing to jar sealing. That usually makes it extra “big” and engaging. Do you want me to do that?