Here is a complete, detailed guide to making a spectacular No-Bake Cherry Cheesecake, perfect for lovers of creamy, fruity desserts.
—
Introduction
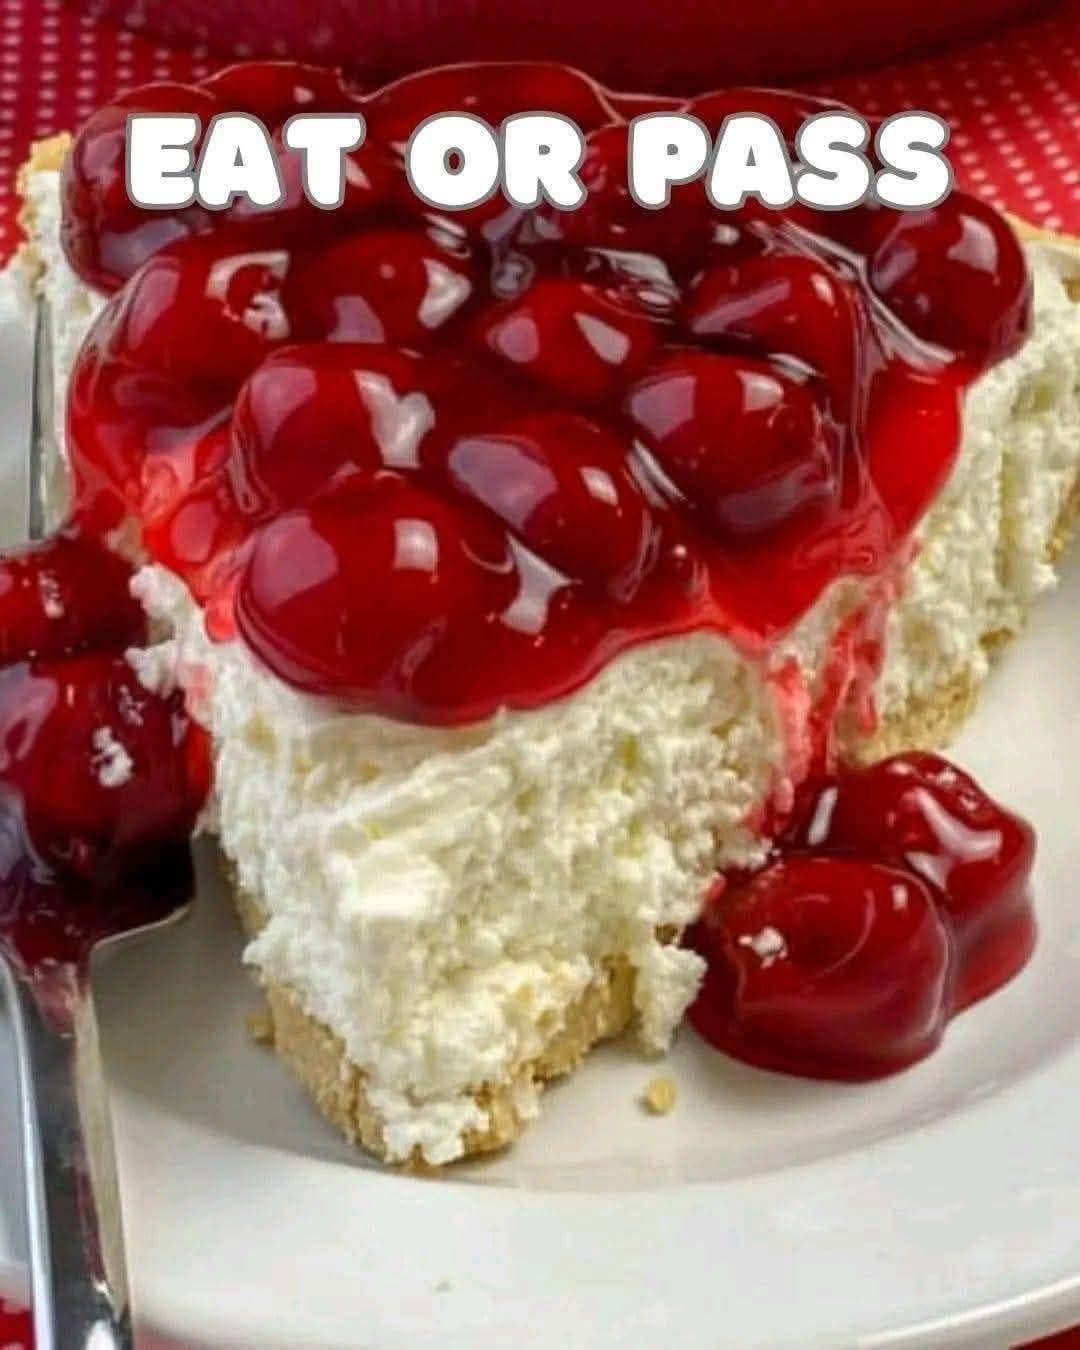
The No-Bake Cherry Cheesecake is a triumph of simplicity and elegance. It delivers all the rich, creamy satisfaction of a traditional cheesecake without the fuss of a water bath or the risk of cracks. This dessert is a celebration of contrasts: the crisp, buttery crust against the velvety, tangy filling, all crowned with a glossy, sweet-tart cherry topping. It’s the perfect make-ahead centerpiece for summer gatherings, festive holidays, or anytime you crave a slice of indulgence with minimal effort.
—
A Slice of History
Cheesecake dates back to ancient Greece, but the modern, creamy version we know began in the 18th century with the use of cream cheese. The no-bake iteration became wildly popular in mid-20th century America, thanks to the widespread availability of cream cheese, gelatin, and electric mixers. The classic cherry topping, often made with bright red tart cherries, became an iconic pairing in diners and family kitchens, symbolizing an accessible yet luxurious treat.
—
Why You’ll Love It (Benefits & For the Lovers)
· Effortless Elegance: No oven, no baking anxiety. It’s foolproof.
· Make-Ahead Marvel: It requires chilling time, making it perfect for preparing a day ahead.
· Crowd-Pleaser: Universally loved, from kids to grandparents.
· Customizable: The base recipe is a canvas. Swap the cherry topping for blueberry, strawberry, or lemon curd.
· Texture Heaven: Experience the perfect harmony of crunchy, creamy, and fruity in every bite.
· For Hot Days: A refreshing, cool dessert when turning on the oven is unthinkable.
—
Ingredients
For the Crust:
· 2 cups (200g) graham cracker crumbs (about 15 full sheets)
· 1/3 cup (75g) granulated sugar
· 1/2 cup (115g) unsalted butter, melted
For the Filling:
· 24 oz (680g) full-fat cream cheese, softened to room temperature
· 1 cup (120g) powdered sugar, sifted
· 1 tablespoon pure vanilla extract
· 1 1/4 cups (300ml) cold heavy cream (or heavy whipping cream)
For the Cherry Topping:
· 21 oz (approx. 600g) can of cherry pie filling (or homemade, see note)
· 1 tablespoon lemon juice
· 1/2 teaspoon almond extract (optional, enhances cherry flavor)
For Garnish (Optional):
· Fresh cherries
· Whipped cream
· Mint leaves
—
Equipment
· 9-inch springform pan or deep pie dish
· Food processor or zip-top bag and rolling pin (for crumbs)
· Electric hand mixer or stand mixer
· Rubber spatula
· Measuring cups and spoons
—
Step-by-Step Instructions & Methods
Method 1: Preparing the Crust
1. Combine: In a medium bowl, mix the graham cracker crumbs and granulated sugar. Pour in the melted butter and stir until the mixture resembles wet sand and holds together when pinched.
2. Press: Pour the mixture into your pan. Use the bottom of a glass or measuring cup to press it firmly and evenly into the bottom and about halfway up the sides.
3. Chill: Place the crust in the refrigerator to set while you make the filling (at least 15 minutes).
Method 2: Making the Cream Cheese Filling
1. Whip the Cream: In a clean, chilled bowl, whip the cold heavy cream until stiff peaks form. Set aside.
2. Cream the Base: In a large bowl, beat the softened cream cheese with an electric mixer on medium speed until completely smooth and creamy (about 2 minutes).
3. Sweeten: Add the sifted powdered sugar and vanilla extract. Beat on low until combined, then on medium until smooth and lump-free. Scrape down the sides of the bowl.
4. Fold: Gently fold the whipped cream into the cream cheese mixture using a rubber spatula. Be careful not to deflate the cream; fold until no white streaks remain.
Method 3: Assembly & Setting
1. Fill: Pour the creamy filling into the chilled crust. Smooth the top with an offset spatula or the back of a spoon.
2. Chill: Cover loosely with plastic wrap and refrigerate for at least 6 hours, preferably overnight. This is crucial for the cheesecake to set firmly.
Method 4: Preparing the Topping & Finale
1. Flavor the Topping: Just before serving, stir the lemon juice (and almond extract, if using) into the cherry pie filling.
2. Top: Spread the cherry topping evenly over the entire chilled cheesecake or slice the cheesecake and spoon cherries over individual slices.
3. Garnish & Serve: Add fresh cherries, a dollop of whipped cream, or a mint leaf for a beautiful finish.
—
Nutritional Information (Per serving, approx. 1/12th of cake)
· Calories: ~520 kcal
· Carbohydrates: 45g
· Protein: 6g
· Fat: 36g (Saturated Fat: 21g)
· Cholesterol: 110mg
· Sodium: 320mg
· Sugar: 33g
Note: This is an estimate. For precise dietary needs, use a nutrition calculator with your specific brands.
—
Formation & Tips for Success
· Room Temperature is Key: Softened cream cheese blends smoothly without lumps.
· Chill Your Bowl: For best results when whipping cream, chill your mixer bowl and beaters.
· Press Firmly: A well-packed crust won’t crumble when sliced.
· Patience is a Virtue: Do not rush the chilling time. Overnight is ideal for the perfect slice.
· Homemade Topping Option: Simmer 3 cups of fresh or frozen pitted cherries with 1/2 cup sugar, 1/4 cup water, 2 tbsp cornstarch, and a splash of lemon juice until thickened. Cool completely before using.
—
Conclusion
This No-Bake Cherry Cheesecake is more than just a dessert; it’s a testament to the joy of creating something spectacular with ease. It’s a recipe that builds confidence in new bakers and offers a reliable, stunning option for seasoned cooks. The combination of the buttery crust, the impossibly creamy and rich filling, and the vibrant cherry topping is a classic for a reason—it’s utterly irresistible.
So, gather your simple ingredients, embrace the no-bake method, and get ready to receive rave reviews. This cheesecake is a love letter to simplicity, flavor, and the shared happiness that comes from a truly delicious homemade treat. Enjoy every creamy, cherry-filled bite! 🍒🧀✨