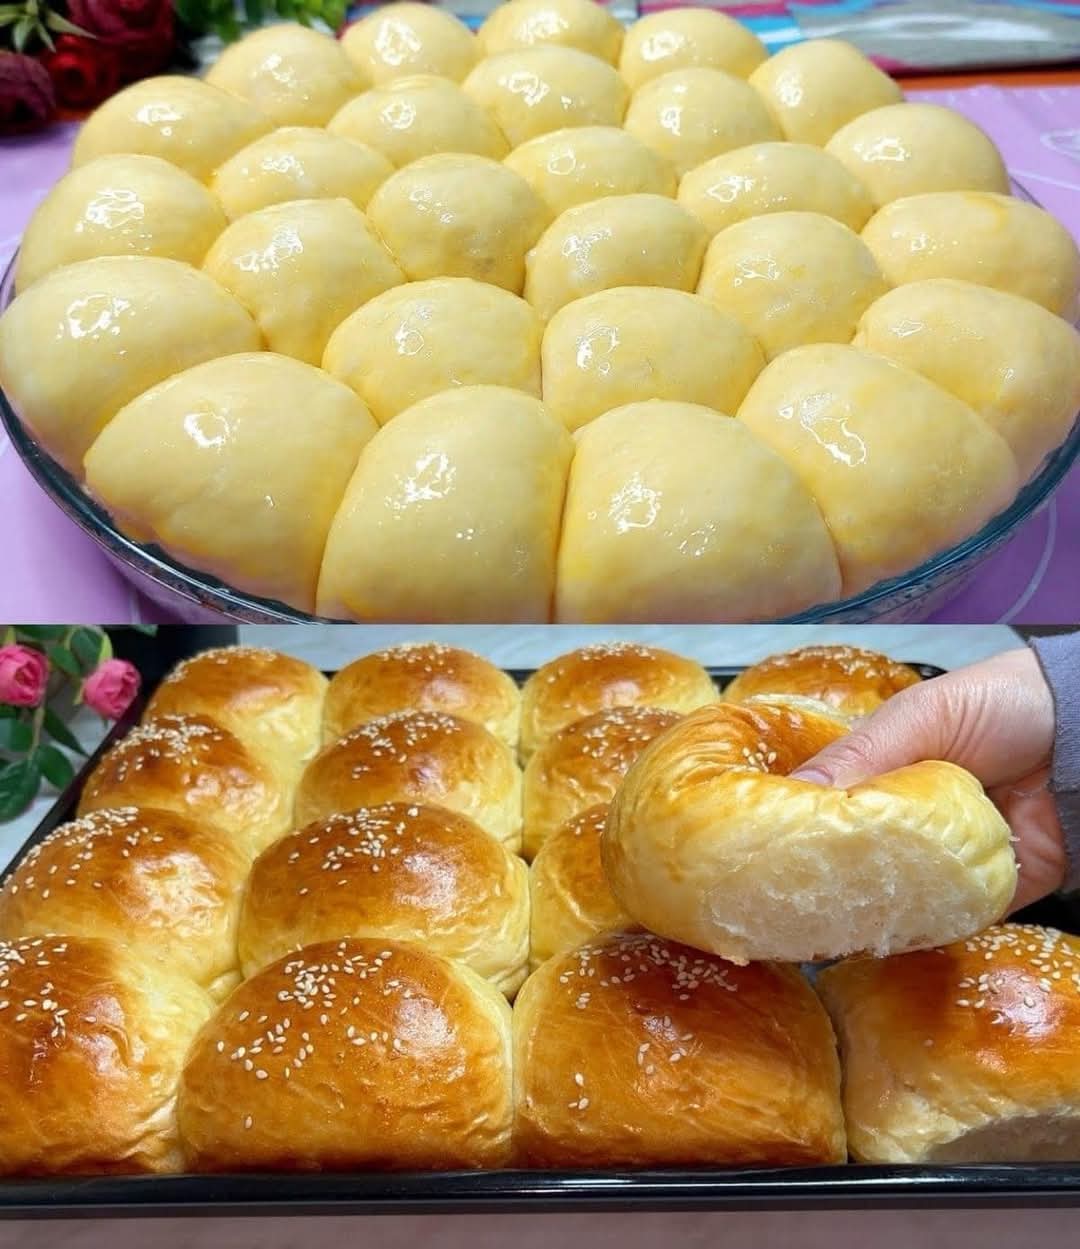
🥐 Milk Brioche Rolls: A Recipe for Buttery, Cloud-Like Bliss
📜 Introduction
Brioche, with its golden crust and tender, buttery crumb, stands as a testament to the magic that happens when simple ingredients are transformed by patience and technique. These Milk Brioche Rolls are a softer, slightly sweeter variation of the classic French bread, enriched with milk and eggs for an incredibly fluffy texture. Perfect for breakfast, as a dinner roll, or as the foundation for an exceptional sandwich, they are a project worth undertaking for any baking enthusiast. The process of folding, chilling, and gently shaping the dough is a meditation that yields delicious, impressive results.
—
📝 Ingredients
For the Dough:
· 4 cups (500g) all-purpose flour, plus extra for dusting
· 1/2 cup (100g) granulated sugar
· 1 tsp salt
· 2 1/4 tsp (1 packet / 7g) active dry yeast
· 1 cup (240ml) whole milk, heated to about 110°F (43°C)
· 2 large eggs, at room temperature
· 1/2 cup (115g) unsalted butter, softened to room temperature and cut into tablespoons
For the Egg Wash:
· 1 large egg
· 1 tbsp milk or water
· A pinch of salt
Optional Topping:
· Pearl sugar or flaky sea salt
—
📖 A Brief History
Brioche’s origins are deeply French, with mentions dating back to the 15th century. It was historically a bread of the wealthy, thanks to its high content of expensive ingredients like butter and eggs. The famous (though likely apocryphal) quote “Let them eat cake” attributed to Marie Antoinette is often translated from the French “Qu’ils mangent de la brioche,” highlighting its status as a luxurious food. Over centuries, it evolved into various forms, from the classic brioche à tête (with a top knot) to the richer brioche vendéenne. This milk-based version is a beloved home-style adaptation, prized for its softness and subtle sweetness.
—
👩🍳 Method & Step-by-Step Instructions
Part 1: Making the Dough
1. Activate the Yeast: In the bowl of a stand mixer, combine the warmed milk and sugar. Sprinkle the yeast over the top and let it sit for 5-10 minutes until it becomes foamy.
2. Combine Dry Ingredients: In a separate bowl, whisk together the flour and salt.
3. Mix: Fit the mixer with a dough hook. Add the eggs and half of the flour mixture to the yeast mixture. Mix on low speed until combined. Gradually add the remaining flour until a shaggy dough forms.
4. Knead: Increase speed to medium and knead for 5 minutes until the dough is smooth and begins to pull away from the sides.
5. Incorporate Butter: With the mixer on medium-low, add the softened butter, one tablespoon at a time, waiting for each piece to be fully absorbed before adding the next. This is key for brioche’s signature texture.
6. First Rise: Once all butter is incorporated, knead on medium for another 5-8 minutes until the dough is very smooth, elastic, and slightly sticky. It will be soft and luxurious. Place the dough in a lightly greased bowl, cover with plastic wrap or a damp cloth, and let it rise in a warm place for 1-1.5 hours, or until doubled in size.
7. Chill (Crucial Step): After the first rise, punch down the dough, re-cover the bowl, and refrigerate for at least 4 hours, or overnight. This firms up the butter, making the dough much easier to handle and shape.
Part 2: Shaping & Second Rise
1. Divide: Turn the chilled dough out onto a lightly floured surface. Gently deflate it and divide it into 12 equal pieces (about 85g each for standard rolls).
2. Shape: To shape each roll, cup your hand over a piece of dough and roll it in a tight circular motion on an un-floured part of the counter until it forms a smooth, taut ball. Place the shaped rolls in a greased 9×13 inch baking pan or on a parchment-lined baking sheet, spaced about 1 inch apart.
3. Second Rise: Cover the shaped rolls loosely and let them rise in a warm place for 1-1.5 hours, until puffy and nearly doubled. They should spring back slowly when gently poked.
Part 3: Baking
1. Preheat & Egg Wash: About 20 minutes before baking, preheat your oven to 375°F (190°C). Prepare the egg wash by whisking the egg with milk/water and a pinch of salt. Brush the tops of the risen rolls gently but thoroughly.
2. Bake: Bake for 20-25 minutes, rotating the pan halfway through, until the rolls are a deep, glossy golden brown and sound hollow when tapped on the bottom. An internal thermometer should read 190°F (88°C).
3. Cool: Let the rolls cool in the pan for 5 minutes, then transfer them to a wire rack to cool completely.
—
✨ Formation Variations
· Classic Brioche à Tête: Use a fluted brioche mold. Shape 90% of the dough into a ball for the body and 10% into a small teardrop for the “head.” Press the head into the body.
· Braid: Divide dough into three strands, braid, and coil into a round.
· Loaf: Shape into a log and place in a greased loaf pan for a classic brioche loaf.
—
🔬 Nutrition & Benefits
While brioche is an enriched bread and a treat, it offers some nutritional value:
· Energy Dense: Provides carbohydrates for energy and fats for satiety.
· Protein & Calcium: Thanks to the milk and eggs, it contains more protein and calcium than a standard white bread.
· Mindful Indulgence: The process of baking from scratch promotes mindfulness and the satisfaction of creating something beautiful. The quality of ingredients you control—real butter, fresh eggs, wholesome milk—makes it a superior choice to many store-bought versions.
Approximate Nutrition per Roll: Calories: ~280 | Fat: 11g | Carbs: 38g | Protein: 6g
—
❤️ For the Lovers of…
· Comfort Food: The ultimate warm, buttery, soft bite.
· French Patisserie: Bringing a touch of bakery elegance to your home.
· The Art of Baking: A rewarding project that teaches the science of yeast, gluten, and fat.
· Versatility: Equally sublime with jam, as a burger bun, or simply on its own.
—
🎯 Conclusion
These Milk Brioche Rolls are more than just bread; they are an edible experience. The journey from a sticky, rich dough to a pan of glorious, golden-brown pillows is deeply rewarding. The extended chilling time is not an obstacle but the secret to their perfect texture and flavor development. While they require patience, the technique is straightforward, and the result is a show-stopping baked good that will fill your kitchen with an unforgettable aroma and your table with joy. Share them with loved ones, savor them with a cup of coffee, and revel in the simple, profound pleasure of homemade bread.
Happy Baking! 🥖✨