Of course! Here is a comprehensive and detailed guide to Cherry Cheesecake Cupcake Bites, crafted for the true dessert lover.
A Bite-Sized Piece of Heaven: An Introduction
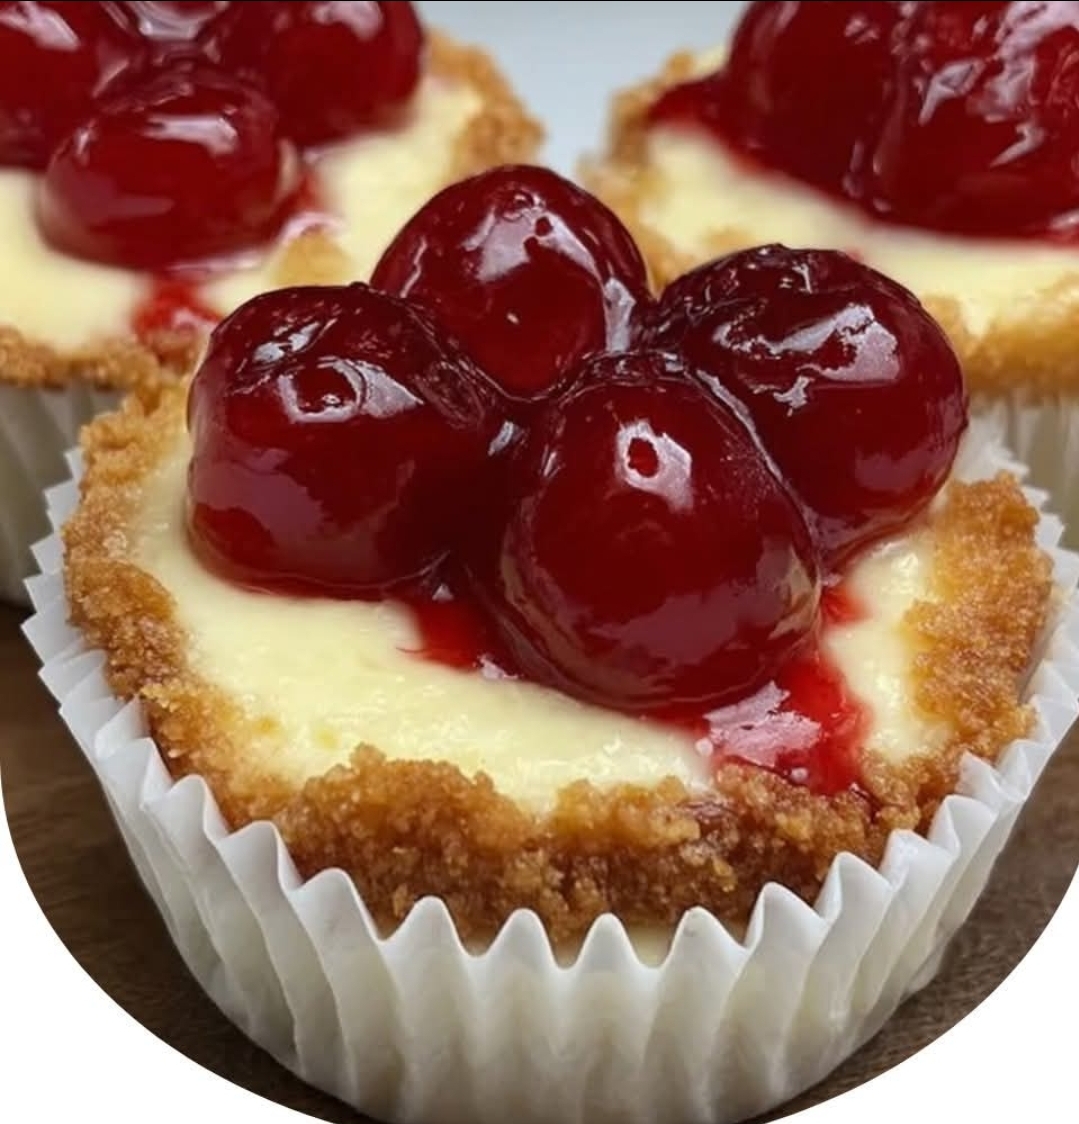
The classic cherry cheesecake is an icon of the dessert world—a rich, creamy filling atop a buttery crust, crowned with vibrant, glossy cherries. But what if you could capture all that decadence in a perfect, portable, single-serving bite? Enter the Cherry Cheesecake Cupcake Bite. This recipe transforms the beloved dessert into an adorable, mess-free treat that’s perfect for parties, potlucks, or satisfying a personal craving. With a creamy, no-bake filling nestled in a graham cracker cupcake liner and topped with that signature cherry sauce, each bite delivers the perfect ratio of crust, cream, and fruit.
—
The Historical Journey: From Ancient Cheese to Modern Marvel
The story of cheesecake begins over 4,000 years ago in ancient Greece, where it was served to athletes at the first Olympic Games. The Romans later adopted the recipe, spreading it across Europe. The cream cheese-based cheesecake we know and love today is a distinctly American innovation, made possible by the creation of cream cheese in the late 19th century by dairymen like William Lawrence.
The “cherry on top” became a staple in American diners in the early to mid-20th century, with the popularity of canned cherry pie filling. This recipe is a modern evolution, combining the classic flavors with the contemporary desire for individual, shareable desserts.
—
The Grand Formation: Ingredients & Equipment
Ingredients:
For the Graham Cracker Crust:
· 1 ½ cups finely crushed graham crackers (about 10-12 full sheets)
· 2 tablespoons granulated sugar
· 6 tablespoons unsalted butter, melted
For the No-Bake Cheesecake Filling:
· 16 oz (two 8 oz blocks) full-fat cream cheese, softened to room temperature
· 1 cup powdered sugar, sifted
· 1 teaspoon pure vanilla extract
· 1 cup heavy whipping cream, cold
For the Cherry Topping:
· 1 can (21 oz) cherry pie filling
· 1 tablespoon lemon juice (optional, to brighten flavor)
Optional Garnish:
· Fresh mint leaves
· Extra graham cracker crumbs
Essential Equipment:
· Standard 12-cup muffin tin
· 12 cupcake liners
· Electric hand mixer or stand mixer
· Medium and large mixing bowls
· Spatula
· Measuring cups and spoons
—
The Art of Creation: Methods & Instructions
Method 1: Preparing the Crust
1. Combine Dry Ingredients: In a medium bowl, mix the finely crushed graham crackers and 2 tablespoons of granulated sugar.
2. Add Butter: Pour the 6 tablespoons of melted butter over the crumb mixture. Use a fork to stir until the mixture is fully moistened and resembles wet sand. It should hold together when pinched.
3. Form the Base: Line your muffin tin with cupcake liners. Spoon about 1.5 to 2 tablespoons of the crust mixture into the bottom of each liner.
4. Compact the Crust: Use the bottom of a small glass, a shot glass, or a tart tamper to press the crumbs firmly and evenly into the bottom of each liner. This step is crucial to prevent a crumbly crust.
5. Chill: Place the entire muffin tin in the refrigerator to set while you prepare the filling.
Method 2: Crafting the Creamy Filling
1. Whip the Cream: In a large bowl, using an electric mixer with chilled beaters, whip the 1 cup of cold heavy whipping cream on high speed until stiff peaks form. Set aside.
2. Cream the Cheese: In another large bowl, beat the softened cream cheese on medium speed until it is completely smooth and lump-free, about 2 minutes.
3. Sweeten and Flavor: Add the sifted powdered sugar and 1 teaspoon of vanilla extract to the cream cheese. Beat on low speed until just combined, then switch to high speed for 1 minute until smooth and creamy.
4. Fold and Combine: Gently fold the whipped cream into the cream cheese mixture using a spatula. Be careful not to deflate the whipped cream; fold until no white streaks remain. The filling should be light and airy.
Method 3: Assembling the Masterpiece
1. Fill the Cups: Remove the chilled crusts from the refrigerator. Spoon or pipe the cheesecake filling evenly into each cupcake liner, filling them almost to the top.
2. Smooth the Tops: Use the back of a spoon or an offset spatula to smooth the tops of the filling.
3. Final Chill: Cover the muffin tin with plastic wrap and refrigerate for at least 4 hours, but preferably overnight. This allows the filling to set firmly.
Method 4: The Grand Finale – The Cherry Topping
1. Prepare the Topping: Just before serving, stir the 1 tablespoon of lemon juice (if using) into the can of cherry pie filling. This adds a lovely brightness that cuts through the richness.
2. Top and Garnish: Spoon a generous amount of the cherry topping onto the center of each chilled cheesecake bite.
3. Serve: For an extra touch, garnish with a tiny fresh mint leaf or a light sprinkle of graham cracker crumbs. Serve immediately and enjoy the bliss!
—
A Note on Nutrition & Benefits
While this is undoubtedly an indulgent treat, it’s worth appreciating its components:
· Calcium & Protein: Cream cheese provides a source of calcium and protein, essential for bone health.
· Antioxidants: The cherries in the topping contain antioxidants, which help combat oxidative stress in the body.
· Portion Control: The single-serving size is a built-in method for enjoying a decadent dessert mindfully, preventing overindulgence.
· Joy is a Benefit: The happiness derived from sharing and eating a beautifully made dessert is a genuine benefit to one’s well-being.
Approximate Nutrition (per serving):
· Calories: ~320
· Fat: 22g
· Carbohydrates: 28g
· Protein: 4g
—
A Sweet Conclusion for Dessert Lovers
For the true dessert lover, a recipe is more than a list of instructions—it’s an invitation to create joy. These Cherry Cheesecake Cupcake Bites are the perfect embodiment of that philosophy. They deliver the profound satisfaction of a classic cheesecake with the fun and convenience of a cupcake. The contrast of the buttery crust, the lush, tangy cream, and the sweet, fruity cherry topping is a symphony of textures and flavors in every single bite.
They are a testament to the fact that the best things don’t always come in large packages; sometimes, the most perfect experiences are beautifully, deliciously bite-sized. So, gather your ingredients, preheat your passion, and create these little masterpieces. They are sure to make you, and anyone you share them with, fall in love with dessert all over again.