Of course! This is a wonderful recipe to have in your back pocket. Here is a complete, expanded guide to your No-Oven Stovetop Bread, formatted as a cherished keepsake.
—
A Treasure for Your Kitchen: The Magic of Stovetop Bread
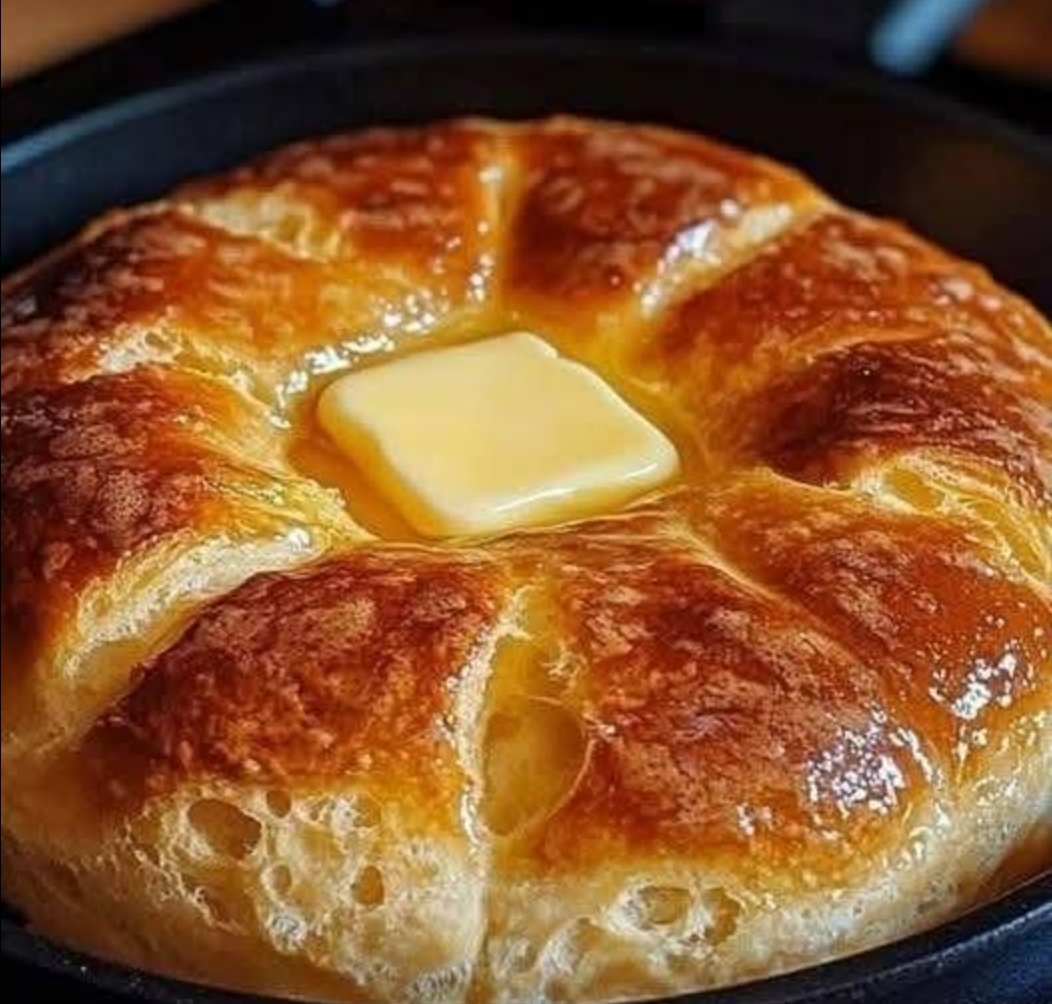
In a world of complex baking and specialized equipment, this recipe is a beautiful reminder of simplicity and resourcefulness. This is the bread you make when your oven breaks, when it’s too hot to turn it on, when you’re camping, or when you simply crave the warm, comforting taste of fresh bread without the wait. It’s a quick, dense, and wonderfully satisfying loaf that comes together in minutes and cooks in a pan on your stovetop. Don’t lose this recipe—it’s a little piece of culinary magic.
—
The Story of Hearth-to-Stovetop
Before the widespread use of modern ovens, many cultures cooked bread directly on the hearth, on hot stones, or covered in pots over embers. This recipe is a direct descendant of those traditions. It echoes the Irish Soda Bread in its use of baking powder for leavening and the Australian Damper in its simple, staple ingredients. It’s a “survival” bread, a traveler’s bread, and a quick bread all in one. It proves that the fundamental human desire for warm, fresh bread can be fulfilled anywhere, with just a single pan and a flame.
—
Why You’ll Love This Bread (The Benefits)
· Speed: From bowl to plate in under 20 minutes.
· Accessibility: No oven, no yeast, no special skills required.
· Versatility: Perfect for breakfast, a side for soup, or a base for avocado toast.
· Comfort Food: Nothing beats the smell and taste of warm bread fresh from the pan.
· Portable: Take it camping, to a dorm room, or make it in a vacation rental with a poorly equipped kitchen.
—
The Formation: Understanding Your Ingredients
Each component plays a crucial role in creating this simple bread:
· All-Purpose Flour: The structure-builder. It forms the gluten network that gives the bread its body.
· Baking Powder: The rising agent. It creates bubbles of carbon dioxide, making the bread light and airy instead of a dense brick.
· Salt: The flavor enhancer. It balances the richness and is essential for a well-rounded taste.
· Unsalted Butter, Melted: The tenderizer and flavor. Fat coats the flour proteins, resulting in a softer crumb and a rich, buttery taste.
· Milk: The hydrator and tenderizer. It adds moisture, flavor, and contributes to a soft texture.
· Egg: The binder and enricher. It holds everything together, adds color, and contributes to the bread’s nutritional value and structure.
—
Gathering Your Tools & Ingredients
Equipment:
· A medium-sized mixing bowl
· A whisk or fork
· A sturdy 8- or 9-inch non-stick skillet or well-seasoned cast-iron pan with a tight-fitting lid.
· A spatula
· A cooling rack (optional but helpful)
Ingredients:
· 1 cup (125g) all-purpose flour
· 1 teaspoon baking powder
· 1/4 teaspoon salt
· 1/4 cup (1/2 stick or 57g) unsalted butter, melted
· 1/2 cup (120ml) milk (any kind)
· 1 large egg
—
The Method: A Step-by-Step Guide
Step 1: Combine the Dry Ingredients
In your mixing bowl,whisk together the 1 cup of flour, 1 teaspoon of baking powder, and 1/4 teaspoon of salt. Whisking ensures the baking powder and salt are evenly distributed, which is key for a uniform rise and flavor.
Step 2: Create the Wet Mixture
In a separate small bowl or measuring cup,whisk the 1/2 cup of milk and the 1 large egg together until fully combined and slightly frothy. Then, whisk in the 1/4 cup of melted, slightly cooled butter.
Step 3: Bring the Dough Together
Pour the wet ingredients into the dry ingredients.Using a fork, stir until just combined. Do not overmix! A few lumps are perfectly fine. Overmixing will develop the gluten and make the bread tough. The batter will be thick, like a drop-biscuit dough or a very thick pancake batter.
Step 4: Pre-heat and Cook
Place your skillet over alow to medium-low heat. It’s crucial to not have the heat too high, or the bottom will burn before the center cooks through. Let the skillet get properly warm for 2-3 minutes.
Step 5: Transfer and Shape
Scrape the dough into the warm,dry skillet (no need for extra grease if using non-stick or cast iron). Gently pat it down with your spatula or a spoon to form a round, domed disc, about 6 inches in diameter.
Step 6: The Steamed Bake
Cover the skillet with the tight-fitting lid.This is the secret! The lid traps the steam, creating a mini-oven environment that cooks the bread through without drying it out. Cook for 12-15 minutes on low to medium-low heat.
Step 7: The Flip and Finish
After 12-15 minutes,the top should look dry and set. Carefully flip the bread over with your spatula. It should be a beautiful golden brown on the bottom. Replace the lid and cook for another 3-5 minutes until the other side is also golden brown and the center is fully cooked. You can check by inserting a toothpick into the center; it should come out clean.
Step 8: Cool and Serve
Transfer your beautiful golden loaf to a cooling rack for a few minutes.It’s best served warm, slathered with more butter, honey, or jam.
—
A Note on Nutrition (Per Loaf, approximate)
This entire loaf is a hearty serving. It’s a wholesome, energy-dense food.
· Calories: ~900-1000
· Carbohydrates: ~100g
· Protein: ~20g
· Fat: ~45g
· Key Nutrients: A good source of energy, provides calcium and protein from the milk and egg, and contains iron from the enriched flour.
—
For the Stovetop Bread Lovers: Variations & Ideas
The true beauty of this recipe is its adaptability. Make it your own!
· The Herb Lover: Add 1 teaspoon of dried herbs like rosemary, thyme, or an Italian blend to the dry ingredients.
· The Cheese Lover: Fold in 1/3 cup of shredded sharp cheddar, parmesan, or gruyère into the batter.
· The Sweet Lover: Add 2 tablespoons of sugar to the dry ingredients and a handful of blueberries or chocolate chips to the batter.
· The Garlic Lover: Add 1/2 teaspoon of garlic powder and a tablespoon of fresh chopped parsley.
· The Seeded Lover: Sprinkle the top of the dough with sesame seeds, everything bagel seasoning, or rolled oats before putting the lid on.
—
Conclusion: A Recipe to Keep Forever
This No-Oven Stovetop Bread is more than just a list of ingredients and steps. It is a testament to simplicity, a tool for self-reliance, and a quick path to one of life’s simplest and greatest pleasures: warm, fresh bread. It’s a recipe that builds confidence in new cooks and reminds seasoned ones of the joy found in fundamentals.
So, tuck this page into your recipe box, save it digitally, or pass it on to a friend. It’s a small piece of kitchen wisdom that will serve you well for a lifetime. Happy cooking