Swirled Christmas Butter Cookies: A Festive Twist on a Classic Favorite
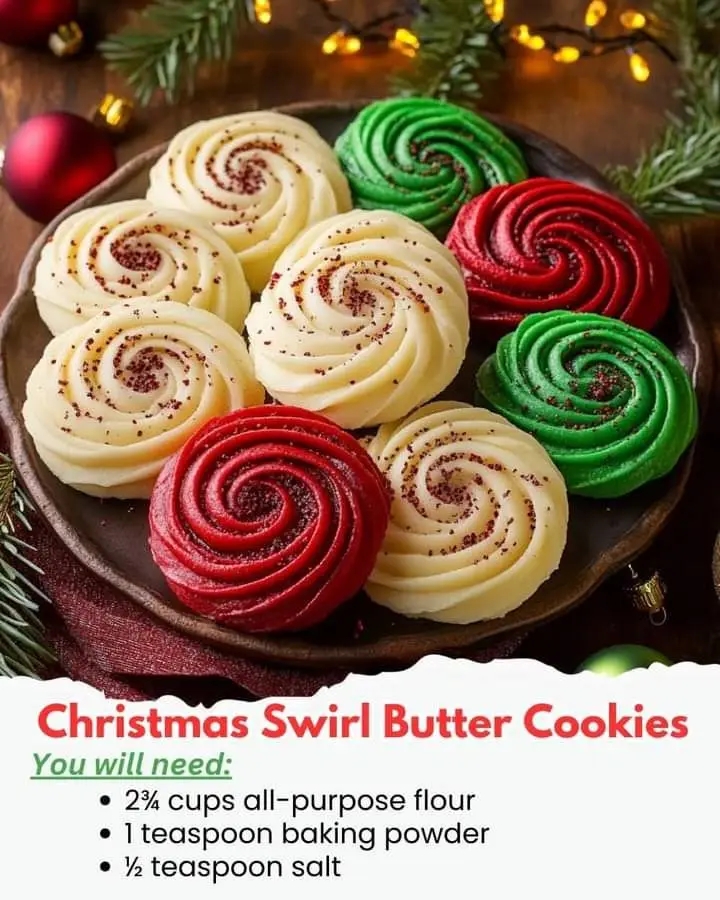
The holidays are the perfect time to indulge in delicious cookies, and nothing says festive quite like a batch of Swirled Christmas Butter Cookies. These colorful, buttery treats are a beautiful addition to any cookie tray, and their swirled red, green, and plain layers make them as fun to look at as they are to eat. With a light, melt-in-your-mouth texture and a simple yet elegant design, these cookies are sure to become a beloved tradition in your home.
The best part? These cookies are easy to make, requiring only basic ingredients you likely already have in your pantry, but they look incredibly impressive. Whether you’re baking for a family gathering, a holiday party, or just to enjoy a sweet treat during the season, these cookies will bring a smile to everyone’s face. With their festive colors and buttery flavor, they capture the essence of Christmas in every bite.
Swirled Christmas Butter Cookies Recipe
Ingredients:
- 2¾ cups all-purpose flour
- 1 teaspoon baking powder
- ½ teaspoon salt
- 1 cup unsalted butter, softened
- 1 cup granulated sugar
- 1 large egg
- 1 teaspoon vanilla extract
- ½ teaspoon almond extract
- Red and green gel food coloring
Instructions:
Step 1: Prepare the Dry Ingredients
- In a medium bowl, whisk together the all-purpose flour, baking powder, and salt. Set the bowl aside. These dry ingredients will help give the cookies their structure and perfect texture.
Step 2: Cream the Butter and Sugar
- In a large mixing bowl, beat the softened butter and granulated sugar together until light and fluffy. This can take about 2-3 minutes using an electric mixer or stand mixer. The air you incorporate here will help give your cookies a delicate, melt-in-your-mouth texture.
Step 3: Add the Egg and Extracts
- Add the egg to the butter-sugar mixture and beat until smooth. Then, mix in the vanilla extract and almond extract. The almond extract adds a subtle, nutty flavor that enhances the overall richness of the cookies.
Step 4: Combine Wet and Dry Ingredients
- Gradually add the dry ingredients (flour mixture) to the wet ingredients. Mix until a soft dough forms. This dough will be slightly firm, making it perfect for rolling and shaping.
Step 5: Divide the Dough
- Divide the dough into three equal portions. Keep one portion plain, and then color the remaining two portions with red and green gel food coloring. Add a few drops of food coloring to each portion, then knead the dough until the colors are evenly distributed. It may take a little time, but be patient—your dough will eventually turn a bright, festive red and green.
Step 6: Roll and Stack the Dough
- Roll each colored dough portion into a rectangle about ¼ inch thick, placing each layer on wax paper. The wax paper makes it easy to lift and stack the dough without it sticking. Once the layers are rolled, stack them in the following order: plain, red, green.
- Gently press the layers together to ensure they adhere to one another. The layers should be snug but not pressed too hard.
Step 7: Create the Swirl Log
- Starting from one long edge, carefully roll the stacked dough into a log, forming a swirl pattern. Be gentle as you roll to keep the colors intact and preserve the swirl effect. Once rolled, wrap the dough log in plastic wrap and refrigerate for at least 1 hour. Chilling the dough helps the cookies maintain their shape and ensures the swirl pattern stays intact during slicing.
Step 8: Preheat the Oven
- Preheat your oven to 350°F (175°C) and line your baking sheets with parchment paper. The parchment paper will prevent the cookies from sticking and make cleanup a breeze.
Step 9: Slice and Bake
- After the dough has chilled, remove it from the fridge and slice it into ¼-inch rounds. Place the slices on the prepared baking sheets, about 2 inches apart. The cookies will spread slightly during baking, so make sure to leave space between each one.
- Bake the cookies for 10-12 minutes, or until the edges are lightly golden. Keep an eye on them as baking times may vary slightly depending on your oven. Let the cookies cool on the baking sheets for about 5 minutes before transferring them to a wire rack to cool completely.
Tips for Perfect Swirled Christmas Butter Cookies:
- Use Parchment Paper: Not only does it help with rolling and stacking the dough, but it also prevents the cookies from sticking to the baking sheets.
- Chill the Dough: Chilling the dough is key to maintaining the swirl pattern when slicing the log. It also helps with handling the dough, making it easier to work with.
- Don’t Overmix: When adding the dry ingredients to the wet, mix until just combined. Overmixing can lead to tough cookies.
- Be Gentle with the Roll: When creating the dough log, be gentle to avoid disturbing the layers of color. A tight, even roll will give you perfect swirls when sliced.
The History of Butter Cookies and Holiday Baking Traditions
Butter cookies have a long history as a beloved treat, dating back to the 18th century in Europe. The combination of butter, sugar, and flour creates a simple but rich base for many types of cookies. In particular, European butter cookies gained popularity in places like Denmark and Germany, often served during the holiday season.
The tradition of baking cookies during the holiday season is deeply rooted in many cultures. It’s a way to celebrate the season, share joy with loved ones, and create lasting memories. Christmas cookies, such as sugar cookies, gingerbread, and butter cookies, have become iconic symbols of the holidays, often decorated in festive colors and shapes to bring the spirit of Christmas to life.
In the United States, holiday cookie baking traditions were influenced by early European immigrants, with cookie exchanges and holiday baking marathons becoming a cherished activity. Today, these traditions live on, and butter cookies with festive swirls or colors like red and green continue to be a favorite for holiday celebrations.
The Formation of These Swirled Christmas Butter Cookies
The formation of these cookies relies on basic baking techniques—whisking dry ingredients, creaming butter and sugar, and chilling the dough—yet the creative step of layering and swirling the dough gives them their stunning appearance. This method is simple but effective, transforming a plain dough into an eye-catching holiday treat.
The layers of red, green, and plain dough not only add a visual punch but also a textural contrast that enhances the overall experience. The cookies bake up crisp yet buttery, with just the right balance of sweetness and flavor. The almond extract adds an unexpected twist that makes these cookies stand out from the more traditional sugar or gingerbread cookies.
Conclusion: A Beautiful and Delicious Holiday Treat
These Swirled Christmas Butter Cookies are more than just a dessert; they’re a beautiful addition to any holiday spread. With their buttery flavor, festive colors, and perfect texture, they’re a treat that everyone will enjoy. Whether you’re sharing them with family, bringing them to a holiday party, or packing them into a gift box, these cookies are sure to bring smiles all around.
Not only are they delicious, but they also embody the spirit of the holidays—creative, colorful, and filled with joy. The swirling layers of red, green, and plain dough make them as delightful to look at as they are to eat, and the simple ingredients ensure they’re easy enough for anyone to make.
So, whether you’re a baking novice or an experienced holiday cookie enthusiast, these Swirled Christmas Butter Cookies are sure to be a hit this holiday season.
For Lovers of Festive, Colorful Cookies
If you love cookies that are both delicious and beautiful, these Swirled Christmas Butter Cookies will quickly become a favorite. Perfect for anyone who enjoys creating visually stunning treats, these cookies will satisfy your sweet tooth and make your holiday celebrations even more special. They’re fun to make, fun to eat, and even more fun to share with friends and family.
Happy baking and enjoy every colorful, buttery bite this Christmas season! 🎄🍪