Sure! Here’s a beautiful, detailed, and romantic-style recipe for Layered Fruit Custard Cups, complete with introduction, ingredients, instructions, history, formation, and a poetic conclusion for all the dessert lovers out there. 🍓🍮💖
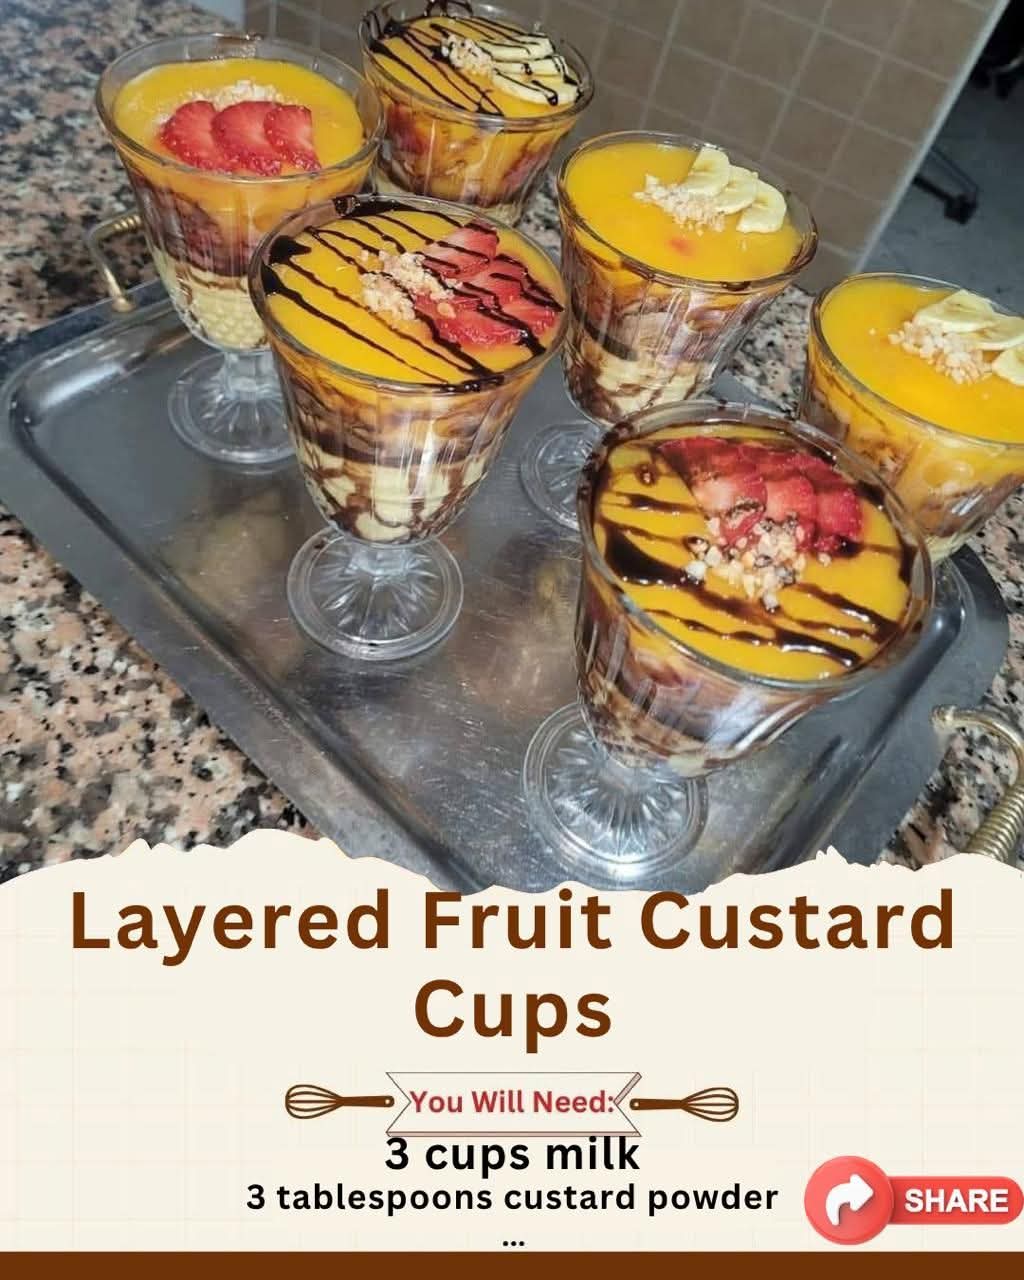
🍨 Layered Fruit Custard Cups – A Symphony of Sweetness and Love
🌸 Introduction
Imagine a dessert that dances between creamy indulgence and fruity freshness—a dessert that speaks the language of love with every spoonful. Layered Fruit Custard Cups are not just a treat; they are a celebration of color, texture, and taste.
Perfect for romantic evenings, family gatherings, or lazy Sunday afternoons, this recipe captures the essence of joy and togetherness in every layer.
🍓 Ingredients
For the Custard Layer
- 1 cup vanilla custard (homemade or store-bought)
- 2 cups milk
- 2 tbsp custard powder
- 2 tbsp sugar
For the Fruit Layer
- 1 cup mixed fruits (choose from strawberries, mangoes, kiwi, grapes, blueberries, bananas, apples, or pomegranate)
- 1 tsp lemon juice (to prevent fruits from browning)
For the Cream Layer
- 1 cup whipped cream (lightly sweetened)
- 1/2 tsp vanilla extract
For the Crunchy Base or Garnish (Optional)
- 1/4 cup granola or crushed cookies
- 1 tbsp chopped nuts (almonds, pistachios, or cashews)
🍮 Method / Instructions
Step 1: Prepare the Custard
- In a small bowl, mix custard powder with ¼ cup of milk until smooth.
- Heat the remaining milk in a saucepan and add sugar.
- Once the milk is hot, add the custard mixture slowly, stirring continuously.
- Cook on low heat until the mixture thickens and coats the back of a spoon.
- Remove from heat and let it cool completely.
Step 2: Prepare the Fruits
- Wash, peel, and chop the fruits into bite-sized pieces.
- Toss them lightly with lemon juice to keep them fresh and vibrant.
Step 3: Whip the Cream
- Beat chilled heavy cream with vanilla extract until soft peaks form.
- Keep it refrigerated until ready to use.
Step 4: Layering the Love
- Take clear dessert cups or small glass jars.
- Add a spoonful of crushed cookies or granola as the base (optional but adds texture).
- Next, pour in a layer of vanilla custard.
- Add a layer of mixed fruits, letting the colors shine through.
- Top it off with a generous swirl of whipped cream.
- Repeat the layers if your cup is tall—custard, fruit, cream—until it’s beautifully filled.
- Garnish with chopped nuts, fruit slices, or a drizzle of honey.
Step 5: Chill and Serve
Refrigerate for at least 1 hour before serving. The coolness enhances the flavor harmony and makes every bite irresistibly smooth.
🕰️ A Brief History
The origins of fruit custard trace back to the classic English trifle, a layered dessert of sponge cake, custard, and fruit soaked in sweet wine. Over time, this idea traveled across continents and evolved into simpler, more family-friendly versions.
In India and many other regions, fruit custard became a beloved household dessert—easy to make, visually delightful, and adaptable to any fruit in season. Today, Layered Fruit Custard Cups are a modern take on this traditional favorite, served with elegance and a touch of flair.
💞 For the Lovers
These custard cups are more than just desserts—they’re moments shared between hearts. Each spoonful carries the sweetness of memories, the freshness of love, and the comfort of home.
Serve them at the end of a candlelight dinner, share them with someone special, or make them together in the kitchen—because love, much like custard, becomes richer when layered with care.
🌟 Conclusion
Layered Fruit Custard Cups are a testament to how simple ingredients can create something magical. From the silky custard to the juicy fruits and airy cream, every layer tells a story—a story of warmth, tradition, and affection.
So the next time your heart whispers for something sweet, don’t just make dessert.
Create a masterpiece of love, one layer at a time. 💖
Would you like me to make this recipe into a printable format or poster-style layout (like for a cookbook or food blog)?