Absolutely! 💛 Here’s a beautifully written, full-length recipe article for your Mini Madeira Loaves, complete with introduction, history, ingredients, methods, notes for lovers of baking, and a heartfelt conclusion. Let’s make it poetic, traditional, and full of warmth — just like a good slice of Madeira cake. 🍋✨
🍋✨ Mini Madeira Loaves – Buttery, Moist & Elegantly Simple ✨🍋
💫 Introduction
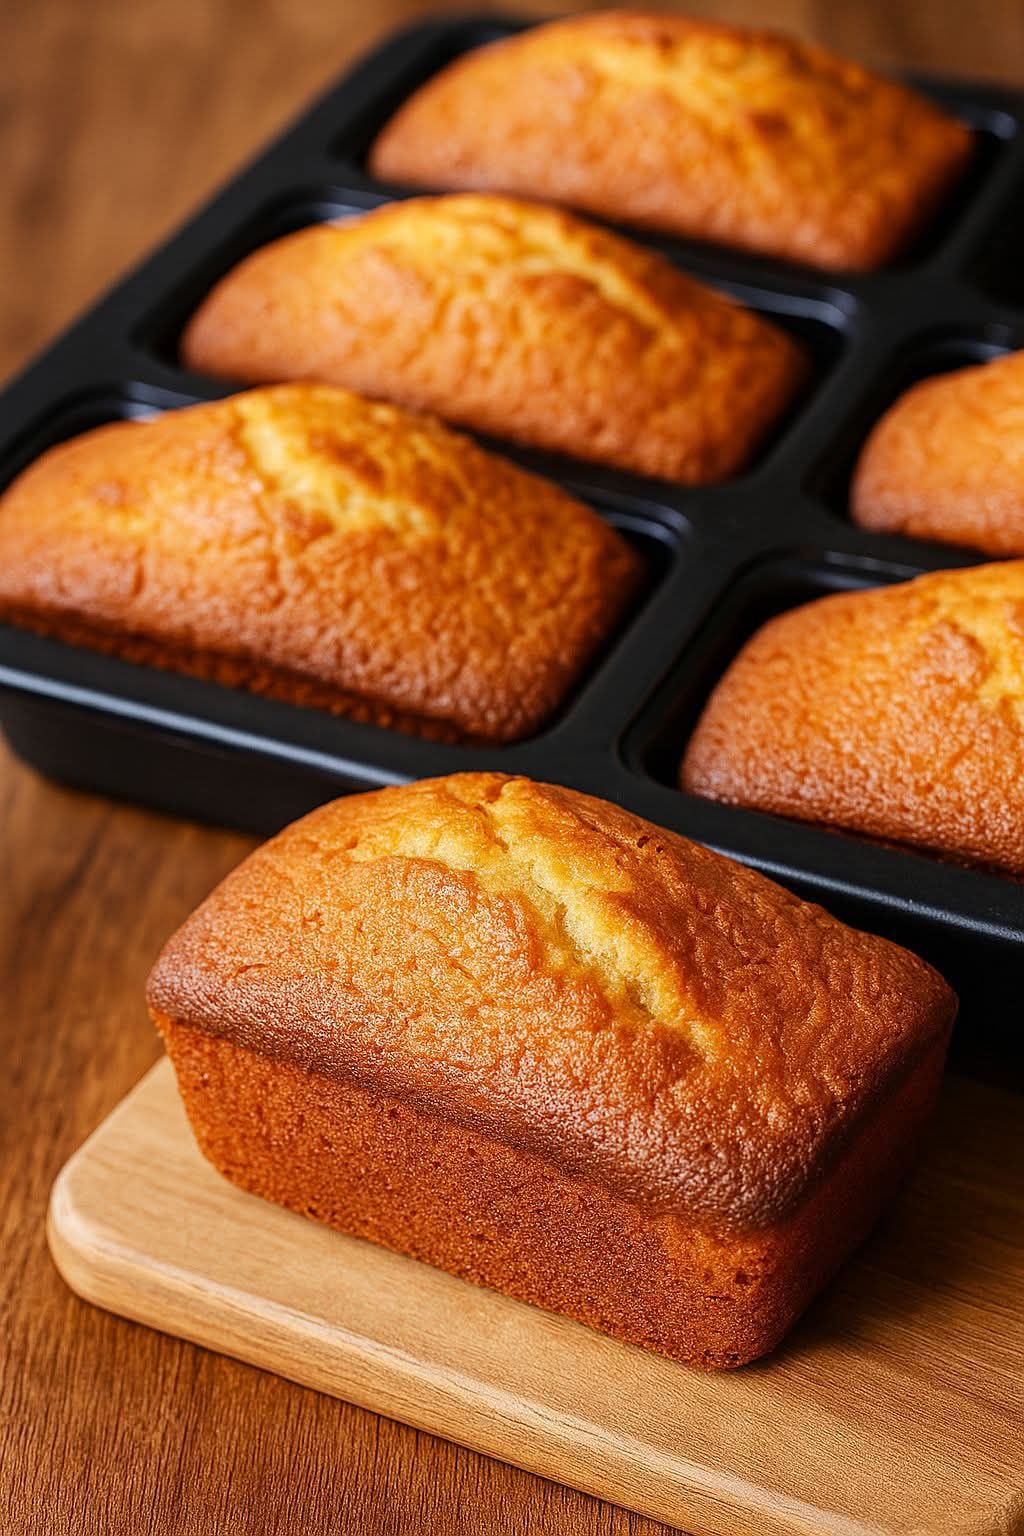
There’s something timeless about a perfectly baked Madeira cake. It’s one of those British classics that whispers of afternoon teas, delicate china cups, and the gentle hum of conversation. These Mini Madeira Loaves bring that same magic in a smaller, more charming form — perfect for gifting, tea parties, or a quiet moment of indulgence.
Buttery, moist, and kissed with lemon and vanilla, each loaf carries the essence of simplicity and elegance. The golden crust hides a tender crumb within, and with every bite, you taste tradition itself.
🕰️ A Brief History of the Madeira Cake
Despite the name, Madeira cake is not from the island of Madeira. It was named after the Madeira wine that Victorians often sipped alongside it in the 18th and 19th centuries. The cake became a symbol of refined English hospitality — rich, buttery, yet unpretentious.
Originally baked as a single loaf, today we give it a modern twist by creating mini loaves — easier to share, gift, and enjoy.
🧈 Ingredients (Makes 8–10 Mini Loaves)
For the Cake Batter:
- 225g (1 cup) unsalted butter, softened
- 225g (1 cup) caster sugar
- 4 large eggs, room temperature
- 1 tsp pure vanilla extract
- Zest of 1 large lemon
- 275g (2¼ cups) self-raising flour, sifted
- 2 tbsp milk (or as needed for consistency)
- Pinch of salt
Optional Garnish:
- Thin slices of lemon or a sprinkle of coarse sugar before baking
For a Simple Lemon Glaze (optional):
- 100g (¾ cup) icing sugar
- 2–3 tsp lemon juice
🪄 Method
Step 1: Preheat & Prepare
Preheat your oven to 170°C (340°F). Lightly grease and line your mini loaf tins or muffin pan with baking paper.
Step 2: Cream the Butter & Sugar
In a large mixing bowl, beat the butter and sugar together until pale, light, and fluffy — this is key for that tender crumb.
Step 3: Add Eggs & Flavour
Beat in the eggs, one at a time, ensuring each is fully incorporated. Add the vanilla extract and lemon zest, stirring gently to combine.
Step 4: Fold in the Dry Ingredients
Sift together the self-raising flour and salt, then fold them into the batter using a spatula. Add milk if needed to achieve a soft, spoonable consistency.
Step 5: Fill & Bake
Spoon the mixture evenly into your prepared tins, filling each about two-thirds full. If desired, place a thin slice of lemon on top for decoration.
Bake for 22–26 minutes, or until golden brown and a skewer inserted into the center comes out clean.
Step 6: Cool & Glaze
Allow the loaves to cool in the tin for 10 minutes, then transfer to a wire rack. For a delicate glaze, mix the icing sugar and lemon juice until smooth and drizzle over the cooled cakes.
💞 For the Lovers of Baking
There’s romance in the rhythm of baking — the gentle creaming of butter, the scent of lemon zest, the quiet waiting as your kitchen fills with sweetness. These Mini Madeira Loaves are more than cakes; they’re gestures of care, perfect for sharing with those you love.
Bake them for someone special, wrap them in parchment, tie them with twine — and offer not just a cake, but a piece of tradition wrapped in tenderness.
🌿 Chef’s Tips
- Swap lemon for orange zest for a warmer note.
- Add a spoonful of ground almonds for extra richness.
- Store in an airtight container for up to 5 days, or freeze for later.
🍰 Conclusion
The Mini Madeira Loaf is proof that simplicity never goes out of style. From its buttery heart to its golden crust, it captures the quiet joy of homemade baking — a little luxury, a little love, and a whole lot of flavor.
So go on, brew a pot of tea, slice a loaf, and take a slow, sweet moment just for yourself. 🫖💛
Would you like me to format this like a printable recipe card (with clear sections, serving size, and storage info) or as a blog-style post with story-telling and images suggestions?