Absolutely! Here’s a big, beautiful, and heartwarming write-up for Thumbprint Cookies — complete with an introduction, history, ingredients, instructions, methods, and even a sweet conclusion (and a touch of love ❤️).
🌟 Thumbprint Cookies – A Classic Holiday Treat Full of Love
❤️ Introduction
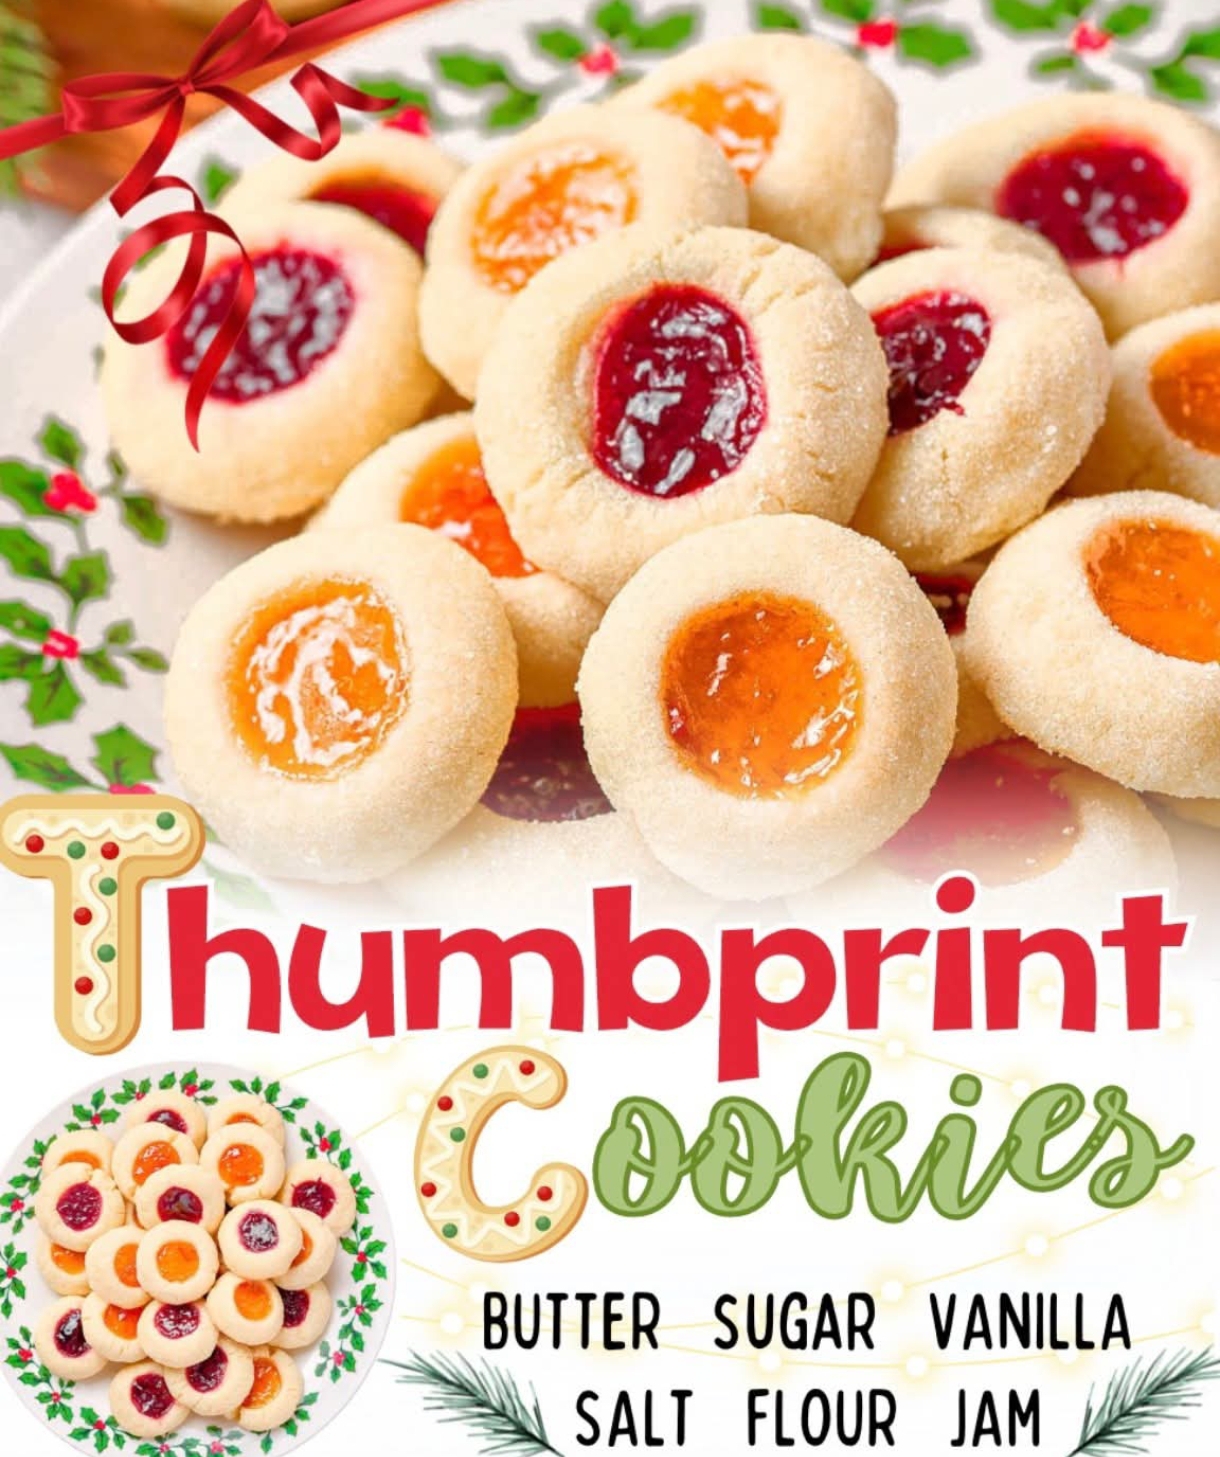
Thumbprint Cookies are one of those timeless delights that never fail to bring joy to the table. Their buttery, melt-in-your-mouth texture and jewel-like centers filled with jam make them as beautiful as they are delicious. Whether you’re hosting a festive holiday party, participating in a cookie exchange, or just leaving a few out for Santa, these cookies are a perfect blend of elegance and simplicity.
🕰️ A Little History
Thumbprint Cookies, known in Swedish as Hallongrotta (“raspberry cave”), originated in Scandinavia and became popular worldwide. They first appeared in American cookbooks in the early 20th century and have since evolved into countless variations—some with jam, others with chocolate, caramel, or nuts. No matter the variation, the concept remains the same: a little indentation made with your thumb (or the back of a spoon) to hold a sweet filling, symbolizing the warmth and touch of human hands in homemade baking.
🍪 Ingredients
For about 2½ dozen cookies:
For the Dough:
- 1 cup (2 sticks) unsalted butter, softened
- 2/3 cup granulated sugar
- 1 large egg yolk
- 1 teaspoon pure vanilla extract
- 2 cups all-purpose flour
- 1/4 teaspoon salt
For the Filling:
- ½ cup raspberry jam (or your favorite flavor — strawberry, apricot, or even lemon curd)
Optional Garnish:
- ¼ cup finely chopped nuts (almonds, pecans, or hazelnuts)
- Powdered sugar for dusting
🧁 Instructions
- Preheat & Prep:
Preheat your oven to 350°F (175°C). Line two baking sheets with parchment paper. - Cream the Butter & Sugar:
In a large bowl, beat the softened butter and sugar together until light and fluffy, about 2–3 minutes. - Add Egg Yolk & Vanilla:
Mix in the egg yolk and vanilla extract until fully incorporated. - Combine the Dry Ingredients:
In a separate bowl, whisk together flour and salt. Gradually add this to the butter mixture, mixing until the dough just comes together. - Shape the Cookies:
Roll dough into 1-inch balls. If desired, roll each ball in chopped nuts for added texture. Place them 2 inches apart on the prepared baking sheet. - Make the Thumbprint:
Use your thumb (or the back of a ½ teaspoon) to gently press a small indentation in the center of each cookie. - Fill with Jam:
Spoon about ½ teaspoon of jam into each indentation. - Bake:
Bake for 12–15 minutes, or until the edges are lightly golden. - Cool & Finish:
Allow cookies to cool on the baking sheet for 5 minutes before transferring to a wire rack. Once cool, dust lightly with powdered sugar if desired.
🥄 Methods & Variations
- Classic Jam Version: Raspberry, strawberry, or apricot are traditional choices.
- Chocolate Lovers’ Method: Fill the center with chocolate ganache or Nutella instead of jam.
- Caramel Lovers’ Twist: Use salted caramel sauce and sprinkle a little sea salt on top for a decadent treat.
- Nutty Lovers’ Touch: Roll the dough balls in finely chopped nuts before baking for extra crunch and flavor.
- Festive Lovers’ Idea: Use red and green jams (raspberry and kiwi) for a Christmas color palette!
💞 For the Lovers
Thumbprint Cookies aren’t just for the holidays—they’re little tokens of affection. Each thumbprint symbolizes the personal touch of love and care. Whether you bake them with your partner, share them with family, or give them as gifts tied in a ribboned box, they bring people closer. After all, love—like a thumbprint—is unique, warm, and leaves a lasting impression.
🎀 Conclusion
Thumbprint Cookies are more than a sweet treat—they’re a symbol of connection, nostalgia, and the joy of sharing. With their buttery crumb and glistening centers, they’re a feast for both the eyes and the heart. So this holiday season (or any day you crave something cozy), roll up your sleeves, press your thumb into a ball of dough, and make a batch filled with love. ❤️
Would you like me to format this as a printable recipe card (with a neat layout and short version) or as a blog-style article with storytelling and baking tips?