Of course! Get ready to never lose this incredible No-Bake Pineapple Cream Dessert. It’s a classic for a reason, and here is the ultimate, comprehensive guide to everything about this beloved treat.
—
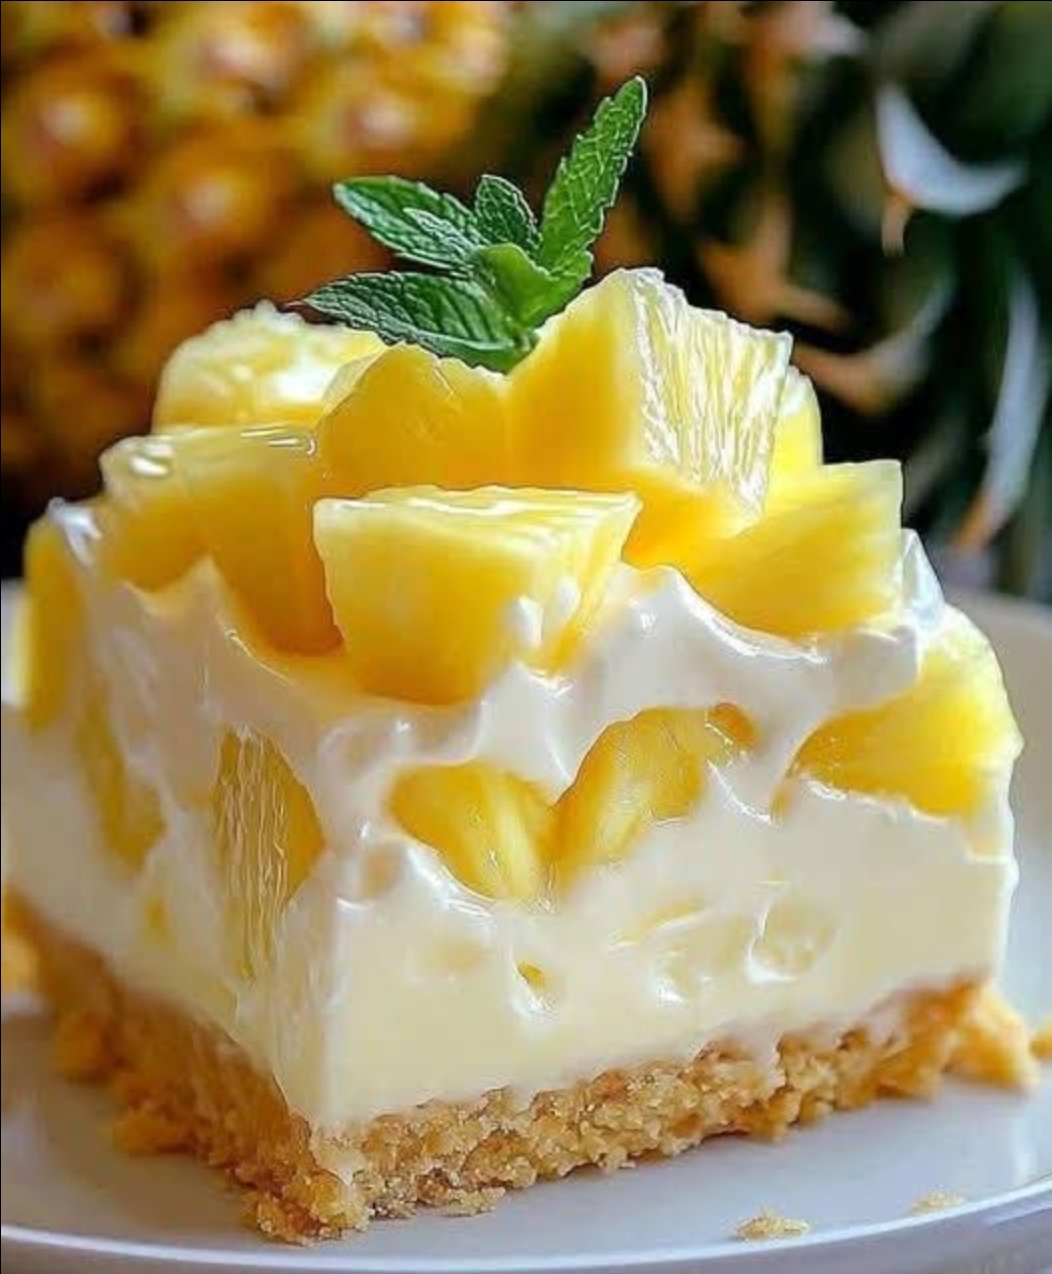
A Sweet Introduction: The Taste of Sunshine
Welcome to a dessert that feels like a hug from the tropics! This No-Bake Pineapple Cream Dessert is the hero of busy weeknights, potlucks, and family gatherings. It’s a symphony of textures and flavors: a buttery, crunchy crust, a lush and creamy middle layer, and a vibrant, tangy pineapple topping. The best part? It requires zero oven time, making it the perfect cool and refreshing treat for any season, especially when you need a taste of sunshine.
—
The Historical Roots: A Mid-Century Marvel
This dessert is a proud descendant of the “icebox cakes” that became wildly popular in the mid-20th century. Before ubiquitous air conditioning, the idea of making a dessert without turning on the oven was a godsend for home cooks, especially in the summer. Recipes using canned fruits, like pineapple, and convenience products like graham crackers and instant pudding, flourished in community cookbooks and women’s magazines. This pineapple cream dessert is a direct and delicious evolution of that practical, no-fuss cooking tradition.
—
The Grand Formation: Deconstructing the Layers
This dessert is built in three distinct, harmonious layers:
1. Layer 1: The Foundation (The Crust): A sturdy, sweet, and buttery base made from graham cracker crumbs. This provides the essential textural contrast to the creamy layers above.
2. Layer 2: The Heart (The Cream Filling): A luxuriously smooth and stable blend of cream cheese, whipped cream, and pineapple juice-infused pudding. This is the rich, decadent core of the dessert.
3. Layer 3: The Crown (The Pineapple Topping): A bright, juicy, and slightly tangy layer of crushed pineapple that cuts through the richness of the cream filling, providing the signature flavor and a burst of freshness.
—
The Treasure Chest: Ingredients You’ll Need
For the Crust:
· 2 cups graham cracker crumbs (about 16 full sheets)
· 1/2 cup (1 stick) unsalted butter, melted
· 1/4 cup granulated sugar
For the Cream Filling:
· 1 package (8 oz) full-fat cream cheese, softened to room temperature
· 1/2 cup granulated sugar
· 1 can (20 oz) crushed pineapple in juice, divided
· 1 package (3.4 oz) instant vanilla pudding mix
· 1 cup cold whole milk
· 1 tub (8 oz) frozen whipped topping (like Cool Whip), thawed OR 2 cups of freshly whipped heavy cream
For the Topping (Optional but Recommended):
· Reserved crushed pineapple (from the can)
· Maraschino cherries, for garnish
· Toasted coconut flakes
—
The Master Plan: Step-by-Step Instructions & Methods
Method 1: Preparing the Crust
1. In a medium bowl, combine the graham cracker crumbs, melted butter, and 1/4 cup of sugar. Mix until the texture resembles wet sand.
2. Press this mixture firmly and evenly into the bottom of a 9×13 inch baking dish. An easy trick is to use the flat bottom of a measuring cup to press it down for a compact, even layer.
3. Place the crust in the refrigerator to set while you prepare the filling.
Method 2: Crafting the Cream Filling
1. Drain the Pineapple: Place a fine-mesh sieve over a bowl and pour in the entire can of crushed pineapple. Press gently to release the juice. RESERVE THE JUICE. You should have about 3/4 to 1 cup of pineapple juice. Set the drained pineapple aside.
2. Cream the Base: In a large mixing bowl, beat the softened cream cheese and 1/2 cup sugar together with an electric mixer on medium speed until the mixture is completely smooth and creamy.
3. Incorporate Pudding: In a separate, medium bowl, whisk the instant vanilla pudding mix with 1 cup of cold milk and 1/2 cup of the reserved pineapple juice. Whisk vigorously for about 2 minutes until it begins to thicken.
4. Combine Mixtures: Immediately pour the thickening pudding mixture into the cream cheese mixture. Beat on low speed until just combined and smooth.
5. Fold in the Whipped Topping: Gently fold in the thawed whipped topping (or freshly whipped cream) until no white streaks remain. Be gentle to keep the filling light and airy.
Method 3: Assembling the Masterpiece
1. Retrieve the chilled crust from the refrigerator.
2. Pour the creamy filling over the crust and use a spatula to spread it into an even layer.
3. Create the Topping: Sprinkle the reserved, drained crushed pineapple evenly over the entire cream layer.
4. For a beautiful finish, garnish with maraschino cherries and a sprinkle of toasted coconut.
5. The Final Step: Cover the dessert with plastic wrap and refrigerate for at least 4 hours, or ideally overnight. This crucial chilling time allows the flavors to meld and the dessert to set perfectly for clean slices.
—
The Health Spotlight: Nutritional Information
(Per serving, assuming 12 servings)
· Calories: ~380 kcal
· Carbohydrates: ~45g
· Fat: ~20g
· Protein: ~4g
· Sugar: ~35g
A Note on Benefits: While this is a dessert meant for enjoyment, pineapple provides vitamin C, manganese, and bromelain, an enzyme that can aid digestion. The dairy components offer calcium and protein. Enjoy it as part of a balanced diet!
—
For the True Lovers of This Dessert: Variations & Tips
This recipe is a fantastic canvas for creativity!
· For the Coconut Lovers: Add 1/2 cup of toasted coconut to the crust or the cream layer. Use coconut milk instead of regular milk for a tropical twist.
· For the Nut Lovers: Substitute 1/2 cup of the graham cracker crumbs with finely chopped pecans or macadamia nuts in the crust.
· For the Citrus Lovers: Add a teaspoon of lemon or lime zest to the cream filling for a zesty kick.
· For a Lighter Version: Use reduced-fat cream cheese, sugar-free pudding mix, and light whipped topping.
· Pro-Tip: Ensure your cream cheese is truly at room temperature to avoid a lumpy filling.
—
The Sweet Conclusion
This No-Bake Pineapple Cream Dessert is more than just a recipe; it’s a guaranteed crowd-pleaser, a time-saving triumph, and a delicious bite of nostalgia. Its perfect balance of sweet, tangy, creamy, and crunchy makes it utterly irresistible. It proves that the best things in life don’t require complex techniques or a hot oven—just a few simple ingredients and a little patience while it chills.
So, save this page, print it, or write it down in your favorite recipe book. Don’t lose this recipe! It’s one you’ll return to for years to come, creating sweet memories with every single bite. 😋