Sure! Here’s an expanded, more detailed recipe for Chicago Public School Butter Cookies with an introduction, history, and more in-depth instructions.
Chicago Public School Butter Cookies: A Nostalgic Treat
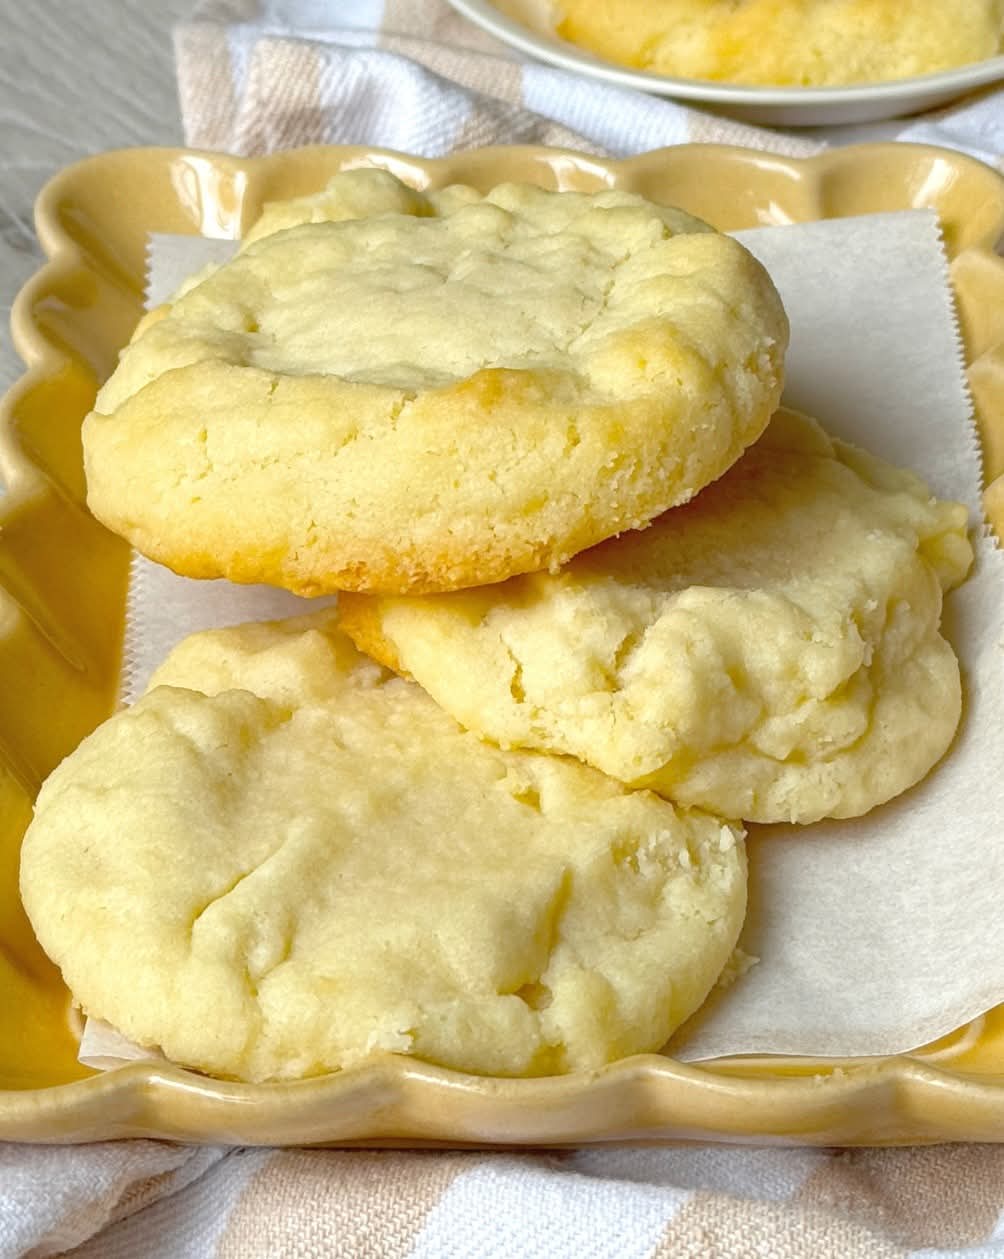
Introduction: If you grew up in Chicago or attended a school there, you’ve likely tasted the soft, buttery goodness of these iconic cookies. The simple combination of butter, sugar, and flour delivers a tender, melt-in-your-mouth cookie that’s beloved by many. These cookies are rich, with a delicate texture that brings back fond memories of school cafeteria treats. Whether it’s for a nostalgic snack or to share with friends and family, these cookies never fail to please.
A Bit of History: The Chicago Public School Butter Cookie has become a culinary icon for anyone who went through the city’s public school system. For decades, these cookies were served in the lunchrooms as a simple, yet indulgent, dessert. The combination of just a few ingredients made them easy to prepare in large batches, making them the perfect snack to accompany lunch. Their buttery flavor and light texture made them unforgettable. Even though school cafeterias across the country have evolved, the memory of these cookies continues to bring people back to their childhood days.
The recipe became so popular that it has since been passed down and tweaked by many home bakers who longed for that cafeteria taste. Today, this humble cookie has earned a place in the hearts of many as a comfort food, often shared in school reunions, family gatherings, or just when you need a taste of childhood.
Ingredients:
- 1 cup unsalted butter, softened
- 1 cup granulated sugar
- 2 cups all-purpose flour
- 1 teaspoon vanilla extract
- Pinch of salt
Optional:
- 1/2 teaspoon almond extract for a subtle nutty flavor
- Sprinkles or colored sugar for decoration
- Powdered sugar, for dusting (optional)
Instructions:
- Preheat the oven to 350°F (175°C). Line a baking sheet with parchment paper to prevent the cookies from sticking and ensure an even bake.
- Cream the butter and sugar: In a large mixing bowl, use a hand mixer or stand mixer to cream the softened butter and sugar together. Beat until the mixture is light and fluffy, about 3-5 minutes. This step is crucial for creating the soft texture of the cookies.
- Add vanilla and mix: Stir in the vanilla extract. If you’re using almond extract, this is the time to add it. The vanilla is essential for that warm, comforting flavor, while the almond can add an interesting twist.
- Incorporate the flour and salt: Gradually add the flour, one cup at a time, and the pinch of salt. Mix until a soft, slightly sticky dough forms. It may look a little crumbly at first, but keep mixing, and it will come together. Don’t overmix; the dough should be soft but not wet.
- Shape the dough: Roll the dough into 1-inch balls using your hands. Place each ball on the prepared baking sheet, spacing them about 2 inches apart to allow for spreading.
- Flatten the cookies: Using the bottom of a glass or your palm, gently flatten each ball into a disc. If you want to get creative, you can add colored sprinkles or sugar on top before baking.
- Bake the cookies: Place the baking sheet in the oven and bake for 12-15 minutes. Keep a close eye on the cookies—you’re looking for them to become golden around the edges, but they should still be soft in the center.
- Cool: Once baked, remove the cookies from the oven and let them cool on the baking sheet for about 5 minutes before transferring them to a wire rack to cool completely.
Method:
The technique for making these cookies is straightforward, but there are a few key steps to ensuring they come out perfectly:
- Creaming the butter and sugar: This step aerates the dough, making it light and giving the cookies a tender crumb. Be sure to let the butter soften completely to room temperature before starting.
- Handling the dough: The dough is soft and may feel sticky. If you find it too sticky to handle, chill it in the fridge for about 15 minutes before rolling into balls. This will help make shaping the cookies easier.
- Baking: Keep in mind that every oven is different, so check on the cookies a few minutes before the 12-minute mark. They should be golden brown but still soft when removed from the oven.
History and Formation of the Chicago Public School Butter Cookie:
The history of the Chicago Public School Butter Cookie can be traced back to the city’s school lunch programs. Back when budget-conscious schools were looking for a simple, economical treat, these butter cookies were an ideal choice. They could be made in large batches, were easy to store, and most importantly—students loved them.
While their exact origin is hard to pinpoint, it’s clear that these cookies were a staple of the public school system, especially in the 1970s and 1980s. The recipe may have evolved from traditional butter cookies, but the simplicity and accessibility of the ingredients made them an enduring favorite.
It wasn’t just about the taste; the texture was key. The cookies needed to be light and tender enough to be enjoyed without being overly crumbly. That perfect balance was achieved through the careful mixing of butter, sugar, and flour, which has been preserved in this recipe for generations.
Conclusion:
The Chicago Public School Butter Cookie is more than just a treat—it’s a taste of nostalgia. Whether you’re looking to recreate a school cafeteria classic or simply in search of a deliciously simple dessert, these cookies deliver every time. The buttery flavor and soft texture are the epitome of comfort food, and they’re easy enough for anyone to make. With just a few ingredients and minimal effort, you’ll have a batch of cookies that transport you right back to those carefree school days.
Lovers of This Cookie:
- Alumni of Chicago Public Schools: Anyone who remembers the taste of these cookies from their school days will likely consider them a beloved food memory.
- Baking enthusiasts: Those who appreciate simple, no-fuss baking recipes will love how easy it is to make these cookies.
- Families with children: These cookies are perfect for making with kids, as the process is simple and fun. Plus, they’ll love how they turn out!
- Fans of nostalgic treats: If you enjoy recreating food memories from childhood, these cookies are a must-try.
Additional Tips for Lovers of These Cookies:
- Make it a cookie bar: You can spread the dough into a baking pan to make cookie bars instead of individual cookies. Just bake for about 20-25 minutes, or until golden.
- Dress them up: For a twist, add chocolate chips, chopped nuts, or drizzle with melted chocolate for a more decadent treat.
- Store well: These cookies keep well in an airtight container for about a week, making them great for preparing ahead of time or for gifting.
So grab your mixing bowl and whisk up a batch of these buttery, nostalgic cookies today—you won’t regret it!