Absolutely! Here’s an expanded and beautifully detailed version of the Chicago Public School Butter Cookies recipe, filled with nostalgia, history, and a sense of love for these beloved childhood treats. Perfect for a blog post, recipe book, or sharing with friends and family.
Chicago Public School Butter Cookies
Simple. Tender. Unforgettable.
🌟 Introduction
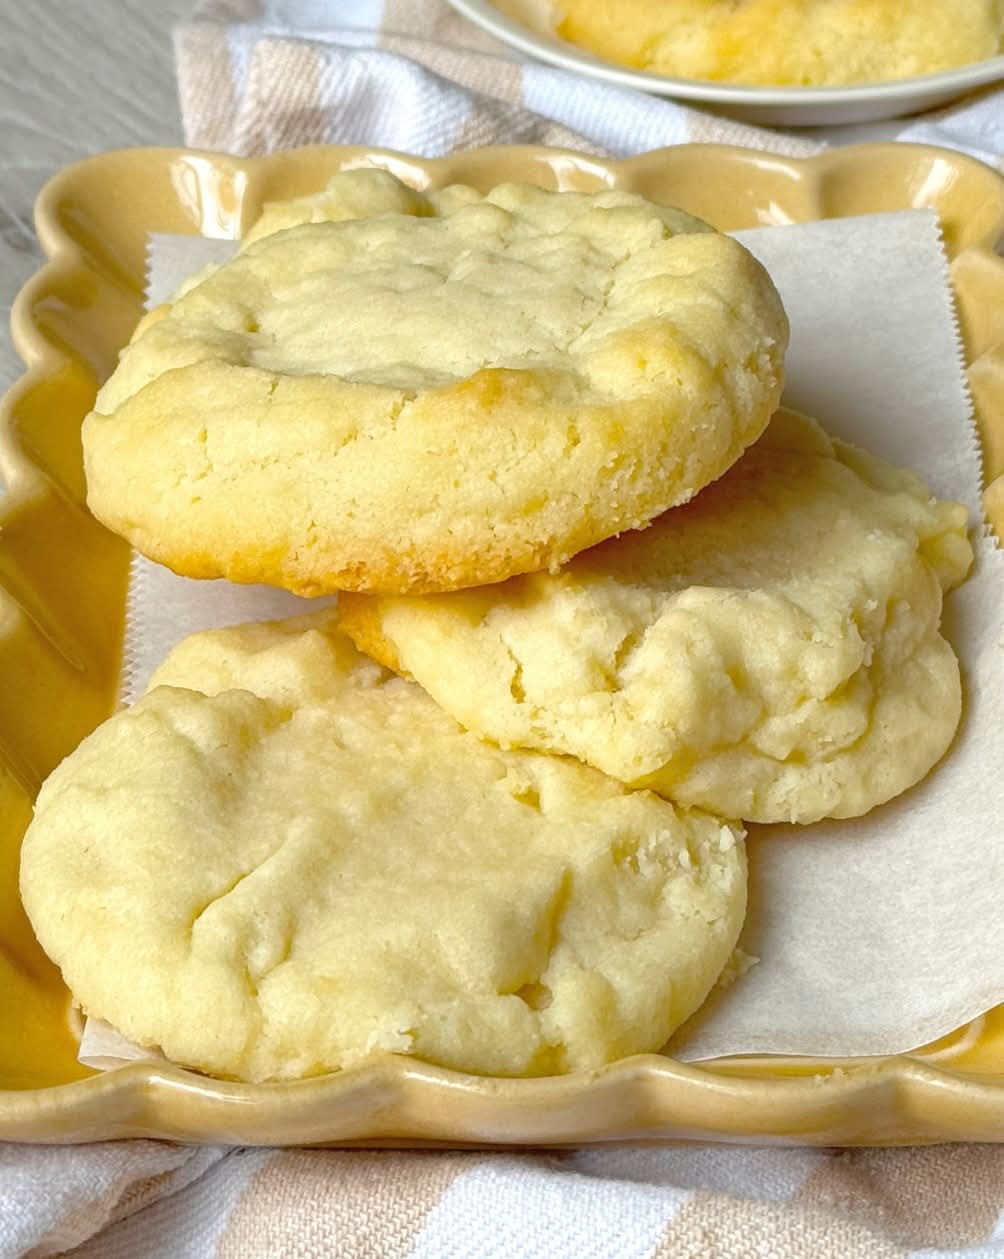
For many Chicagoans, the mere mention of butter cookies brings back a flood of warm memories—brown plastic trays, the hum of the cafeteria, and that unmistakable buttery aroma wafting through the air. These cookies weren’t just a dessert; they were a rite of passage. They offered a little sweetness during school days that could be tough, long, and cold in the Windy City.
These cookies, famous across generations of Chicago Public School (CPS) students, are remembered not for their complexity, but for their perfect simplicity. With just a handful of pantry staples, these cookies come out tender, light, and rich—melting on your tongue with every bite.
Let’s dive into the recipe that’s more than just food. It’s comfort. It’s nostalgia. It’s love.
🍪 Ingredients
This recipe yields 24–30 cookies, depending on size.
- 1 cup (2 sticks) unsalted butter, softened to room temperature
- 1 cup granulated sugar
- 2 cups all-purpose flour, sifted
- 1 teaspoon pure vanilla extract
- 1/4 teaspoon salt (omit if using salted butter)
Optional (for lovers of subtle twists):
- 1 tablespoon milk – for a slightly softer dough
- A pinch of nutmeg – for a hint of warm spice
- A sprinkle of sanding sugar on top before baking – for a light crunch
🛠️ Method
Step 1: Preheat and Prepare
- Preheat your oven to 350°F (175°C).
- Line a baking sheet with parchment paper or a silicone baking mat.
- If your kitchen is warm, chill the cookie sheet for 5 minutes before placing the dough balls—it helps prevent spreading.
Step 2: Creaming the Butter and Sugar
- In a large mixing bowl, beat the softened butter and sugar together until light, pale, and fluffy – about 3 to 5 minutes using an electric mixer.
- This step is essential; it incorporates air into the dough, giving the cookies their light texture.
Step 3: Add the Flavor
- Mix in the vanilla extract until just combined.
- Add a pinch of salt (unless using salted butter) to balance the sweetness.
Step 4: Incorporate the Flour
- Gradually add the sifted flour into the butter mixture. Mix on low speed or by hand to avoid overworking the dough.
- The dough will appear crumbly at first but should come together into a soft, pliable mass.
💡 If the dough feels too dry or isn’t coming together, add a teaspoon of milk at a time until it forms.
Step 5: Shape the Cookies
- Scoop out 1-inch portions of dough (about a tablespoon).
- Roll each into a ball and place it on the prepared baking sheet, leaving about 2 inches between cookies.
- Gently press each ball down with the bottom of a glass, jar, or your palm to flatten into a disk about 1/2 inch thick.
Step 6: Bake to Perfection
- Bake for 12 to 15 minutes, or until the edges are just turning golden.
- The tops will remain pale, which is perfect.
Step 7: Cool and Serve
- Allow the cookies to cool on the baking sheet for 5 minutes before transferring to a wire rack.
- Store in an airtight container at room temperature for up to a week (if they last that long!).
🧾 Historical Note
These cookies date back to the mid-20th century and were a staple on school lunch trays in Chicago for decades. They were made in massive batches in school kitchens and somehow always tasted just right—no frills, no fuss, just buttery goodness.
The original CPS recipe used bulk ingredients and commercial equipment, but over time, home bakers reverse-engineered the beloved cookies into this simple, small-batch version. Thanks to the devotion of those who remembered them, this piece of culinary heritage lives on.
💞 For the Lovers
There’s something poetic about the way food carries memory. Lovers of these cookies often speak of them the way one speaks of a favorite song or old friend—with warmth, joy, and just a touch of longing.
Some remember trading lunch items just to get an extra one. Others remember teachers sneaking a few from the tray. For many, these cookies were their first experience of “homemade” style baked goods, even if they came from a school cafeteria.
“They tasted like love, even if no one said it out loud.”
– A CPS alum
So bake a batch. Share them with your kids, your friends, your partner—or keep them all to yourself. You’re not just making cookies; you’re making a connection.
🧡 Conclusion
The Chicago Public School Butter Cookie isn’t just a cookie. It’s a testament to the joy of simple things done well. With five basic ingredients and a little time, you can recreate a piece of culinary history and childhood nostalgia that never goes out of style.
These cookies are for the dreamers, the memory-keepers, and the butter lovers. And most of all, they’re for you—because we all deserve a moment that melts on the tongue and lingers in the heart.
Would you like a printable version or a recipe card design? I can format that too.