Absolutely! Here’s a big, beautiful recipe for the Oreo Cream Chocolate Roll — packed with everything you asked for: introduction, history, ingredients, instructions, methods, and even something sweet for the lovers of this dessert. 🍫🍪💕
🍫 Oreo Cream Chocolate Roll 🍪
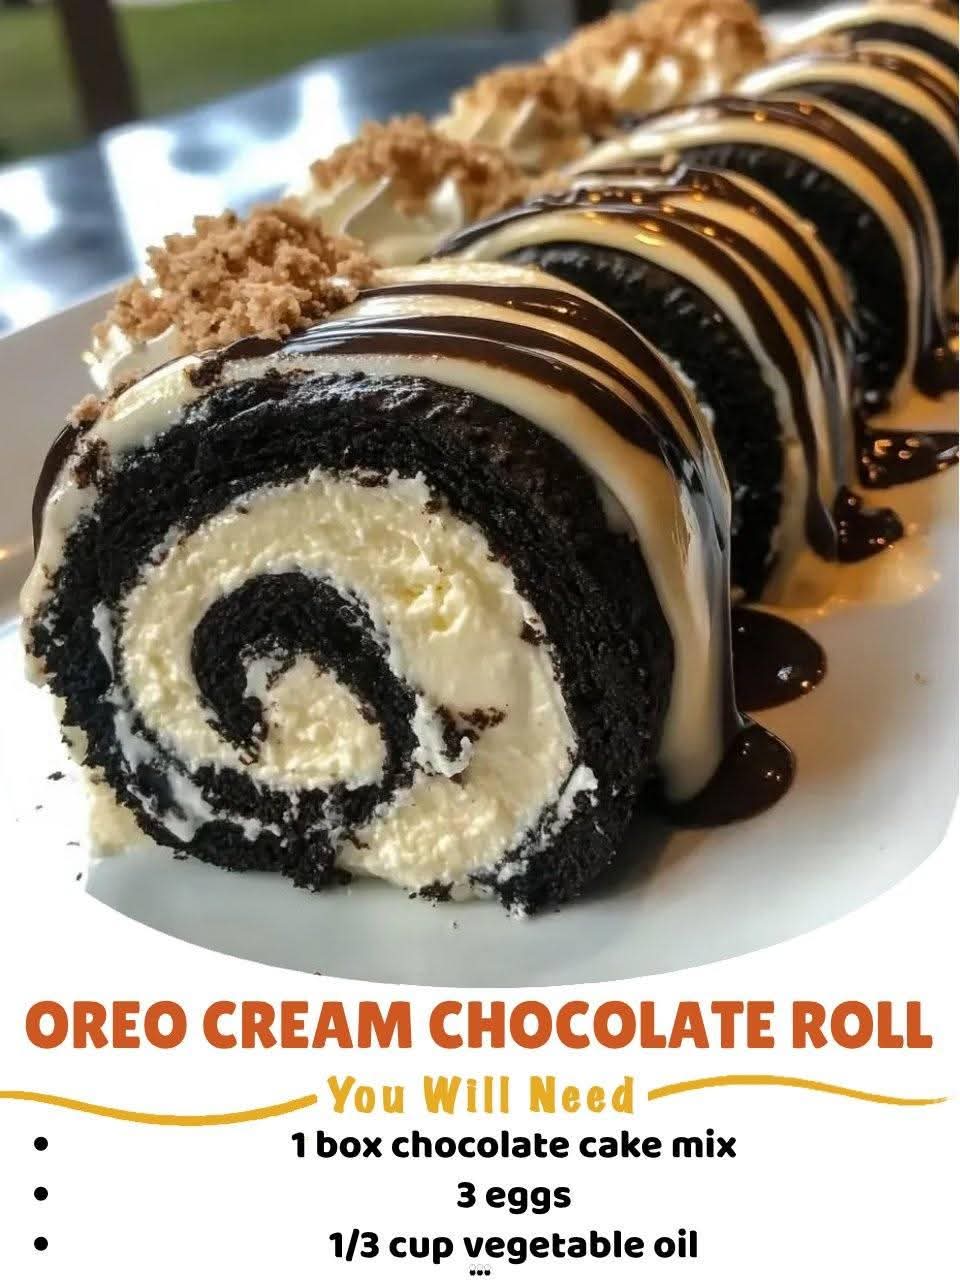
Soft, rich chocolate sponge rolled with Oreo-infused cream cheese filling and drizzled with silky white chocolate.
This is more than just dessert — it’s a celebration in every slice.
🧁 Introduction
The Oreo Cream Chocolate Roll is a delightful fusion of classic Swiss roll cake and everyone’s favorite cookie: the Oreo. Perfect for birthdays, holidays, dinner parties, or simply impressing your dessert-loving friends. This dessert not only tastes amazing, but its swirl design makes it a stunning centerpiece too.
🕰️ A Short History
The chocolate roll cake, also known as a Swiss roll, dates back to the 19th century in Central Europe. Over time, it evolved, adapting fillings from fruit jams to whipped creams and beyond.
Enter: Oreo cookies — invented in 1912 by Nabisco, quickly becoming a staple in global dessert culture. Combining Oreos with the roll cake is a modern twist that merges nostalgic childhood flavors with elegant patisserie technique.
🍫 Ingredients
For the Chocolate Sponge Cake:
- 1 box chocolate cake mix (or make from scratch if preferred)
- 3 large eggs
- 1/2 cup water
- 1/2 cup vegetable oil
For the Oreo Cream Cheese Filling:
- 8 oz (225g) cream cheese, softened
- 1/2 cup powdered sugar
- 1 tsp vanilla extract
- 1 1/2 cups heavy whipping cream
- 12 Oreo cookies, finely crushed
For the White Chocolate Drizzle:
- 1/2 cup white chocolate chips
- 1 tbsp heavy cream
Optional Garnishes:
- Extra crushed Oreos
- Mini Oreos
- Chocolate shavings
- Whipped cream
🍽️ Instructions
Step 1: Bake the Chocolate Sponge
- Preheat oven to 350°F (175°C).
- Line a 10×15-inch jelly roll pan with parchment paper and lightly grease.
- In a bowl, combine cake mix, eggs, water, and oil. Mix until smooth.
- Pour into prepared pan and spread evenly.
- Bake for 12–14 minutes, or until the cake springs back when touched.
- While still warm, turn the cake onto a clean kitchen towel dusted with powdered sugar.
- Peel off parchment paper and gently roll the cake (with the towel) from short end to short end. Let it cool completely rolled up.
Step 2: Make the Oreo Cream Cheese Filling
- Beat softened cream cheese with powdered sugar and vanilla until smooth.
- In another bowl, whip heavy cream until stiff peaks form.
- Fold whipped cream into cream cheese mixture.
- Gently fold in crushed Oreos until evenly mixed.
Step 3: Fill and Roll
- Once cake is cool, carefully unroll it.
- Spread the Oreo cream filling evenly over the surface.
- Re-roll the cake (without the towel) and place seam-side down on a serving tray.
- Chill for at least 1 hour to set.
Step 4: White Chocolate Drizzle
- Melt white chocolate chips with cream in microwave-safe bowl in 15-second bursts, stirring until smooth.
- Drizzle over the chilled roll cake.
Step 5: Garnish & Serve
- Top with extra Oreos, mini cookies, or chocolate curls.
- Slice with a clean, sharp knife for neat swirls.
❤️ For the Lovers (Of Dessert)
This cake is a love letter to:
- Oreo addicts who can’t resist that creamy crunch.
- Cake roll fans who love the drama of the swirl.
- Sweethearts looking to bake something special together.
- Anyone who believes dessert should be both stunning and soul-soothing.
Serve it with coffee, hot cocoa, or a scoop of vanilla ice cream. 🍨
🧪 Baking Method Notes
- Rolling tip: Roll the cake while it’s warm to avoid cracking.
- Chill before slicing: For the cleanest swirls, always chill at least an hour before cutting.
- Don’t overwhip the cream – soft peaks that hold shape are ideal before folding into the filling.
🎉 Conclusion
The Oreo Cream Chocolate Roll is the perfect blend of indulgence, nostalgia, and presentation. Whether you’re hosting a dinner or enjoying a quiet weekend, this cake brings joy with every forkful.
So, roll up your sleeves and roll out some magic. ✨🍫🍪
Would you like a printable version, a short video guide, or tips to customize it (e.g. turning it into cupcakes or a no-bake version)?