Sure! Here’s an expanded version of your Peanut Butter Balls recipe with everything you asked for:
Peanut Butter Balls: A Classic, Sweet & Creamy Delight
Introduction:
Peanut butter balls are the perfect combination of sweet, creamy, and salty flavors. They’re the kind of treat that everyone loves—whether you’re a peanut butter aficionado or just someone with a craving for something indulgent. This recipe combines peanut butter, butter, and sugar into a heavenly bite-sized treat, perfect for snacking or gifting. Whether you’re making them for a holiday, a special occasion, or just as a snack for yourself, peanut butter balls never disappoint.
These simple no-bake treats are a hit with kids and adults alike. They’re easy to make, don’t require any fancy equipment, and can be customized with toppings, coatings, or fillings of your choice. Plus, they freeze well, so you can store them and enjoy them later—if they last that long!
Ingredients:
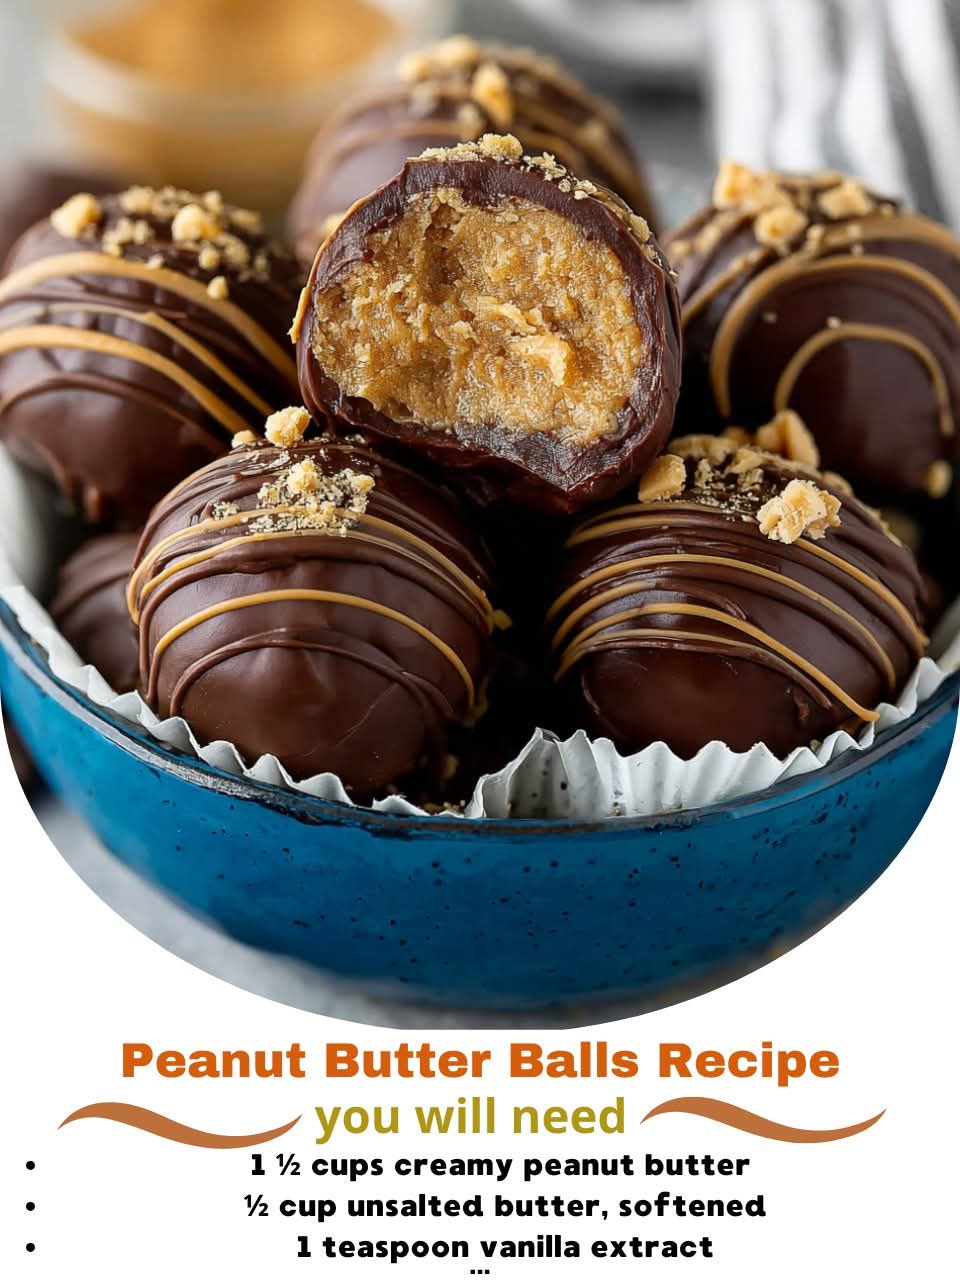
- 1 ½ cups creamy peanut butter (not natural, for the best consistency)
- ½ cup unsalted butter, softened
- 1 teaspoon vanilla extract
- 2 cups powdered sugar
- 2 cups graham cracker crumbs (can substitute with crushed cookies or rice cereal)
- 1-2 cups chocolate chips (milk or dark, depending on your preference)
- Optional: a pinch of salt (if you like a sweet-salty combo)
Method:
Step 1: Mixing the Peanut Butter Base
In a large mixing bowl, combine the creamy peanut butter and unsalted butter. Stir them together until smooth and well incorporated. This is your base, which will be the rich, creamy filling of the peanut butter balls.
Once the butter and peanut butter are blended, add in the vanilla extract for a hint of flavor. You can also add a pinch of salt here if you’re going for a sweet-salty balance.
Step 2: Adding Dry Ingredients
Next, gradually sift in the powdered sugar and graham cracker crumbs. Mix thoroughly until the mixture becomes thick, dough-like, and slightly sticky. The graham cracker crumbs help provide structure and texture to the peanut butter mixture, keeping it from being too soft.
Once the mixture is evenly mixed, it should hold its shape when you scoop it. If it feels too soft, you can refrigerate it for about 20 minutes to firm it up.
Step 3: Shaping the Peanut Butter Balls
Using your hands or a small cookie scoop, roll the mixture into bite-sized balls—about 1 inch in diameter. You should get roughly 24-30 peanut butter balls depending on the size.
Arrange the balls on a parchment-lined baking sheet or tray. Once they are all shaped, place them in the fridge for at least 30 minutes to firm up. This will help them keep their shape during the next step.
Step 4: Coating with Chocolate
While the peanut butter balls are chilling, melt the chocolate chips. You can do this either in a microwave in 20-second intervals, stirring each time, or on the stovetop using a double boiler.
Once the chocolate is fully melted and smooth, dip each chilled peanut butter ball into the chocolate, ensuring it’s fully coated. Let any excess chocolate drip off before placing the coated balls back onto the parchment-lined tray.
If you like, you can also sprinkle them with crushed nuts, sea salt, or drizzle extra chocolate over them for decoration. Once dipped, return the peanut butter balls to the fridge to set the chocolate coating.
Step 5: Enjoying Your Peanut Butter Balls
After about 30 minutes, your peanut butter balls should be ready to enjoy. If you’re not eating them immediately, store them in an airtight container in the fridge for up to two weeks. Alternatively, you can freeze them for longer storage.
History:
Peanut butter balls, as we know them today, are part of a long tradition of peanut butter-based confections that date back to the early 20th century. Peanut butter itself became widely popular in the U.S. after it was patented by Dr. John Harvey Kellogg in 1895 as a nutritious food for people with chewing difficulties. Over time, peanut butter found its way into many desserts, including the famous peanut butter cup (hello, Reese’s!).
Peanut butter balls, however, became a favorite holiday treat and are commonly found during Christmas or Thanksgiving. The no-bake nature of the recipe made it an ideal option for busy holiday bakers, and the creamy, rich texture made it a beloved snack for family gatherings.
Formation & Variations:
There are endless ways to personalize your peanut butter balls. You can play with the coating by using white chocolate, dark chocolate, or even a candy coating for a colorful finish. Some variations incorporate coconut flakes, rice crispy cereal for crunch, or even a touch of maple syrup for added sweetness.
For a more indulgent treat, try filling the center of each ball with a dollop of caramel, a cherry, or even a whole hazelnut. Peanut butter and chocolate lovers can easily customize these to suit any craving!
Conclusion:
Peanut butter balls are a delightful, nostalgic treat that captures the perfect balance of sweet and salty in each bite. Whether you’re sharing them with loved ones or sneaking one for yourself, these little bites of heaven are sure to bring joy to any occasion. They’re easy to make, customizable, and utterly satisfying. With just a few ingredients and simple steps, you can create something truly delicious. So, grab your peanut butter and get rolling—literally!
Lovers of Peanut Butter Balls:
Peanut butter ball fans are everywhere! Whether they’re making these as a quick holiday treat, sharing them at a party, or gifting them in decorative tins, peanut butter balls are loved by many. There’s something universally comforting about the blend of peanut butter and chocolate—rich, smooth, and indulgent. You’ll find that once you start making them, you’ll have trouble stopping at just one!
Now you have everything you need to create your own peanut butter ball masterpiece. Enjoy and share with your friends and family—they’re bound to be a hit! 😊