Mini Cherry Cheese Danishes with Sugar Glaze: A Sweet Journey of Flaky Delight
Introduction
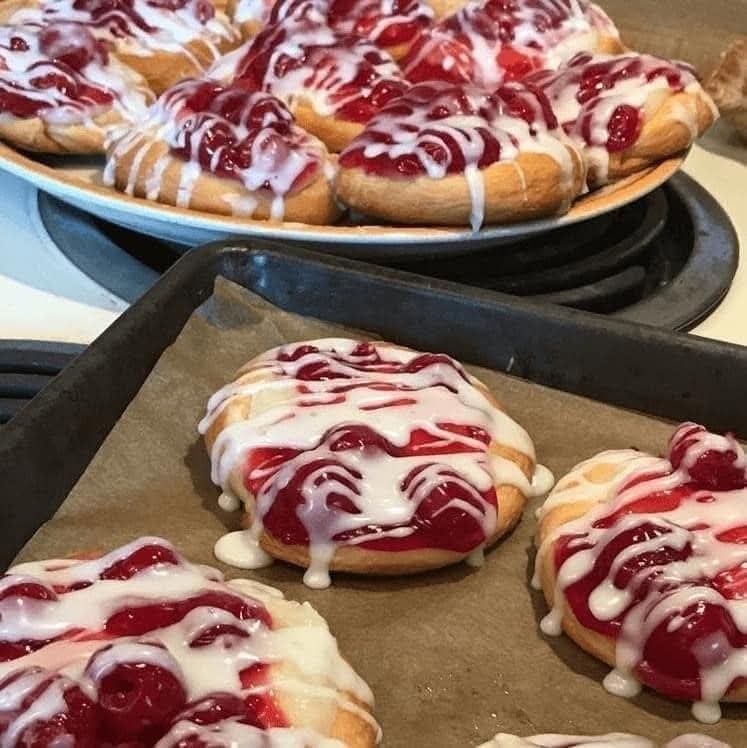
When you’re craving a bite of something sweet, flaky, and full of flavor, Mini Cherry Cheese Danishes with Sugar Glaze are the perfect treat. These little pastries combine rich cream cheese, sweet cherry filling, and a crisp, buttery crust—making them irresistible to anyone with a sweet tooth. The sugar glaze on top adds that perfect touch of sweetness and shine, making each bite feel like a little celebration. Whether you’re hosting a brunch, enjoying a cozy morning at home, or treating yourself, these mini danishes are guaranteed to impress.
History
Danish pastries, or “wienerbrød” as they’re called in Denmark, have a fascinating history. Though they originated in Denmark, their roots are tied to Austrian bakers who brought pastry techniques to Copenhagen in the 19th century. Over time, the Danes developed their own signature style, and now Danish pastries are enjoyed worldwide. Cherry and cream cheese fillings are a popular combination, adding richness and tanginess to the otherwise buttery and flaky pastry. This recipe honors that classic combination, with a fun mini twist!
Ingredients
For the Pastry:
- 1 package of puff pastry (or 1 sheet of phyllo dough if preferred)
- 1 tablespoon of all-purpose flour (for dusting)
- 1 egg (for egg wash, optional)
For the Cream Cheese Filling:
- 8 oz cream cheese (softened)
- 1/4 cup granulated sugar
- 1/2 teaspoon vanilla extract
- 1 tablespoon all-purpose flour (helps stabilize the filling)
For the Cherry Filling:
- 1/2 cup cherry preserves or cherry pie filling (you can also use fresh cherries or canned cherries)
- 1 tablespoon cornstarch (if using fresh or canned cherries for thickening)
For the Sugar Glaze:
- 1/2 cup powdered sugar
- 2 teaspoons milk (or heavy cream for a richer glaze)
- 1/4 teaspoon vanilla extract
Instructions
1. Preheat the Oven:
Preheat your oven to 375°F (190°C). Line a baking sheet with parchment paper or use a silicone baking mat to prevent the pastries from sticking.
2. Prepare the Puff Pastry:
Roll out the puff pastry sheet onto a lightly floured surface. If using store-bought puff pastry, it’s often already rolled, so you just need to cut it into squares (roughly 3×3 inches each). You’ll want about 9-12 squares, depending on the size you prefer.
3. Make the Cream Cheese Filling:
In a medium bowl, mix the softened cream cheese, granulated sugar, vanilla extract, and flour until smooth and creamy. This filling should be thick enough to hold its shape when placed on the pastry.
4. Assemble the Danishes:
- Place a spoonful of the cream cheese mixture in the center of each pastry square. Spread it slightly, leaving space around the edges for folding.
- Spoon a small dollop of cherry filling (or cherry preserves) on top of the cream cheese.
- If you’re using fresh or canned cherries, combine them with cornstarch in a small pot over medium heat. Cook for about 2-3 minutes until thickened, then spoon this over the cream cheese layer.
5. Fold and Seal:
Fold the corners of each square toward the center, creating a “pocket” around the filling. If you’d like, you can use a fork to press down and seal the edges. Brush the edges of the dough with a little egg wash (1 beaten egg mixed with a tablespoon of water) to give them a golden, glossy finish.
6. Bake the Danishes:
Place the prepared danishes onto your baking sheet. Bake for 15-18 minutes or until the pastry is golden brown and puffed up. Keep an eye on them as baking times may vary depending on your oven and pastry thickness.
7. Make the Sugar Glaze:
While the danishes are cooling, whisk together the powdered sugar, milk (or cream), and vanilla extract in a small bowl. The glaze should be smooth and pourable but not too runny.
8. Drizzle the Glaze:
Once the danishes have cooled slightly, drizzle the sugar glaze over each one. You can be as generous as you like—this is the sweet finishing touch!
Methods of Formation:
Layering
Danish pastries are all about building layers. Puff pastry has multiple layers that puff up when baked, creating a light and flaky texture. The cream cheese and fruit filling add moisture and flavor, while the sugar glaze gives a final touch of sweetness.
Folding
The folding of the dough is crucial to create that pocket shape that holds in all the filling. It also helps create some of the visual appeal, giving these little pastries their “signature” look.
Baking
Baking them at a high temperature allows the puff pastry to rise quickly and form those delicious layers. The result is a golden brown, flaky crust with a soft, creamy center and fruity filling.
Lovers of This Recipe:
If you’re a fan of pastries, you’ll adore these Mini Cherry Cheese Danishes. The combination of cream cheese and cherry is a classic pairing loved by many, making it perfect for people who enjoy both sweet and tangy flavors. This recipe is great for:
- Brunch gatherings: Serve these at your next brunch, and watch your guests rave about them.
- Coffee lovers: Pair with a hot cup of coffee or tea for a sweet pick-me-up.
- Bakers of all levels: Whether you’re a beginner or a pro, this recipe is easy enough for everyone to enjoy making.
Conclusion
Mini Cherry Cheese Danishes with Sugar Glaze are a perfect treat for anyone who loves the combination of sweet, tangy, and buttery. They’re versatile enough for any occasion—from a weekend breakfast to a fancy afternoon tea. With their golden, flaky crust and rich, creamy filling, these danishes will transport you to a cozy café in Copenhagen, or wherever your favorite pastry memories lie. Plus, they’re so easy to make, they might just become your go-to pastry recipe. So, gather your ingredients, preheat the oven, and indulge in the magic of homemade danishes!
Pro Tip:
You can switch up the fillings and use different fruits like blueberries, raspberries, or even mixed berries. Feel free to experiment with flavors and make this recipe your own!
Enjoy your baking adventure! 🌟