Of course! Here is a massive, all-encompassing recipe for the ultimate 2-ingredient milkshake, covering everything you’ve asked for.
—
Introduction: The Magic in Simplicity
Forget complicated recipes and expensive ingredients. The pursuit of the perfect milkshake often leads us down a path of syrups, powders, and complicated steps. But what if the secret to a thick, creamy, and incredibly delicious milkshake has been hiding in your freezer and fridge all along? This recipe is a celebration of minimalism, proving that with just two, high-quality ingredients, you can create a frozen dessert that rivals any diner or fancy shake shop creation. It’s not just a recipe; it’s a revelation.
—
A Brief History of the Milkshake
The milkshake has humble beginnings. In the late 19th century, a “milkshake” was an alcoholic whiskey drink, a tonic for health. By the early 1900s, it had evolved into a chocolate, strawberry, or vanilla flavored drink made with syrups and milk, shaken by hand. The true revolution came in 1922 when a Walgreens employee in Chicago, Ivar “Pop” Coulson, had the brilliant idea of adding two scoops of vanilla ice cream to their standard malted milk drink. With the invention and popularization of the electric blender, the modern, thick, spoonable milkshake was born. Our 2-ingredient version is a direct descendant of this beautiful innovation, stripped back to its purest, most essential form.
—
The Core Philosophy: Why It Works
The formation of this milkshake is a perfect culinary emulsion. The high fat content and frozen state of the ice cream provide the structure and body. As the milk is blended in, it simultaneously thins the ice cream just enough to make it drinkable while being churned by the blender blades, incorporating tiny air bubbles. This aeration is what gives it a light, creamy texture instead of a dense, icy block. The ratio is key: too much milk and you have a weak milk soup; too little and your blender motor will protest. We have found the golden ratio.
—
Ingredients: The Two Heroes
· High-Quality Vanilla Ice Cream: 3 generous cups (approximately 1.5 pints or 450-500 grams). This is the star. The better the ice cream, the better the shake. Look for one with a high butterfat content (at least 14%) for maximum creaminess. The vanilla bean specks in a premium ice cream add a wonderful depth of flavor.
· Whole Milk: 1/3 to 1/2 cup (80-120 ml). Whole milk (3.5% fat) is non-negotiable for the richest, smoothest texture. The fat in the milk complements the fat in the ice cream, creating a luxurious mouthfeel. Lower-fat milk will result in an icy, less satisfying shake.
(Optional Add-ins for Lovers of Flavor):
· For the Chocolate Lover: 2 tablespoons of high-quality chocolate syrup or a handful of chocolate chips.
· For the Fruit Lover: 1/2 cup of frozen strawberries or a ripe banana.
· For the Malt Lover: 2 tablespoons of malted milk powder.
· For the Peanut Butter Lover: A big spoonful of creamy peanut butter.
—
Equipment & Methods
· Primary Method: The Blender. This is the most effective tool. A high-speed blender will give you the creamiest result in seconds.
· Alternative Method: The Stand Mixer or Food Processor. Both can work in a pinch, though they may not incorporate as much air.
· Traditional Method: The Mason Jar. For the truly patient. Add ingredients to a jar, seal tightly, and shake vigorously for 5-7 minutes until thick and combined. It’s a workout!
—
Step-by-Step Instructions
1. The Pre-Chill (Secret Step): Place your blender pitcher or two serving glasses in the freezer for 10-15 minutes before you begin. A cold vessel keeps the milkshake colder, longer.
2. The Scoop: Using a sturdy spoon, scoop the hardened vanilla ice cream into the chilled blender pitcher.
3. The Pour: Add 1/3 cup of the whole milk over the ice cream.
4. The Pulse and Blend: Start by pulsing the blender a few times to break up the ice cream. Then, blend on medium speed for 15-30 seconds. Do not over-blend! Over-blending will melt the ice cream too much. You are aiming for a thick, creamy consistency that mounds on a spoon.
5. The Consistency Check: Stop the blender and check the texture. If it’s too thick to pour, add another tablespoon or two of milk and blend for just 5 more seconds. Repeat until desired consistency is achieved.
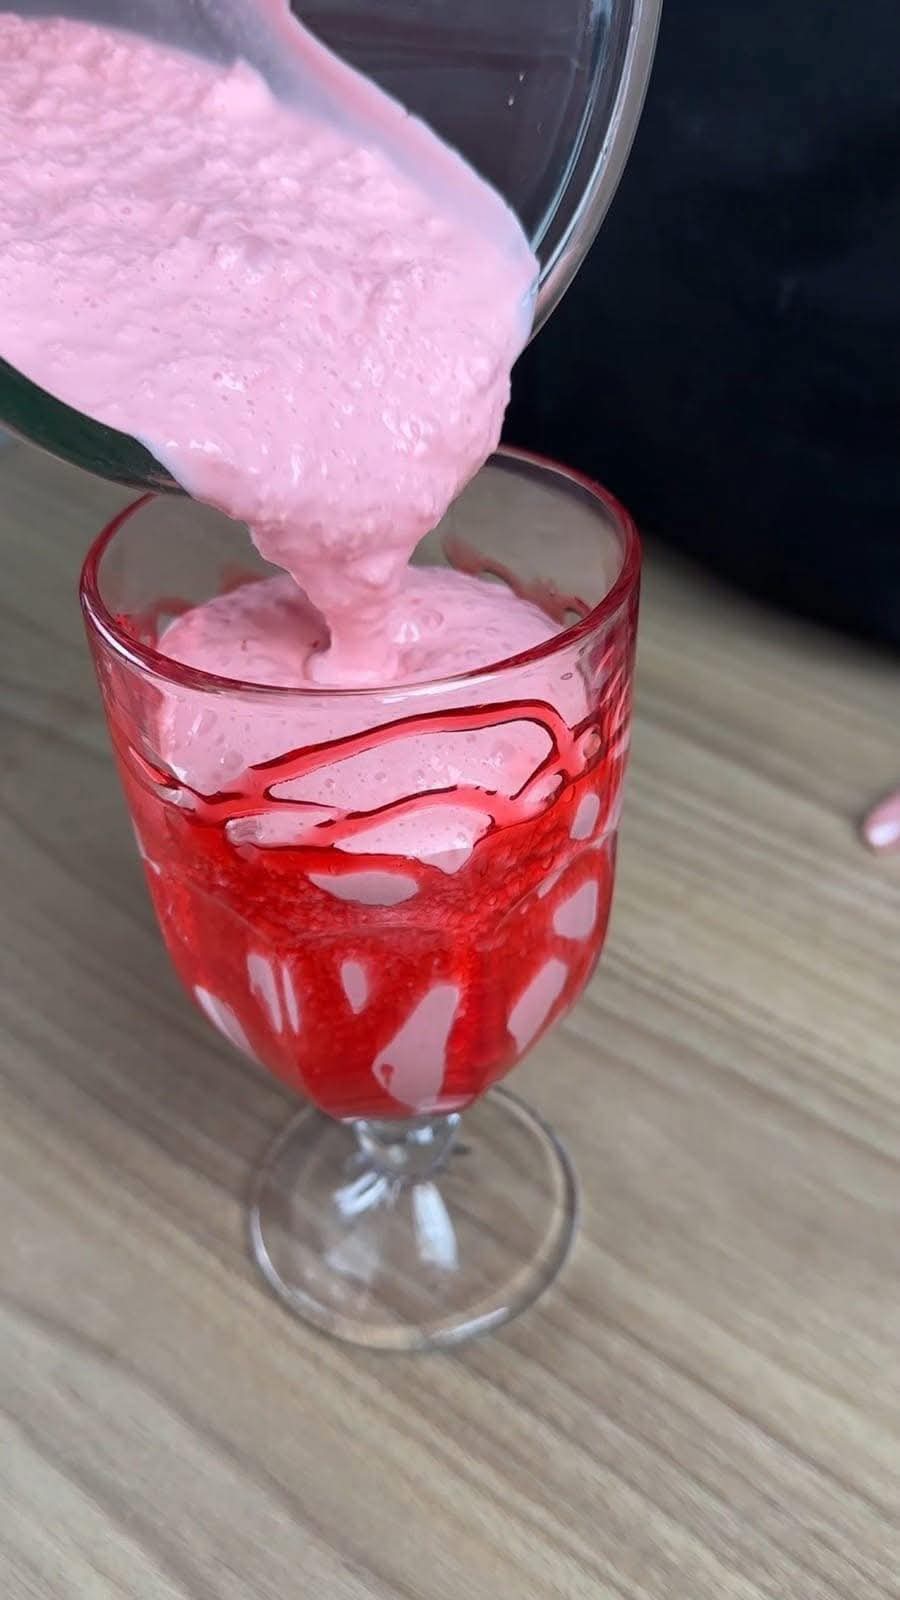
6. The Finale: Immediately pour or spoon the milkshake into your chilled glasses.
—
Nutritional Information & Benefits
(Per serving, assuming recipe serves 2)
· Calories: ~450-550 kcal
· Fat: ~25-30g (Saturated Fat: ~15-18g)
· Carbohydrates: ~45-55g (Sugars: ~40-50g)
· Protein: ~8-10g
· Calcium: Excellent source (25-30% of Daily Value)
The Benefits:
· Simplicity & Speed: Made in under 5 minutes, it’s a quick treat with minimal cleanup.
· Cost-Effective: Significantly cheaper than store-bought or shop-bought shakes.
· Control Over Ingredients: You know exactly what’s in it—no stabilizers or artificial flavors unless you choose to add them.
· Calcium & Energy: Provides a good dose of calcium for bone health and is a great source of quick energy, perfect for a post-workout treat or an indulgent dessert.
—
A Note for Milkshake Lovers
This recipe is a canvas. For the Purist Lover, it is perfection itself. For the Adventurous Lover, the add-in possibilities are endless. Crumble in some cookies, swirl in some caramel, or add a pinch of espresso powder. For the Nostalgic Lover, this shake will transport you directly to a vinyl booth in a 1950s diner. Embrace it, customize it, and make it your own.
—
Conclusion
The 2-ingredient milkshake is more than just a recipe; it’s a testament to the idea that the best things in life are often the simplest. It delivers an unbelievable payoff for a minuscule amount of effort. Creamy, dreamy, and deeply satisfying, it proves that you don’t need a long list of ingredients to create something truly magical. So, open your freezer, grab that tub of ice cream, and experience the cheapest, tastiest milkshake you’ve ever seen—and tasted