Here’s a full big recipe write-up for your Reese’s Peanut Butter Earthquake Cake with everything you asked for: introduction, history, ingredients, instructions, methods, formation, conclusion, and even a section for “lovers” of this cake. 🍫🥜
Reese’s Peanut Butter Earthquake Cake
Introduction
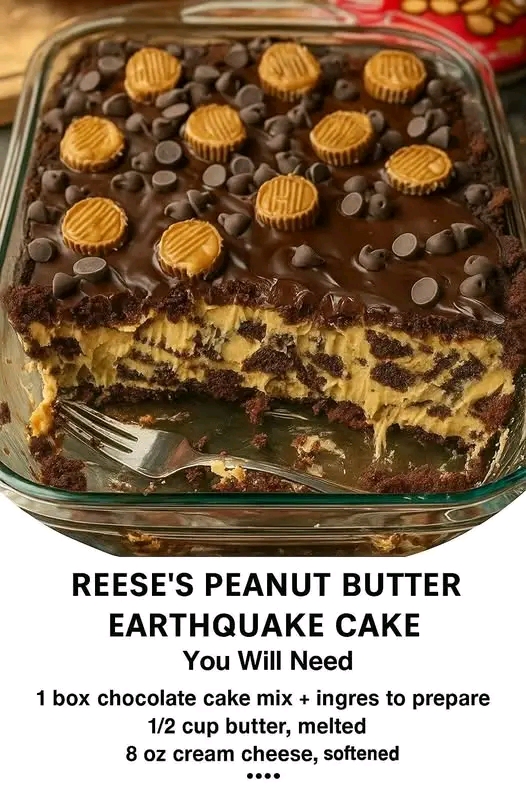
The Reese’s Peanut Butter Earthquake Cake is a decadent dessert that’s as dramatic as its name suggests. Known for its gooey, crackled top and irresistible layers of chocolate, peanut butter, and cream cheese, this cake truly “erupts” with flavor. Each slice is filled with melty chocolate chips, creamy peanut butter swirls, and a sweet surprise that makes it a crowd-pleaser at any gathering. If you’re a lover of Reese’s candies or crave the combination of chocolate and peanut butter, this dessert was made for you.
Ingredients
For the Cake Layer:
- 1 box chocolate cake mix (plus ingredients listed on the box: usually eggs, oil, and water)
For the Peanut Butter Cream Cheese Swirl:
- ½ cup butter, melted
- 8 oz cream cheese, softened
- ½ cup peanut butter (creamy style works best)
- ½ tsp vanilla extract
- 4 cups powdered sugar
For the Extra Goodness:
- ½ cup semi-sweet chocolate chips
- Optional: chopped Reese’s peanut butter cups for topping
Instructions
- Preheat Oven – Set your oven to 350°F (175°C). Grease a 9×13-inch baking pan.
- Prepare the Cake Batter – Make the chocolate cake batter according to the package directions. Pour it into the prepared pan.
- Make the Peanut Butter Cream Cheese Layer – In a large mixing bowl, beat together the melted butter, softened cream cheese, peanut butter, vanilla, and powdered sugar until smooth and fluffy.
- Layer the Cake – Drop spoonfuls of the cream cheese mixture on top of the cake batter. Use a knife or spatula to gently swirl it through, creating a marbled effect.
- Add Chocolate Chips – Sprinkle semi-sweet chocolate chips (and Reese’s pieces if desired) evenly over the top.
- Bake – Bake for 40–45 minutes. The cake will appear slightly gooey in spots, but that’s what gives it the “earthquake” look and texture.
- Cool & Serve – Let the cake cool for about 20 minutes before slicing. Serve warm for a molten center, or chilled for a fudgier texture.
Methods
- Mixing Method: Use the creaming method for the peanut butter layer to make it smooth and rich.
- Swirling Technique: Do not over-mix when swirling; the beauty of this cake lies in its cracked and uneven top, resembling an earthquake’s aftermath.
- Serving Style: Pairs beautifully with vanilla ice cream, a drizzle of chocolate syrup, or whipped cream.
History
The Earthquake Cake originated as a Southern potluck classic, known for its uneven, “cracked earth” appearance. Traditionally, it’s made with coconut and pecans, but over time, creative bakers adapted the recipe with different flavors. This Reese’s version is a modern twist that celebrates America’s love affair with chocolate and peanut butter—a combination that skyrocketed in popularity in the mid-20th century when Reese’s candies became iconic. Today, the Reese’s Earthquake Cake is a beloved variation that brings nostalgia and indulgence together.
Formation
The cake forms in layers that blend during baking:
- Chocolate base – soft, fudgy foundation.
- Peanut butter cream cheese swirl – rich and gooey pockets of sweetness.
- Chocolate chips – melty bursts throughout.
- Cracked top – signature “earthquake” look with irresistible textures.
Conclusion
The Reese’s Peanut Butter Earthquake Cake is more than just a dessert—it’s a showstopper. Perfect for family gatherings, parties, or simply when you need a sweet fix, this cake is bound to impress. Its gooey, rich, peanut-buttery goodness makes every bite unforgettable.
For the Lovers ❤️
- Chocolate Lovers – You’ll adore the deep, fudgy base that melts in your mouth.
- Peanut Butter Lovers – That swirl of cream cheese and peanut butter is heavenly.
- Reese’s Lovers – Add chopped Reese’s cups on top for the ultimate indulgence.
- Baking Lovers – This recipe is fun, easy, and always gets rave reviews.
Would you like me to also create a “story-style” version of this recipe (like a food blog post with more narrative, tips, and serving suggestions), or do you prefer the structured cookbook-style format like above?