Here’s a comprehensive, detailed recipe for Easter Chocolate Chip Cookies, including everything you asked for: introduction, ingredients, methods, history, benefits, formation, nutrition, and conclusion for cookie lovers.
🐣 Easter Chocolate Chip Cookies Recipe
Introduction
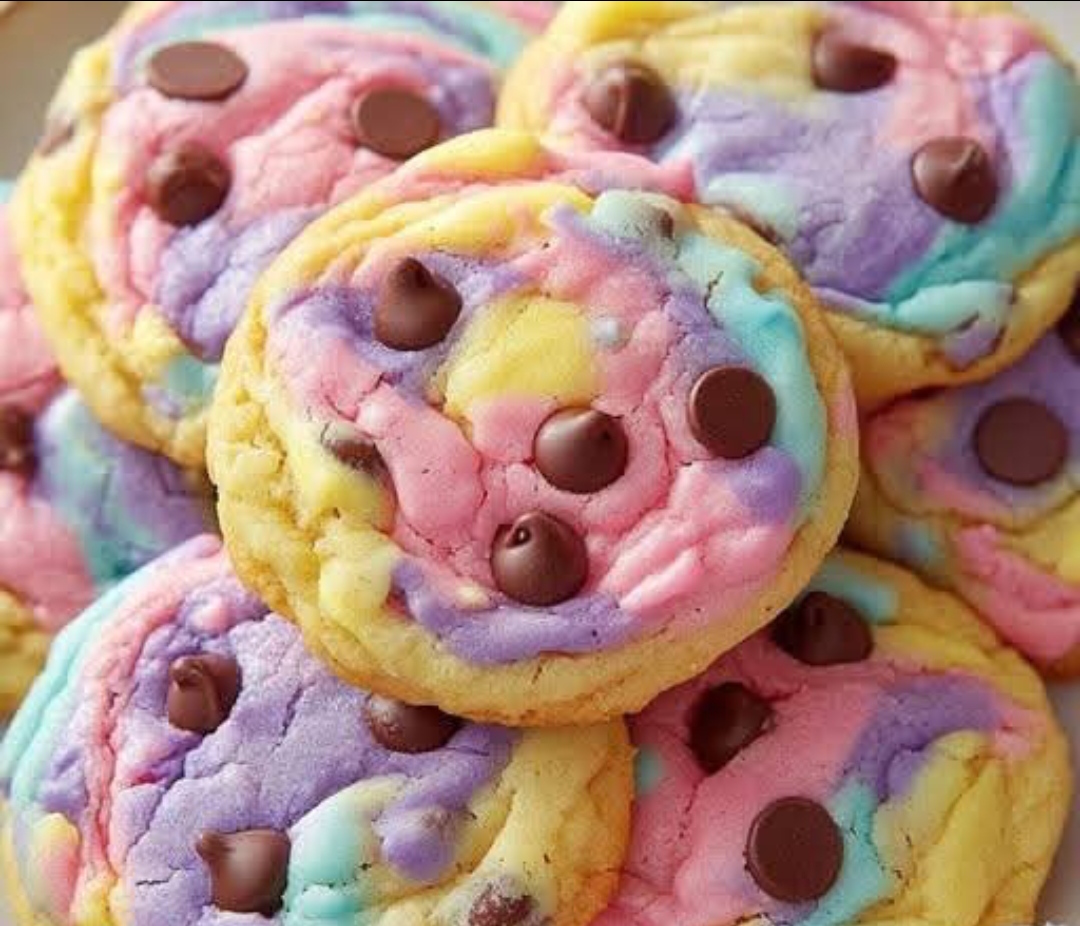
Easter is a time of joy, celebration, and sweet indulgence. What better way to celebrate than with soft, chewy chocolate chip cookies adorned with colorful Easter-themed candies or mini chocolate eggs? These cookies combine the classic comfort of chocolate chip cookies with a festive twist, perfect for sharing with family, decorating for an Easter basket, or simply enjoying with a cup of tea or milk. They are easy to make, fun to decorate, and sure to bring a smile to anyone’s face.
Ingredients
Dry Ingredients:
- 2½ cups all-purpose flour
- 1 teaspoon baking soda
- ½ teaspoon salt
Wet Ingredients:
- 1 cup (2 sticks) unsalted butter, softened
- ¾ cup granulated sugar
- ¾ cup brown sugar, packed
- 2 large eggs
- 2 teaspoons pure vanilla extract
Mix-ins & Decorations:
- 2 cups semi-sweet chocolate chips
- Optional: ½–1 cup mini Easter chocolate eggs or pastel M&M’s for decoration
Instructions
Step 1: Prepare the Oven & Baking Sheets
- Preheat your oven to 375°F (190°C).
- Line baking sheets with parchment paper or silicone baking mats to prevent sticking.
Step 2: Mix Dry Ingredients
- In a medium bowl, whisk together flour, baking soda, and salt.
- Set aside.
Step 3: Cream Butter & Sugars
- In a large bowl, beat the butter, granulated sugar, and brown sugar until smooth and creamy (about 2–3 minutes).
- Add eggs one at a time, mixing well after each addition.
- Stir in vanilla extract.
Step 4: Combine Wet & Dry Ingredients
- Gradually mix the dry ingredients into the wet ingredients until just combined.
- Gently fold in chocolate chips and optional mini Easter chocolates. Avoid overmixing to keep cookies soft.
Step 5: Form & Bake Cookies
- Using a cookie scoop or tablespoon, drop dough balls onto the prepared baking sheets about 2 inches apart.
- Optional: Press a few mini Easter eggs gently on top of each cookie for decoration.
- Bake for 10–12 minutes, or until edges are lightly golden but centers remain soft.
- Allow cookies to cool on the baking sheet for 5 minutes, then transfer to a wire rack to cool completely.
Methods & Tips
- Soft & Chewy Cookies: Use room temperature butter and do not overbake.
- Even Baking: Rotate baking sheets halfway through baking.
- Festive Touch: Top cookies with pastel sprinkles or mini chocolate eggs after baking for a colorful Easter vibe.
History
Chocolate chip cookies were invented in the 1930s by Ruth Wakefield at the Toll House Inn in Massachusetts. Over time, these cookies became a global favorite, and seasonal variations, such as Easter-themed versions, have emerged to celebrate holidays with fun colors and candies.
Easter, traditionally celebrating rebirth and new life, naturally inspires cheerful treats. Decorating chocolate chip cookies with pastel candies and eggs has become a modern way to combine tradition with a universally loved dessert.
Benefits
- Mood Boosting: Chocolate stimulates serotonin production, making you feel happier.
- Family Fun: Baking and decorating cookies can be a creative bonding activity.
- Portable Treats: Easy to share, pack, or gift.
Formation
- Scoop: Shape the dough into uniform balls.
- Press: Optionally press candies on top.
- Bake: Allow cookies to spread naturally in the oven.
- Cool: Essential for maintaining structure and texture.
Nutrition (per cookie, approx.)
- Calories: 180–200 kcal
- Carbohydrates: 25 g
- Sugars: 15 g
- Fat: 9 g
- Protein: 2 g
- Fiber: 1 g
Note: Nutrition will vary based on size, chocolate type, and optional decorations.
Conclusion & Cookie Lovers’ Note
These Easter Chocolate Chip Cookies are soft, chewy, and irresistibly festive. Perfect for gifting, sharing, or indulging, they combine classic comfort with the joy of Easter colors. The fun part? Everyone can get involved in decorating them, making baking not just a treat but a celebration of creativity and love.
Cookie Lovers’ Tip: Store in an airtight container for up to a week or freeze the dough for future baking sessions. Warm them slightly before serving for that fresh-baked magic.
If you want, I can also create a visually appealing version with pastel Easter decorations and a fun step-by-step photo guide for these cookies, perfect for social media or a recipe card.
Do you want me to do that?