Here’s an extended, detailed version of your Strawberry Earthquake Cake recipe, including everything you asked for: introduction, history, formation, lovers’ note, ingredients, instructions, methods, and conclusion.
Strawberry Earthquake Cake Recipe
Introduction
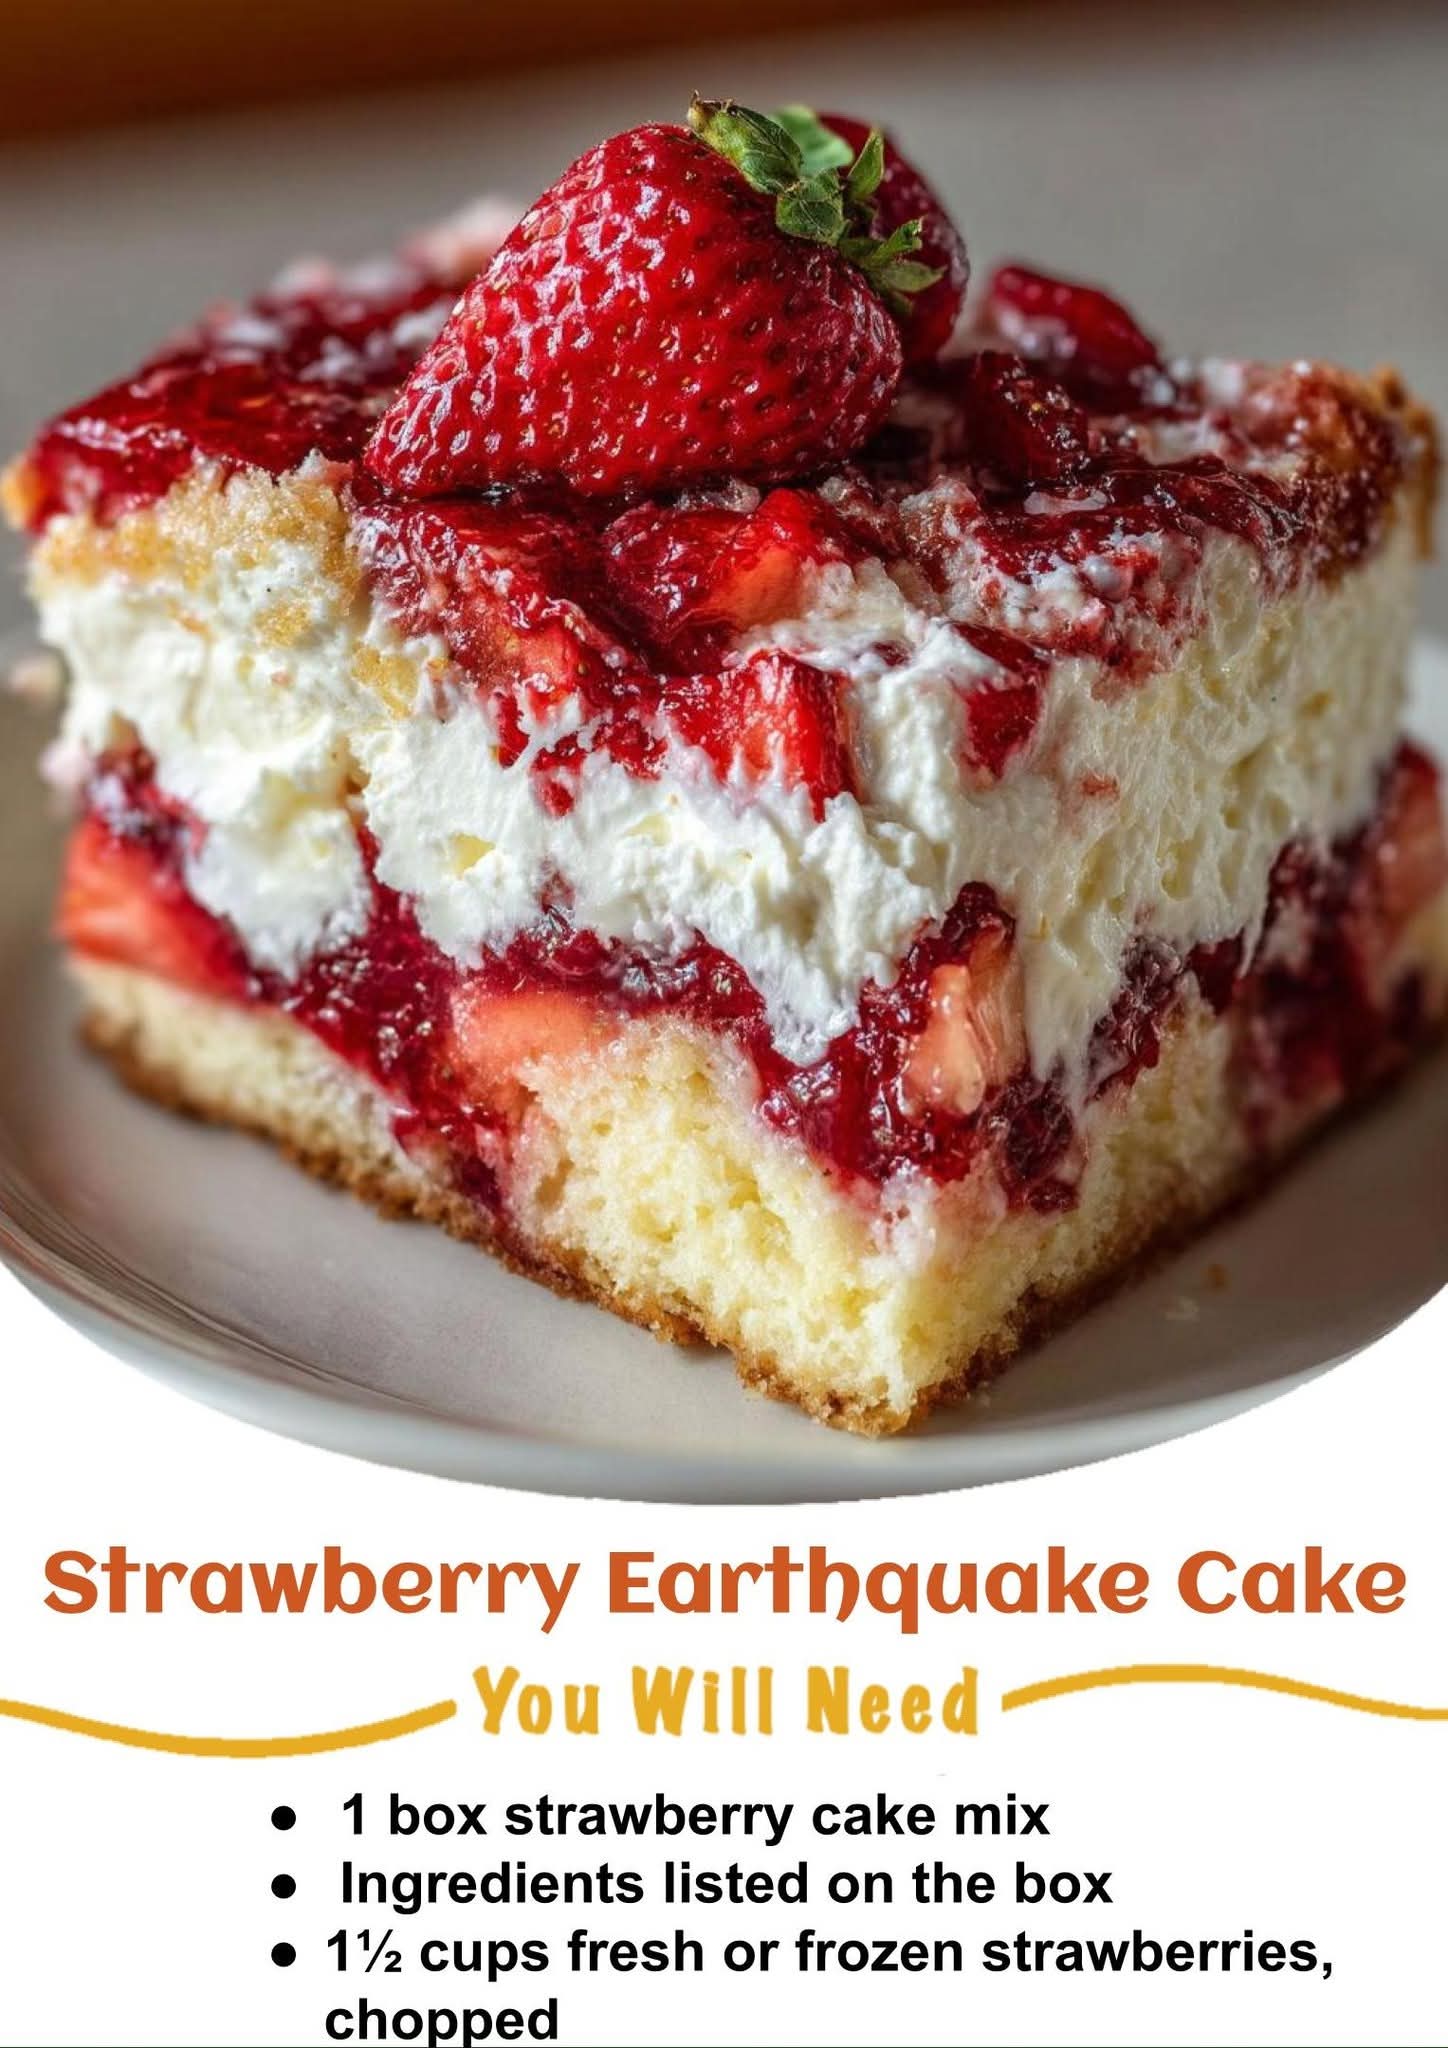
Strawberry Earthquake Cake is a luscious dessert that combines the fruity sweetness of strawberries with a rich, creamy, and slightly gooey texture that makes it irresistible. It gets its name from the unique “cracked” and swirled appearance formed during baking—similar to an earthquake’s jagged lines. This cake is perfect for spring and summer gatherings, Valentine’s Day treats, or any occasion where you want a dessert that looks and tastes special without being complicated.
A Brief History
The concept of “earthquake cakes” originated in the United States during the late 20th century. Traditional versions were made with chocolate and cream cheese fillings that created cracks and layers during baking. Over time, bakers began experimenting with fruit flavors—especially strawberry—to create a vibrant, colorful twist on the original. Today, Strawberry Earthquake Cake is a beloved treat for anyone who enjoys fruity desserts with a creamy surprise.
Formation of the Cake
The cake forms in layers as it bakes:
- A moist strawberry cake base provides a sweet, tender structure.
- Swirls of cream cheese mixture add richness and create the signature “earthquake cracks.”
- Strawberries and add-ins give freshness and bursts of flavor.
The combination of these elements creates an eye-catching, indulgent dessert.
Ingredients
For the Cake Base
- 1 box strawberry cake mix
- Ingredients listed on the cake box (typically 3 eggs, ½ cup oil, 1 cup water)
Add-ins
- 1½ cups fresh or frozen strawberries, chopped
Cream Cheese Mixture
- 8 oz (225g) cream cheese, softened
- ½ cup (1 stick) unsalted butter, softened
- 2 cups powdered sugar
- 1 tsp vanilla extract
Optional Toppings
- ½ cup sweetened shredded coconut
- ½ cup white chocolate chips
- ½ cup chopped pecans or walnuts (optional)
Instructions & Methods
Step 1: Prepare the Cake Base
- Preheat oven to 350°F (175°C) and grease a 9×13-inch baking pan.
- In a mixing bowl, prepare the strawberry cake mix according to the box instructions (combine eggs, oil, and water).
- Gently fold in chopped strawberries for extra flavor.
- Pour the mixture into the prepared pan and spread evenly.
Step 2: Make the Cream Cheese Filling
- In a separate bowl, beat cream cheese and butter until smooth.
- Add powdered sugar and vanilla extract; mix until creamy and fluffy.
Step 3: Assemble the Earthquake Layers
- Drop spoonfuls of the cream cheese mixture on top of the cake batter.
- Gently swirl with a knife to create marbled patterns (do not overmix).
- Sprinkle optional toppings like coconut, white chocolate chips, and nuts for added texture.
Step 4: Bake
- Bake in the preheated oven for 40–50 minutes, or until the center is mostly set (a slight jiggle is okay; it will firm as it cools).
- Let the cake cool completely before slicing for the best texture.
Serving Suggestions
- Serve warm for a gooey treat or chilled for a denser texture.
- Pair with a dollop of whipped cream or a scoop of vanilla ice cream.
Who Loves This Cake? (Lovers’ Note)
- Strawberry lovers adore its fruity, refreshing taste.
- Cream cheese fans love the tangy contrast with the sweet cake.
- Home bakers appreciate how impressive it looks despite being easy to make.
Conclusion
Strawberry Earthquake Cake is not just a dessert—it’s a celebration of flavors and textures. Its vibrant pink hue, creamy swirls, and irresistible taste make it perfect for special occasions or simple family gatherings. With minimal effort, you can create a show-stopping dessert that will have everyone asking for seconds.
✅ Do you want me to add a full nutritional breakdown, storage tips, and 3 variations (like Chocolate-Strawberry, Cheesecake-Layered, and No-Bake Earthquake)? Or should I prepare a Pinterest-ready recipe card with photo and layout?