Here’s a complete, detailed recipe for Fluffy Cotton Candy Fudge with everything you requested:
Fluffy Cotton Candy Fudge Recipe
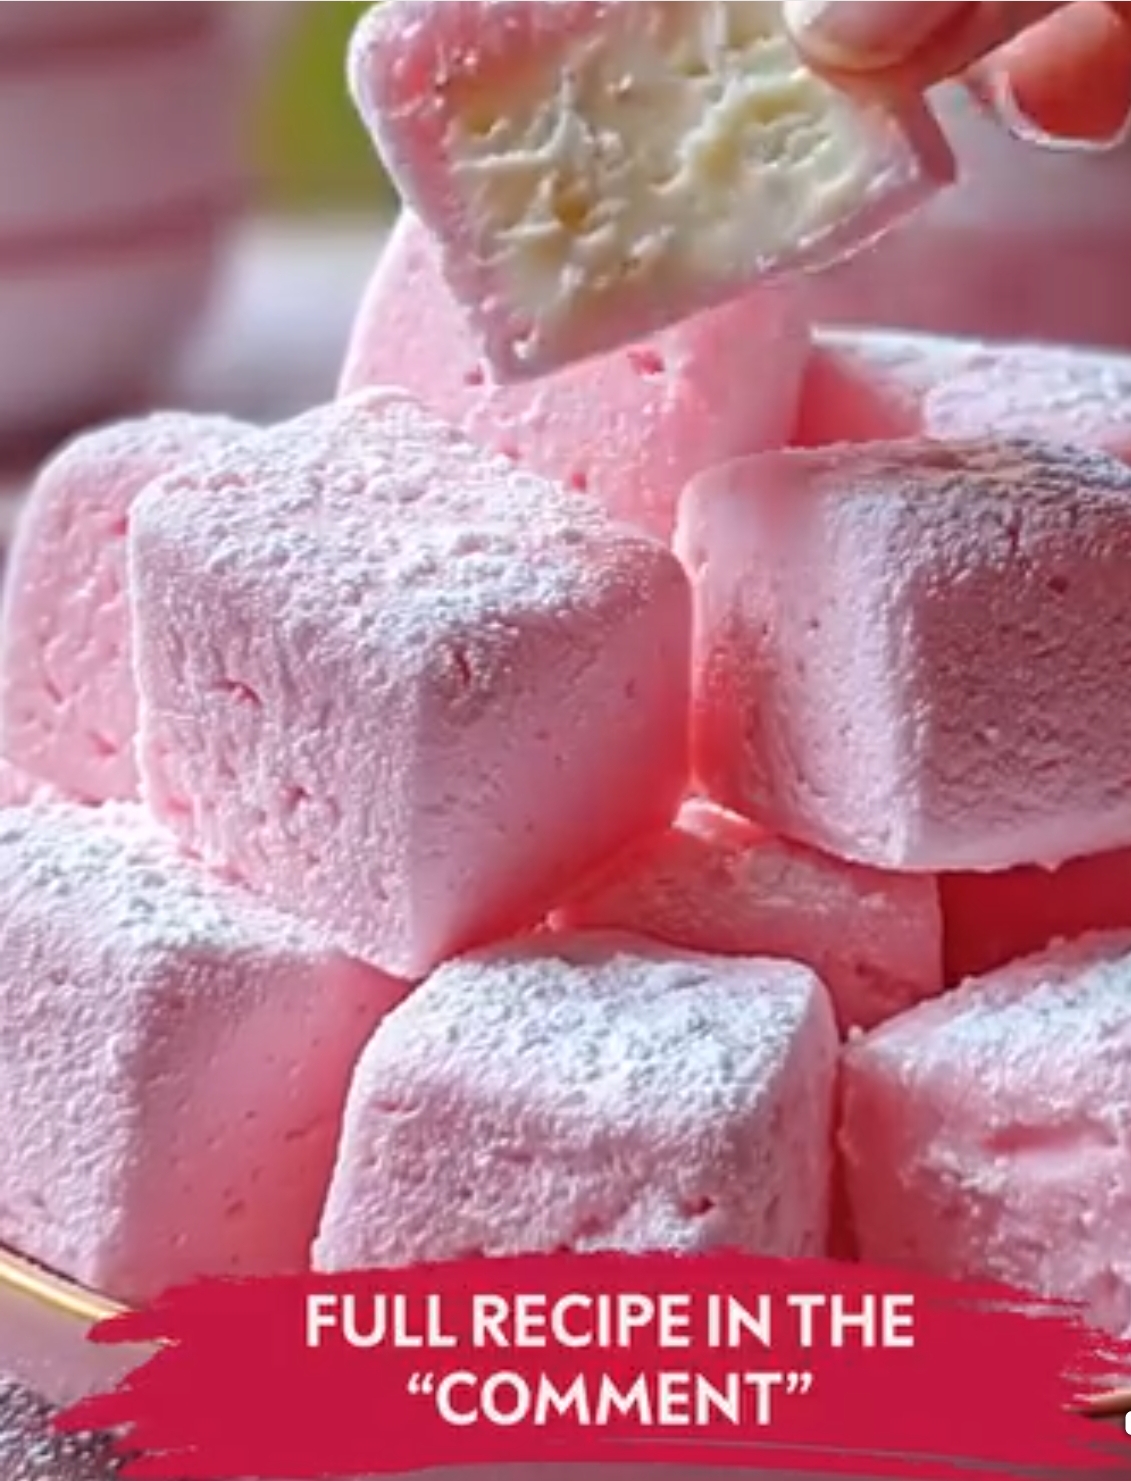
Sweet nostalgia in every bite! This fudge is soft, creamy, and bursting with the whimsical flavors of cotton candy. Perfect for parties, kids’ birthdays, or just a colorful treat to brighten your day.
📜 History & Background
Cotton candy dates back to the 19th century and was first introduced at fairs and circuses. Its airy, cloud-like texture and sugary sweetness captured hearts instantly. Over time, bakers started infusing that iconic flavor into various desserts. Cotton Candy Fudge combines the nostalgia of the fair with the indulgence of rich, creamy fudge—a true marriage of fun and elegance.
✨ Why You’ll Love This Recipe
✔ Colorful & Fun – Perfect for celebrations.
✔ No-Bake & Simple – Just melt, mix, and set!
✔ Kid-Friendly – A treat the whole family will adore.
🛒 Ingredients
- 3 cups white chocolate chips
- 1 can (14 oz) sweetened condensed milk
- 1 tsp vanilla extract
- ½ tsp cotton candy flavoring (optional, for extra taste)
- Pink and blue gel food coloring
- Sprinkles or edible glitter (optional, for decoration)
🍳 Equipment Needed
- 8×8-inch square baking pan
- Parchment paper
- Microwave-safe bowl or double boiler
- Spatula
- Small bowls for coloring
👩🍳 Instructions (Step-by-Step)
Step 1: Prepare the Pan
- Line an 8×8-inch baking pan with parchment paper, leaving some overhang for easy removal.
Step 2: Melt the Base
- In a microwave-safe bowl, combine the white chocolate chips and sweetened condensed milk.
- Microwave in 30-second intervals, stirring after each, until smooth and fully melted (or use a double boiler for a gentler melt).
Step 3: Flavor It
- Stir in vanilla extract and cotton candy flavoring. Mix well to incorporate.
Step 4: Divide and Color
- Separate the fudge mixture into two bowls.
- Tint one bowl pink and the other blue using gel food coloring. Mix gently for vibrant, streak-free colors.
Step 5: Swirl and Layer
- Drop spoonfuls of each color alternately into the prepared pan.
- Use a skewer or butter knife to create a swirled, marbled effect.
Step 6: Decorate & Chill
- Sprinkle with colorful sprinkles or edible glitter for extra fun.
- Refrigerate for at least 3 hours, or until fully set.
Step 7: Slice & Serve
- Lift the fudge out of the pan using the parchment overhang.
- Cut into squares and enjoy the magic!
🔍 Formation & Texture
The fudge sets into a creamy, slightly chewy texture that melts in your mouth. The swirled colors and optional glitter give it that dreamy cotton candy carnival vibe.
💡 Expert Tips
- Use gel food coloring for vibrant shades without thinning the mixture.
- Don’t overheat the chocolate; it can seize easily.
- Store in an airtight container in the fridge for up to 1 week.
🎯 Lovers of This Recipe
Kids, candy lovers, party planners, and anyone who craves nostalgic fairground flavors will fall in love with this fudge. It’s also a big hit for baby showers and themed dessert tables!
📚 Methods Recap
- Melting Method: Microwave or double boiler
- Coloring Method: Gel colors for vibrancy
- Setting Method: Refrigeration for firmness
🌟 Conclusion
Fluffy Cotton Candy Fudge is more than just a treat—it’s an experience. Each colorful bite brings back childhood memories while satisfying your sweet tooth. Simple to make, fun to present, and irresistible to taste—this is a dessert that makes everyone smile.
👉 Do you want me to expand this into a full professional blog-style article (with SEO title, meta description, FAQs, storage tips, and variations), or should I create a beautifully formatted printable recipe card for you? Or both?