Alright, let’s turn that sweet little comment into a big, beautiful recipe write-up you can share — complete with introduction, ingredients, methods, history, benefits, formation (presentation), nutrition, conclusion, and a little “for the lovers” section so people keep coming back for more.
Here’s how it could look:
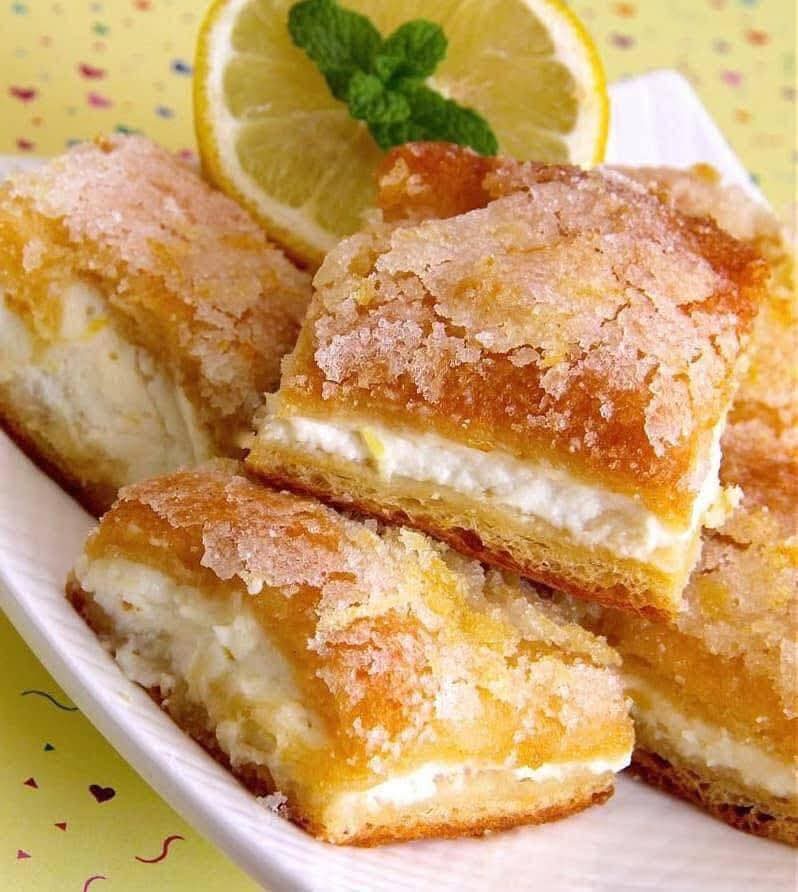
Irresistible 9×13 Dessert Bars
(A Recipe Worth Doubling — Because They Disappear Fast!)
Introduction
Some recipes you try once, smile politely, and never revisit. Others? They become part of your life. These dessert bars belong in the second category. I’ve been making them for years, always in a big 9×13 pan, because the small batch just never lasts. They’re soft, chewy, perfectly sweet, and have that nostalgic homemade taste that makes people hover around the kitchen. If you’re ever in need of an easy, crowd-pleasing treat that never fails — this is the one.
Ingredients (For a 9×13 pan — double if you dare)
- 1 cup (230 g) unsalted butter, melted and slightly cooled
- 2 cups (400 g) brown sugar, packed
- 2 large eggs, room temperature
- 2 tsp pure vanilla extract
- 2 cups (250 g) all-purpose flour
- 1 tsp baking powder
- ¼ tsp baking soda
- ½ tsp salt
- 1 cup (170 g) chocolate chips (or mix-ins of your choice — white chocolate, nuts, toffee bits)
Instructions
- Preheat the oven to 350°F (175°C). Grease or line a 9×13-inch baking dish with parchment paper.
- Mix the wet ingredients — In a large bowl, whisk melted butter and brown sugar until smooth. Add eggs and vanilla, mixing until fully incorporated.
- Combine the dry ingredients — In another bowl, whisk together flour, baking powder, baking soda, and salt.
- Bring it together — Gradually stir the dry ingredients into the wet mixture until just combined.
- Add the magic — Fold in your chocolate chips (or other mix-ins).
- Spread and bake — Pour batter evenly into the prepared pan. Bake for 25–30 minutes, or until the edges are golden brown and a toothpick inserted into the center comes out with just a few moist crumbs.
- Cool & slice — Let cool in the pan before cutting into bars.
Methods
- Mixing Method: Simple one-bowl wet + dry combination for quick prep.
- Baking Method: Standard oven baking, middle rack for even cooking.
- Cooling Method: Allow cooling in the pan to prevent crumbling when slicing.
History
Dessert bars rose in popularity in the mid-20th century as a “bake sale” and potluck favorite. They were designed to be easy, portable, and satisfying without the fuss of individual cookies. This specific style — buttery, brown sugar-rich, and packed with mix-ins — has its roots in blondies, the golden cousin of the brownie. Over the years, bakers began adapting them with all sorts of flavors, but the core recipe remains timeless.
Benefits
- Quick prep: Ready for the oven in under 15 minutes.
- Customizable: Add nuts, dried fruits, candy, or swirls.
- Crowd-pleaser: Always a hit at gatherings.
- Freezer-friendly: Can be made ahead and frozen for up to 2 months.
Formation (Presentation)
For a bakery-style look:
- Cut into neat squares or rectangles once fully cooled.
- Dust lightly with powdered sugar for elegance.
- Serve stacked on a cake stand or rustic wooden board.
- Wrap individual pieces in parchment and tie with twine for gifting.
Nutrition (Approx. per bar if cut into 24 pieces)
- Calories: 185
- Fat: 9 g
- Carbohydrates: 25 g
- Sugars: 16 g
- Protein: 2 g
Conclusion
From bake sales to birthday parties, these dessert bars have never failed me — and I doubt they’ll fail you either. They’re the perfect mix of chewy, buttery, and rich, with a comforting sweetness that makes people ask, “Can I have the recipe?”
For the Lovers ❤️
To everyone who’s been baking along with me, thank you for your sweet support! If you’ve fallen in love with these bars, you’re in for a treat — I share tried-and-true favorites like this all the time. Stick around, keep your oven warm, and let’s keep making magic together.
If you’d like, I can also write you a short “follow me” call to action that fits perfectly after this recipe so people know how to keep getting your new ones. Would you like me to add that next?