Sure! Here’s a complete, detailed recipe for Cherry Pie Bars, including a warm introduction, historical background, ingredients, methods, instructions, and a fun, heartfelt conclusion for all cherry pie lovers. 🍒🥧
Cherry Pie Bars – A Sweet Slice of Nostalgia
Introduction
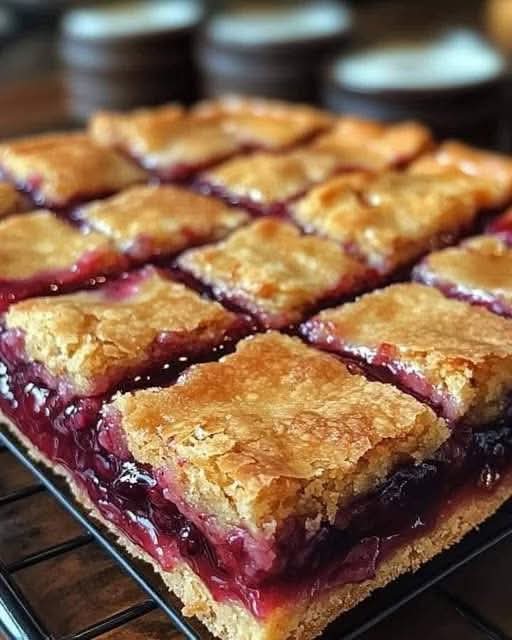
Cherry Pie Bars are a delightful twist on the classic cherry pie. They combine the tender crumb of a buttery vanilla-almond cake with the sweet, tangy burst of cherry pie filling, all topped off with a delicate powdered sugar glaze. These bars are ideal for holidays, potlucks, and anytime you want to indulge in something nostalgic and sweet. Their sheet-pan format makes them much easier to serve than traditional pie, and you still get all the comforting flavors you love.
A Brief History of Cherry Pie
Cherry pie has deep roots in American and European baking traditions. The earliest pies trace back to the Greeks and Romans, but it wasn’t until cherries were introduced into European gardens that fruit pies became mainstream. The English brought cherry pies to colonial America, and they quickly became a staple dessert. George Washington’s legendary association with cherry trees may be a myth, but it certainly helped make cherries iconic in American culture.
The Cherry Pie Bar is a modern American invention, likely developed in the mid-20th century when home baking and convenience foods were booming. This recipe reflects the ingenuity of bakers who wanted the taste of cherry pie without the fuss of rolling crusts or precise slicing.
Ingredients
For the Bars:
- 1 cup (2 sticks) butter, softened
- 2 cups granulated sugar
- 4 large eggs
- 1 tsp vanilla extract
- ¼ tsp almond extract
- 3 cups all-purpose flour
- 1 tsp salt
- 2 cans (21 oz each) cherry pie filling
For the Glaze:
- 1 cup powdered sugar
- ½ tsp vanilla extract
- 1–2 tbsp milk (for desired consistency)
Instructions
1. Prepare the Batter:
- Preheat your oven to 350°F (175°C).
- Grease a 15x10x1-inch baking pan or line it with parchment paper.
- In a large mixing bowl, cream together the butter and sugar until light and fluffy.
- Add eggs one at a time, beating well after each.
- Mix in vanilla and almond extracts.
2. Add the Dry Ingredients:
- In a separate bowl, whisk together the flour and salt.
- Gradually add the dry mixture into the wet ingredients. Mix just until combined.
3. Assemble the Bars:
- Spread 2/3 of the batter evenly in the prepared pan. It will be thick, so use a spatula.
- Spoon cherry pie filling evenly over the batter layer.
- Drop the remaining batter by spoonfuls over the top of the cherry filling. It won’t cover the whole thing – that’s okay! You want some cherry peeking through.
4. Bake:
- Bake in the preheated oven for 35–40 minutes, or until the top is golden and a toothpick inserted into the cake portion comes out clean.
- Cool completely in the pan.
5. Make the Glaze:
- In a small bowl, whisk together the powdered sugar, vanilla, and milk until smooth. Adjust milk for desired consistency.
- Drizzle glaze over the cooled bars.
Serving and Storing
- Slice into squares or rectangles for easy serving.
- Store in an airtight container at room temperature for up to 3 days, or refrigerate for longer freshness.
- These bars also freeze well (without glaze) for up to 3 months.
Conclusion: A Love Letter to Cherry Pie Lovers
Cherry Pie Bars are more than a dessert — they’re a sweet memory in every bite. For lovers of classic American desserts, this is a must-bake recipe. It honors tradition while embracing modern simplicity. The contrast of tart cherries with soft, buttery batter and the kiss of almond essence will win over anyone—especially those who believe pie should always be shared.
Whether you’re baking for a crowd, a cozy evening, or just to satisfy your sweet tooth, Cherry Pie Bars are love baked into a pan. 🍒💕
Would you like a printable or visual version of this recipe too?