# **Old-Fashioned Cherry Cobbler: A Classic Dessert with Timeless Appeal**
## **Introduction**
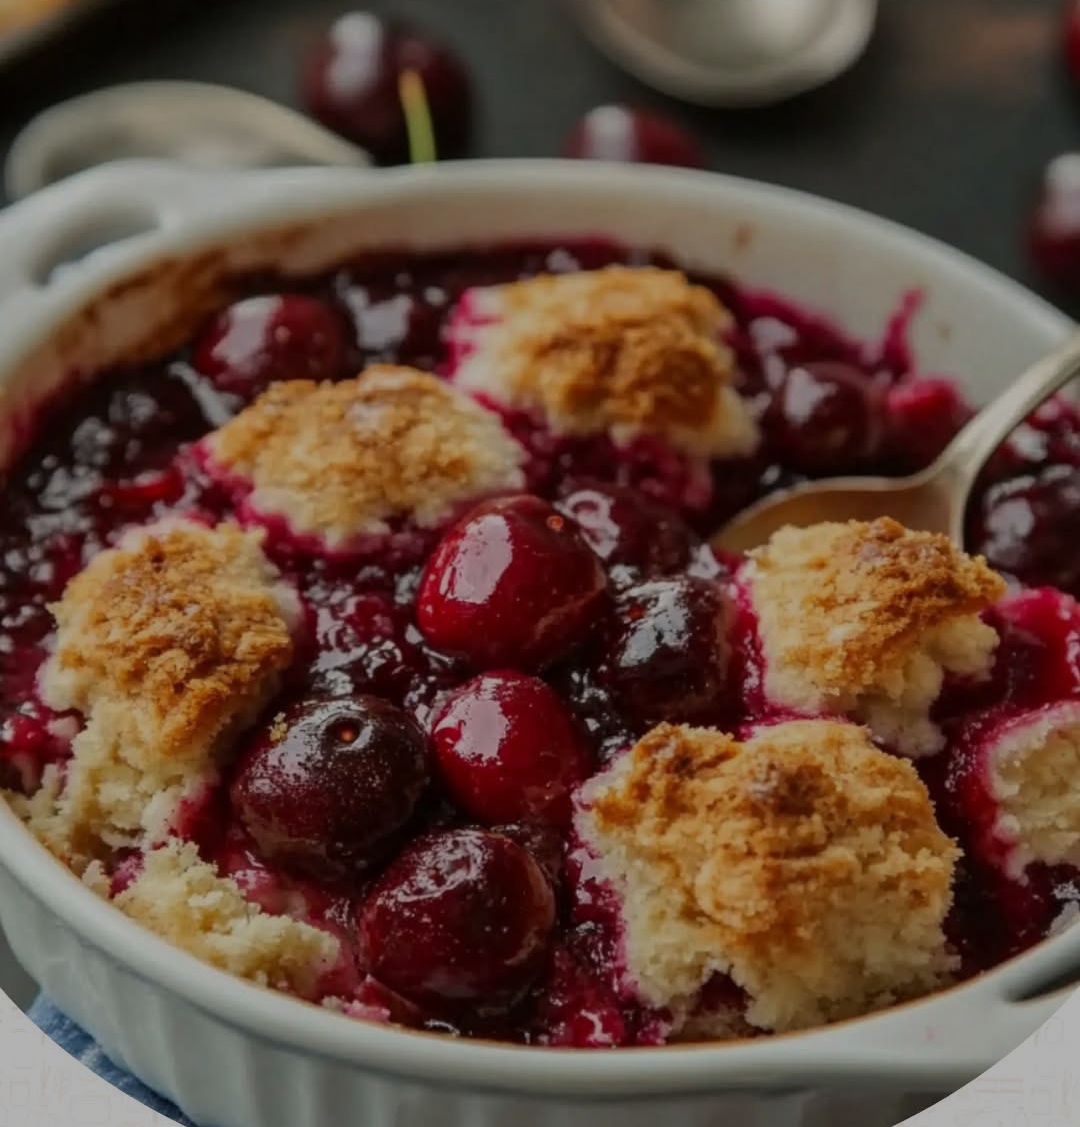
Cherry cobbler is a beloved traditional dessert that has been enjoyed for generations. With its sweet, juicy cherries and tender, buttery crust, this comforting dish is perfect for family gatherings, summer picnics, or cozy winter nights. The simplicity of its preparation and the rich, fruity flavors make it a favorite among dessert lovers.
In this guide, we’ll explore the history of cherry cobbler, its nutritional benefits, step-by-step preparation methods, and why it remains a cherished treat for so many.
—
## **Ingredients**
### **For the Cherry Filling:**
– **4 cups pitted cherries** (fresh, frozen, or canned & drained)
– **1 cup granulated sugar** (adjust based on cherry sweetness)
– **2 tbsp cornstarch** (for thickening)
– **1 tbsp lemon juice** (for brightness)
– **1 tsp vanilla extract** (optional)
– **½ tsp ground cinnamon** (optional)
### **For the Cobbler Topping:**
– **1 cup all-purpose flour**
– **½ cup granulated sugar**
– **1½ tsp baking powder**
– **¼ tsp salt**
– **½ cup milk** (whole or buttermilk for richness)
– **¼ cup unsalted butter, melted**
– **1 tsp vanilla extract**
### **Optional Additions:**
– **½ tsp almond extract** (enhances cherry flavor)
– **Vanilla ice cream or whipped cream** (for serving)
—
## **Instructions**
### **Step 1: Preheat the Oven**
– Preheat your oven to **375°F (190°C)**.
### **Step 2: Prepare the Cherry Filling**
1. In a saucepan, combine **cherries, sugar, cornstarch, lemon juice, and cinnamon (if using)**.
2. Cook over **medium heat**, stirring frequently, until the mixture thickens (about **5-7 minutes**).
3. Remove from heat and stir in **vanilla extract**.
4. Pour the filling into a **9×9-inch baking dish** or a deep pie dish.
### **Step 3: Make the Cobbler Topping**
1. In a mixing bowl, whisk together **flour, sugar, baking powder, and salt**.
2. Add **milk, melted butter, and vanilla extract**, stirring until just combined (do not overmix).
### **Step 4: Assemble & Bake**
1. Drop spoonfuls of the batter over the cherry filling, spreading gently (it doesn’t need to be perfect).
2. Bake for **30-35 minutes**, or until the topping is golden brown and the filling is bubbly.
3. Let it cool slightly before serving.
### **Step 5: Serve & Enjoy!**
– Serve warm with **vanilla ice cream or whipped cream** for the ultimate experience.
—
## **History of Cherry Cobbler**
Cobblers originated in early American settlements when colonists adapted British steamed puddings using locally available fruits. The term “cobbler” comes from the rough, cobbled-stone appearance of the biscuit-like topping. Cherry cobbler became especially popular in the Midwest and South, where cherries were abundant.
—
## **Nutritional Benefits**
– **Cherries** are rich in **antioxidants, vitamin C, and fiber**, supporting heart health and reducing inflammation.
– **Moderate sugar content** makes it a treat best enjoyed in balance.
– **Whole milk and butter** provide calcium and healthy fats.
—
## **Why Cobbler Lovers Adore This Dessert**
1. **Easy to Make** – No advanced baking skills needed!
2. **Versatile** – Works with almost any fruit.
3. **Comforting & Nostalgic** – Reminds many of childhood and family traditions.
4. **Perfect for Sharing** – A crowd-pleaser at potlucks and parties.
—
## **Conclusion**
Old-Fashioned Cherry Cobbler is more than just a dessert—it’s a celebration of simplicity, tradition, and delicious flavors. Whether you’re making it for a special occasion or just because, this cobbler is sure to win hearts. So grab a spoon, scoop a warm serving, and enjoy this timeless treat!
**Do you love cherry cobbler? Share your favorite variations in the comments!** 🍒🥧