# **Banana Pudding Cheesecake Cones: A Delightful Fusion Dessert**
## **🍌 Introduction**
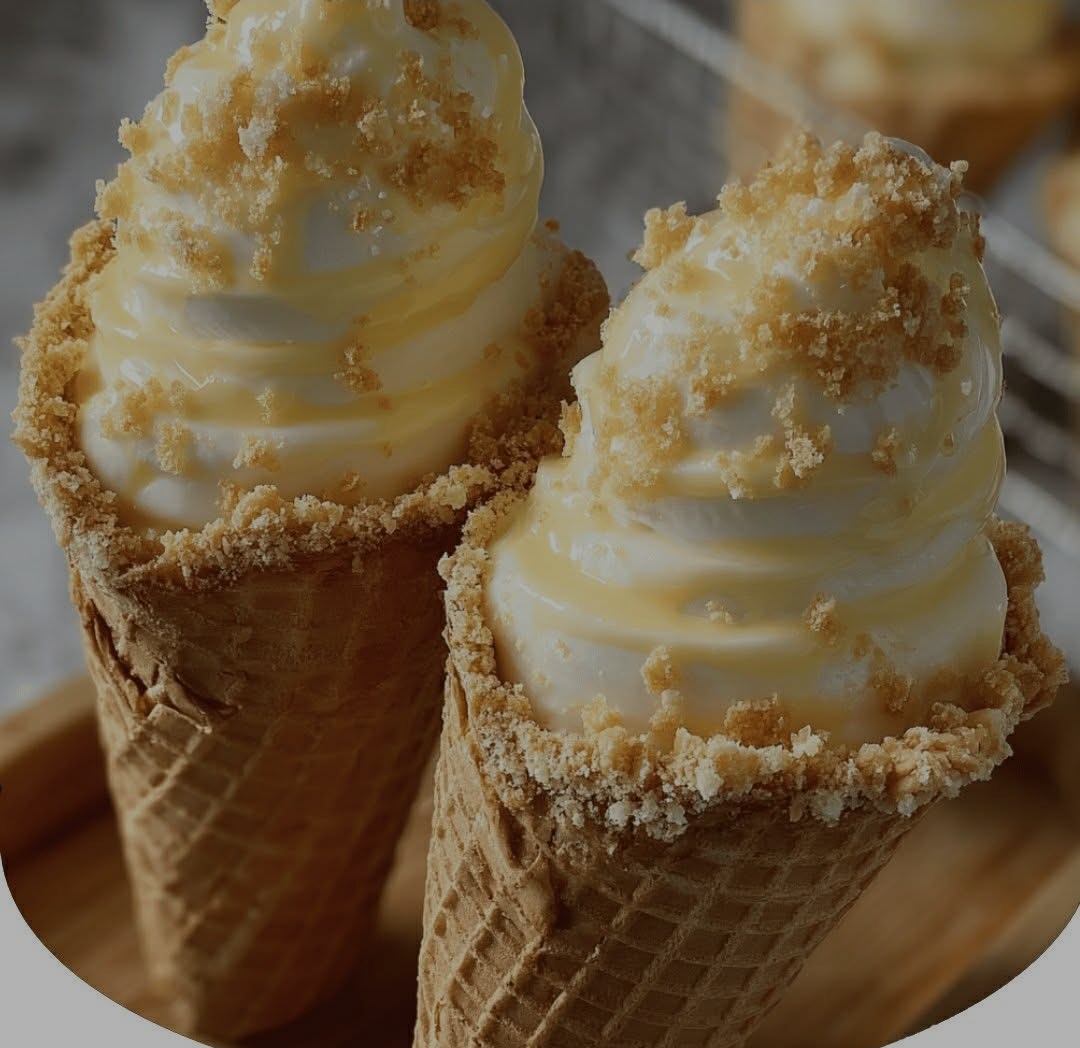
Banana Pudding Cheesecake Cones are a fun, creative twist on two classic desserts—banana pudding and cheesecake—served in a crispy waffle cone. This dessert combines the creamy richness of cheesecake with the nostalgic flavors of banana pudding, all topped with a buttery vanilla wafer crust. Perfect for parties, summer treats, or a fun family dessert, these cones are as delicious as they are adorable!
—
## **📜 History & Inspiration**
Banana pudding has been a beloved Southern dessert for generations, often layered with vanilla wafers and fresh bananas. Cheesecake, with its roots in ancient Greece, has evolved into countless modern variations. By combining these two iconic desserts into a portable cone, we create a playful yet elegant treat that appeals to all ages.
—
## **✅ Benefits**
✔ **Portable & Mess-Free** – No plates or forks needed!
✔ **Customizable** – Add fresh bananas, caramel drizzle, or chocolate chips.
✔ **Perfect for Parties** – Great for birthdays, picnics, and gatherings.
✔ **No-Bake** – Quick and easy to prepare without an oven.
—
## **📋 Ingredients**
### **For the Cheesecake Filling:**
– 16 oz (2 blocks) cream cheese, softened
– 1 cup powdered sugar
– 1/2 cup heavy whipping cream
– 1 tsp vanilla extract
– 1 package (3.4 oz) instant banana pudding mix
– 1 1/2 cups cold milk
### **For the Cones & Crust:**
– 10-12 waffle cones or sugar cones
– 1 cup crushed vanilla wafer cookies
– 2 tbsp melted butter
### **Optional Toppings:**
– Sliced bananas
– Whipped cream
– Extra crushed vanilla wafers
– Caramel or chocolate drizzle
—
## **👩🍳 Instructions**
### **Step 1: Prepare the Crust**
1. Crush vanilla wafers into fine crumbs.
2. Mix with melted butter until well combined.
3. Spoon about 1 tbsp of the mixture into each cone and press gently to form a crust.
### **Step 2: Make the Cheesecake Filling**
1. In a large bowl, beat softened cream cheese until smooth.
2. Add powdered sugar and vanilla, mixing until creamy.
3. In a separate bowl, whisk banana pudding mix with cold milk until thickened.
4. Fold the pudding into the cream cheese mixture until fully combined.
5. Whip the heavy cream until stiff peaks form, then gently fold into the cheesecake mixture.
### **Step 3: Assemble the Cones**
1. Pipe or spoon the cheesecake filling into each cone, leaving a little space at the top.
2. Chill for at least 2 hours (or overnight) to set.
### **Step 4: Add Toppings (Optional)**
Before serving, top with:
– Fresh banana slices
– Whipped cream
– Extra cookie crumbs
– Drizzles of caramel or chocolate
—
## **🍽 Serving Suggestions**
– Serve chilled for the best texture.
– Great with a scoop of vanilla ice cream on the side.
– Perfect for dessert tables or as a handheld party treat.
—
## **⚖️ Nutrition (Per Cone, Approx.)**
– **Calories:** 280-320
– **Fat:** 18g
– **Carbs:** 28g
– **Protein:** 4g
– **Sugar:** 20g
*(Nutrition may vary based on toppings and cone size.)*
—
## **💖 Why Dessert Lovers Adore This Recipe**
– **Fun Presentation** – Kids and adults love eating dessert from a cone!
– **Creamy & Crunchy** – The contrast of textures is irresistible.
– **Nostalgic Flavor** – A modern take on classic banana pudding.
—
## **🎉 Conclusion**
Banana Pudding Cheesecake Cones are the ultimate fusion dessert—creamy, crunchy, and packed with flavor. Whether you’re hosting a party or just craving something sweet, these cones are sure to be a hit. Easy to make and even easier to enjoy, they’re a dessert dream come true!
**Give them a try and watch them disappear!** 😍🍌✨
—
Would you like any modifications or additional tips for this recipe? 😊