Absolutely! Here’s a big, colorful, and detailed recipe for Fruity Pebbles Cheesecake, complete with introduction, ingredients, step-by-step instructions, history, methods, and a fun nod to dessert lovers. 🍰🌈✨
🌈 Fruity Pebbles Cheesecake: A Whimsical Dessert Dream
🧁 Introduction
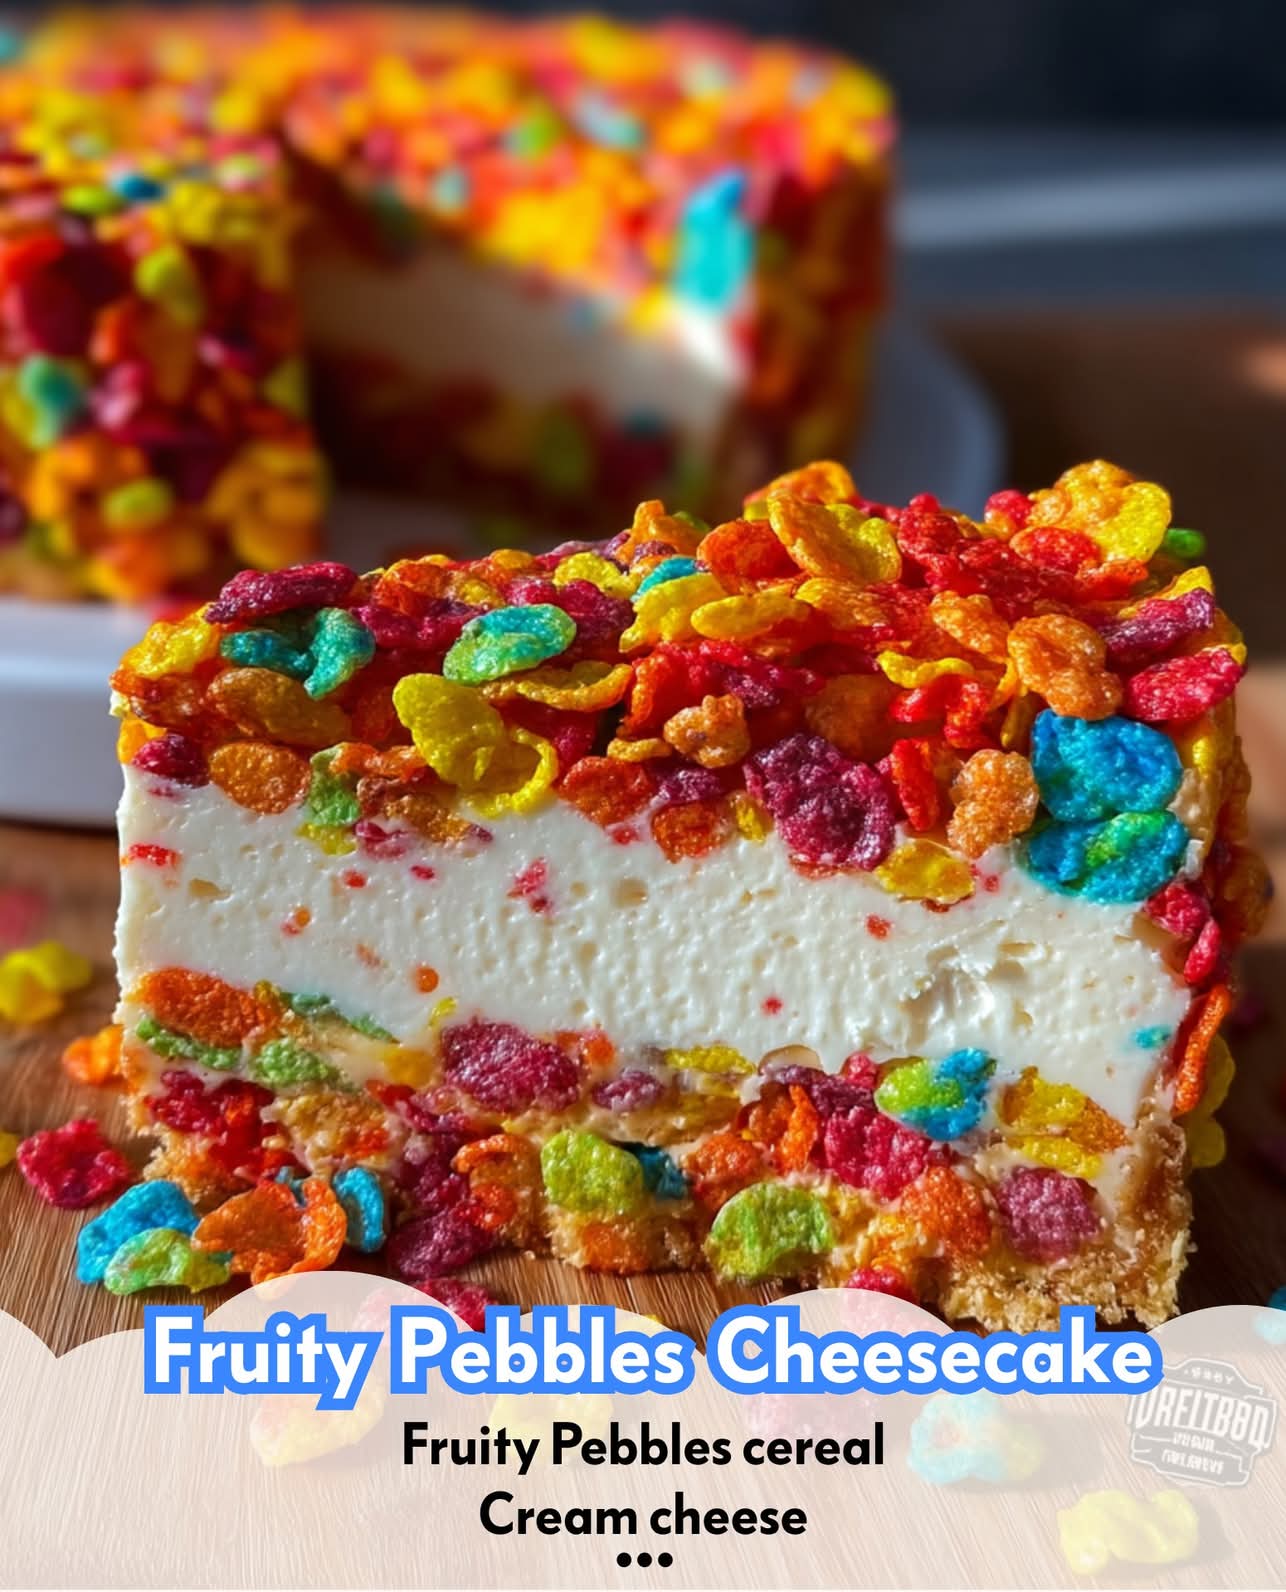
Imagine a dessert that brings together the vibrant nostalgia of childhood cereals and the rich indulgence of creamy cheesecake. That’s Fruity Pebbles Cheesecake — a no-bake, rainbow-hued treat that turns heads and delights taste buds. Loved by kids, cherished by adults who are still young at heart, this dessert is a perfect party piece, birthday surprise, or weekend indulgence.
Whether you’re a cereal fanatic or a cheesecake connoisseur, this one’s for you.
📜 A Brief History
Fruity Pebbles were introduced in 1971 by Post Consumer Brands, becoming one of the first cereals to be branded with a cartoon — The Flintstones. Their bright colors and fruity flavor quickly made them a breakfast table favorite.
Cheesecake has been around since Ancient Greece, with its earliest form served to athletes during the first Olympic Games in 776 B.C. It later evolved across Europe, eventually leading to the creamy, no-bake versions we know and love today.
The fusion of the two? That’s a modern internet-era invention — born from food bloggers, Instagram, and a craving for colorful, fun fusion desserts.
❤️ For the Lovers of Sweetness
This one’s for the:
- 🧒 Young-at-heart cereal lovers
- 🧁 Cheesecake enthusiasts
- 🎉 Birthday party planners
- 🧑🍳 Experimental bakers
- 📸 Dessert ‘grammers
- 👩❤️👨 Couples sharing a late-night sweet craving
🛒 Ingredients
For the Crust:
- 4 cups Fruity Pebbles cereal
- 1 bag (10 oz) mini marshmallows
- 1/4 cup (½ stick) unsalted butter
For the Cheesecake Filling:
- 3 (8 oz) packages cream cheese, softened
- 1 cup granulated sugar
- 1 tsp vanilla extract
- 1 ½ cups heavy whipping cream
- 2 tbsp powdered sugar
- 1/2 cup Fruity Pebbles (extra, for fold-in & topping)
🍰 Method & Instructions
🥣 Step 1: Make the Fruity Pebbles Crust
- In a large saucepan over low heat, melt the butter.
- Add mini marshmallows and stir until completely melted and smooth.
- Remove from heat and fold in Fruity Pebbles cereal until fully coated.
- Press the mixture into a 9-inch springform pan, forming an even layer on the bottom and slightly up the sides. Use wax paper or a greased spatula to help press it down.
- Chill in the fridge for 30 minutes to set.
🧀 Step 2: Prepare the Cheesecake Filling
- In a large bowl, beat cream cheese with granulated sugar and vanilla until smooth and fluffy.
- In a separate bowl, whip the heavy cream and powdered sugar until stiff peaks form.
- Gently fold the whipped cream into the cream cheese mixture until combined.
- Fold in the extra Fruity Pebbles cereal (1/2 cup) for added crunch and color.
🍰 Step 3: Assemble the Cheesecake
- Pour the cheesecake filling over the chilled Fruity Pebbles crust.
- Smooth the top with a spatula.
- Optional: sprinkle a generous handful of Fruity Pebbles on top for that extra pop of color.
- Cover and refrigerate for at least 6 hours (preferably overnight) until firm.
🌟 Final Touch
Right before serving, garnish with:
- Whipped cream swirls
- Extra Fruity Pebbles
- Edible glitter (because…why not?)
Slice and serve chilled for the best texture.
🎉 Conclusion: A Rainbow on a Plate
Fruity Pebbles Cheesecake is not just a dessert — it’s a celebration. It’s bright, bold, and bursting with flavor and fun. The crunchy cereal crust is a playful twist on traditional graham cracker bases, and the creamy filling is so indulgent it could win over even the most serious cheesecake traditionalist.
💌 For the Lovers…
If you make this for your partner, best friend, or family — you’re not just giving dessert. You’re giving joy, nostalgia, and a little magic.
So go ahead. Grab your spoon. Get a little colorful. Share a slice of happiness. 🍰🌈✨
Would you like this in a printable format or turned into a shareable image or video recipe too?